
I love spending time just browsing the aisles at Lowe’s – I look at all kinds of items and dream up future projects. This DIY dining room buffet project is the result of one of those browsing sessions. It’s a simple project (you don’t need any advanced skills), looks completely high end, and your friends will be blow away by your creativity!
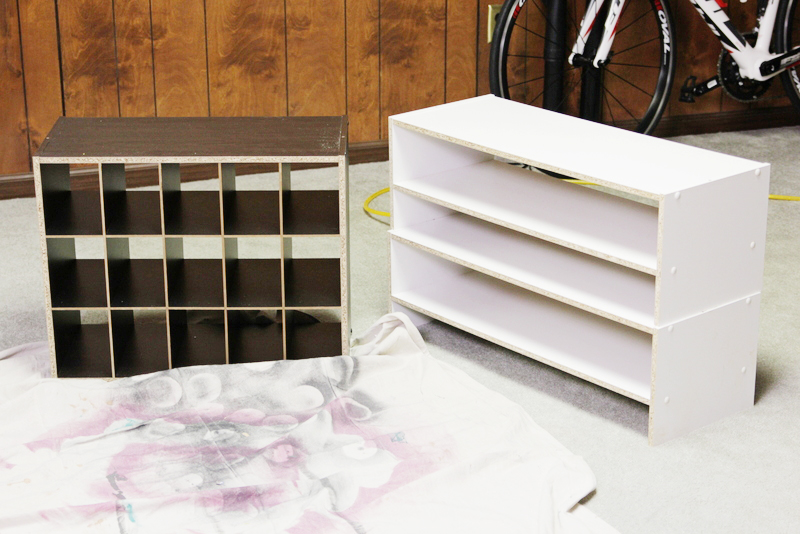
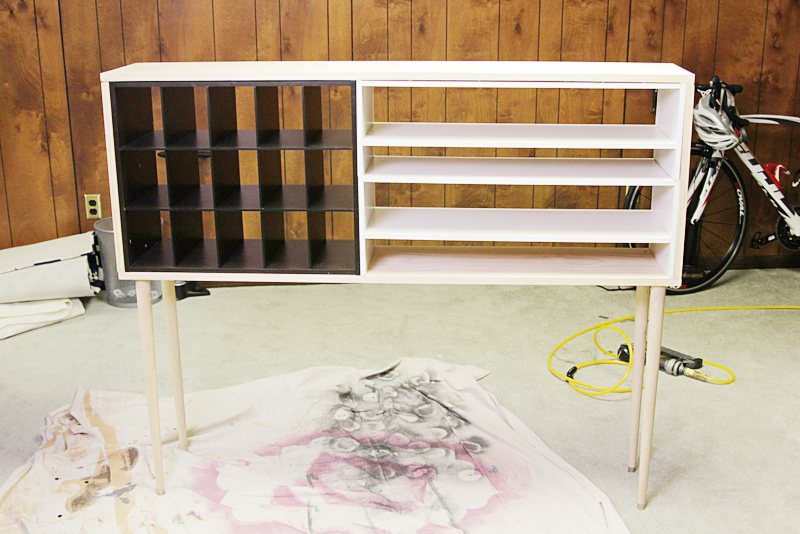
Check out the transformation…BEFORE:
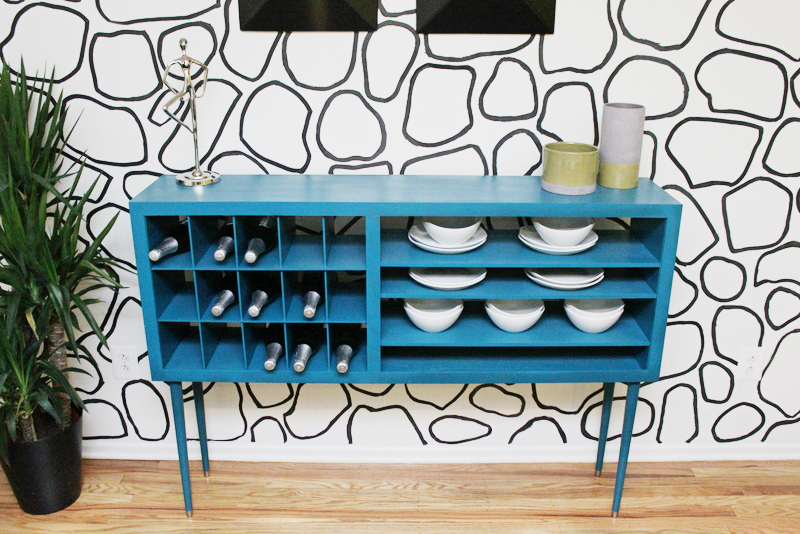
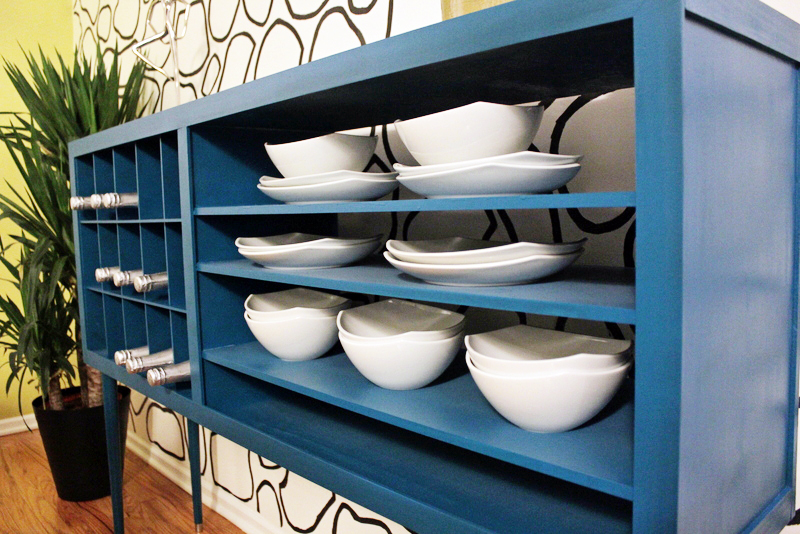
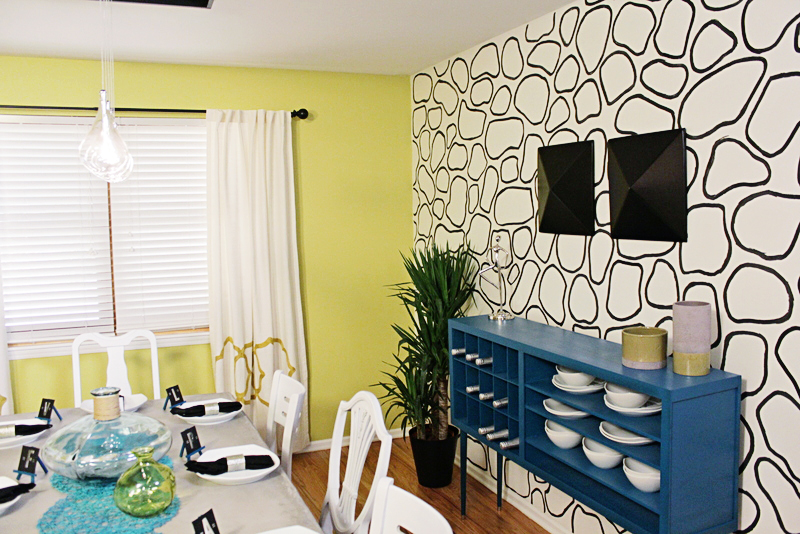
and AFTER:
a sleek, modern buffet…
Once you pick your jaw up off the floor, let’s get to the tutorial!
Supplies Needed:
One 15 cube wood shoe organizer
Two 2-shelf wood (aka fake wood) shoe organizers
Chop Saw
Drill
4 Furniture legs
MDF or pine (dimensions will depend on the shoe racks you choose)
2x 1/4 inch wood molding
Nail Gun (or hammer)
Nails & Screws
Wood Filler
Paint & Primer
Step 1:
Assemble the shoe organizers and figure out the best layout that works for your space. As you can see in the top photo, stacked together, our 2 shelf organizers were a bit taller than the cube unit. So, we used a saw to cut them down a bit to match the height of the other organizer. These kinds of out of the box projects are all about ingenuity and makin’ it work!
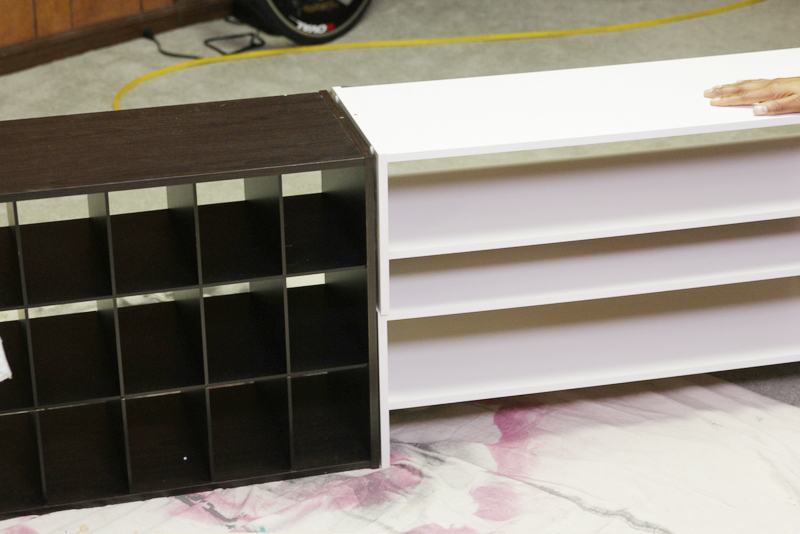
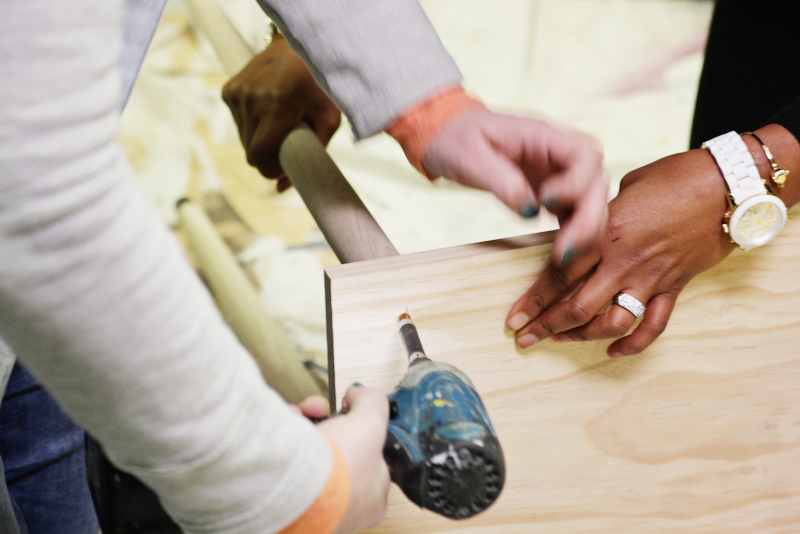
Step 2:
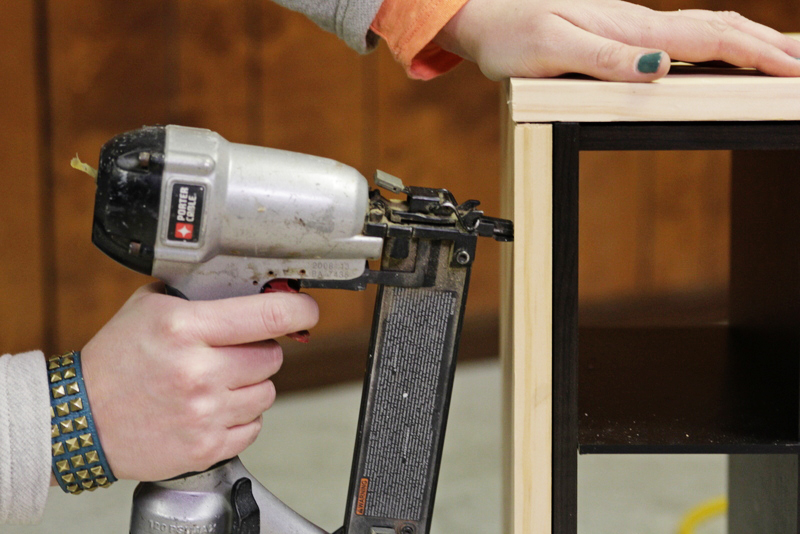
Secure the two units together using a short screws- you want to be sure they’re not popping through one side. Next, assemble a frame out of 1 inch MDF or pine boards to surround the top and sides of the shoe organizers and attach it to the shoe racks with the nail gun. Basically, you’re boxing around the mish-mash of pieces to give them a unified feel. Sand the frame and use wood filler for any nail holes or cracks.

Step 3:
Cut an MDF or pine plank to size, so that it will fit the bottom of the buffet. Attach the furniture legs at all four corners of this bottom frame piece using a drill and screws. We got these cute, mid-century legs at Lowe’s really inexpensively. You could also look online for some really unique, creative legs!
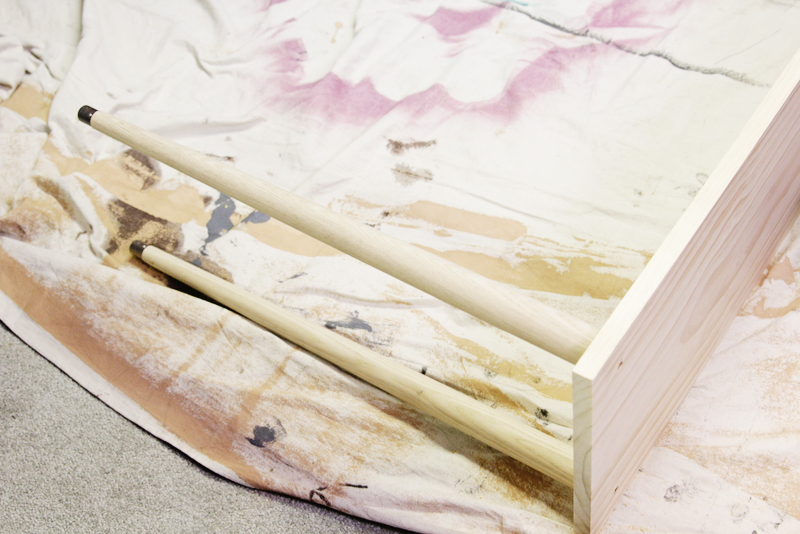
Step 4:
Then using the nail gun, attach the frame to the bottom of your buffet. It’s much easier to do if you flip the entire piece upside down to work.

We wanted this buffet to really feel like a high end, custom piece so we attached 2 inch x 1/4 inch trim along the face of the buffet. That hid all the places where the various pieces met, and gave it a finished look.
Step 5:
Since the shoe organizers were smooth and shiny, we went with spray painting the unit instead of using wall paint. I’d recommend first using a few good coats of a spray primer for optimal adhesion! One extra step, but it will make your paint last!
Step 6:
Allow to dry overnight then begin to fill the cube unit, now your wine rack, with bottles of wine and your shelf organizers with dinnerware! In this picture you can really see how well the wood trim on the face of the buffet hides all signs of shoe racks! lol. No one would EVER guess what this bad boy is made out of!
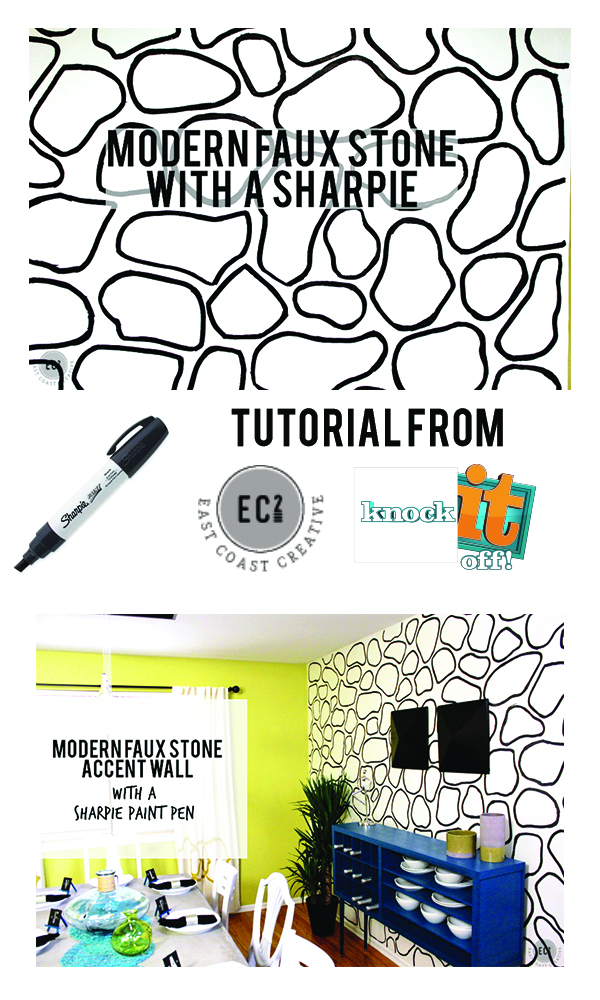
Working on this room for a couple that wanted something funky and modern was so much fun! That modern accent wall is still one of my favs… and it was made with paint pens… # truth Believe it.
You can check out the accent wall tutorial HERE


AMAZING! This looks phenomenal!
Laura
http://www.24-7style.com
That is really extremely clever! Such a great idea, so simple to make and it looks fantastic! well done!
Cheers, Liz (Australia)……. wishing we had Lowes!
How did you paint the inside of the cubbies. Wasn’t that hard with spray paint?
Hi,
Those furniture legs are amazing.
If I cut them at 15 degrees and attach, will it work or wobble?