
I’ve done about 2.4 million DIY projects in the last few years (that number is unverified, but I think it’s pretty exact), but one project I had never had the chance to try was installing tile. Weird right? We installed subway tile in one of our “Knock it Off!” kitchens, but we had our friend Mark Bartolomeo working with us, and he took care of the tile. It’s just such a shame he’s not cute… haha!

Since I don’t always have cutie Mark around to help, I thought it was time to learn a new skill and try my hand at installing tile on the floor and shower walls in our bathroom renovation. Along the way, I learned a few things I thought I’d share with you!
#1- Choose the Right Tile (and tile company!)
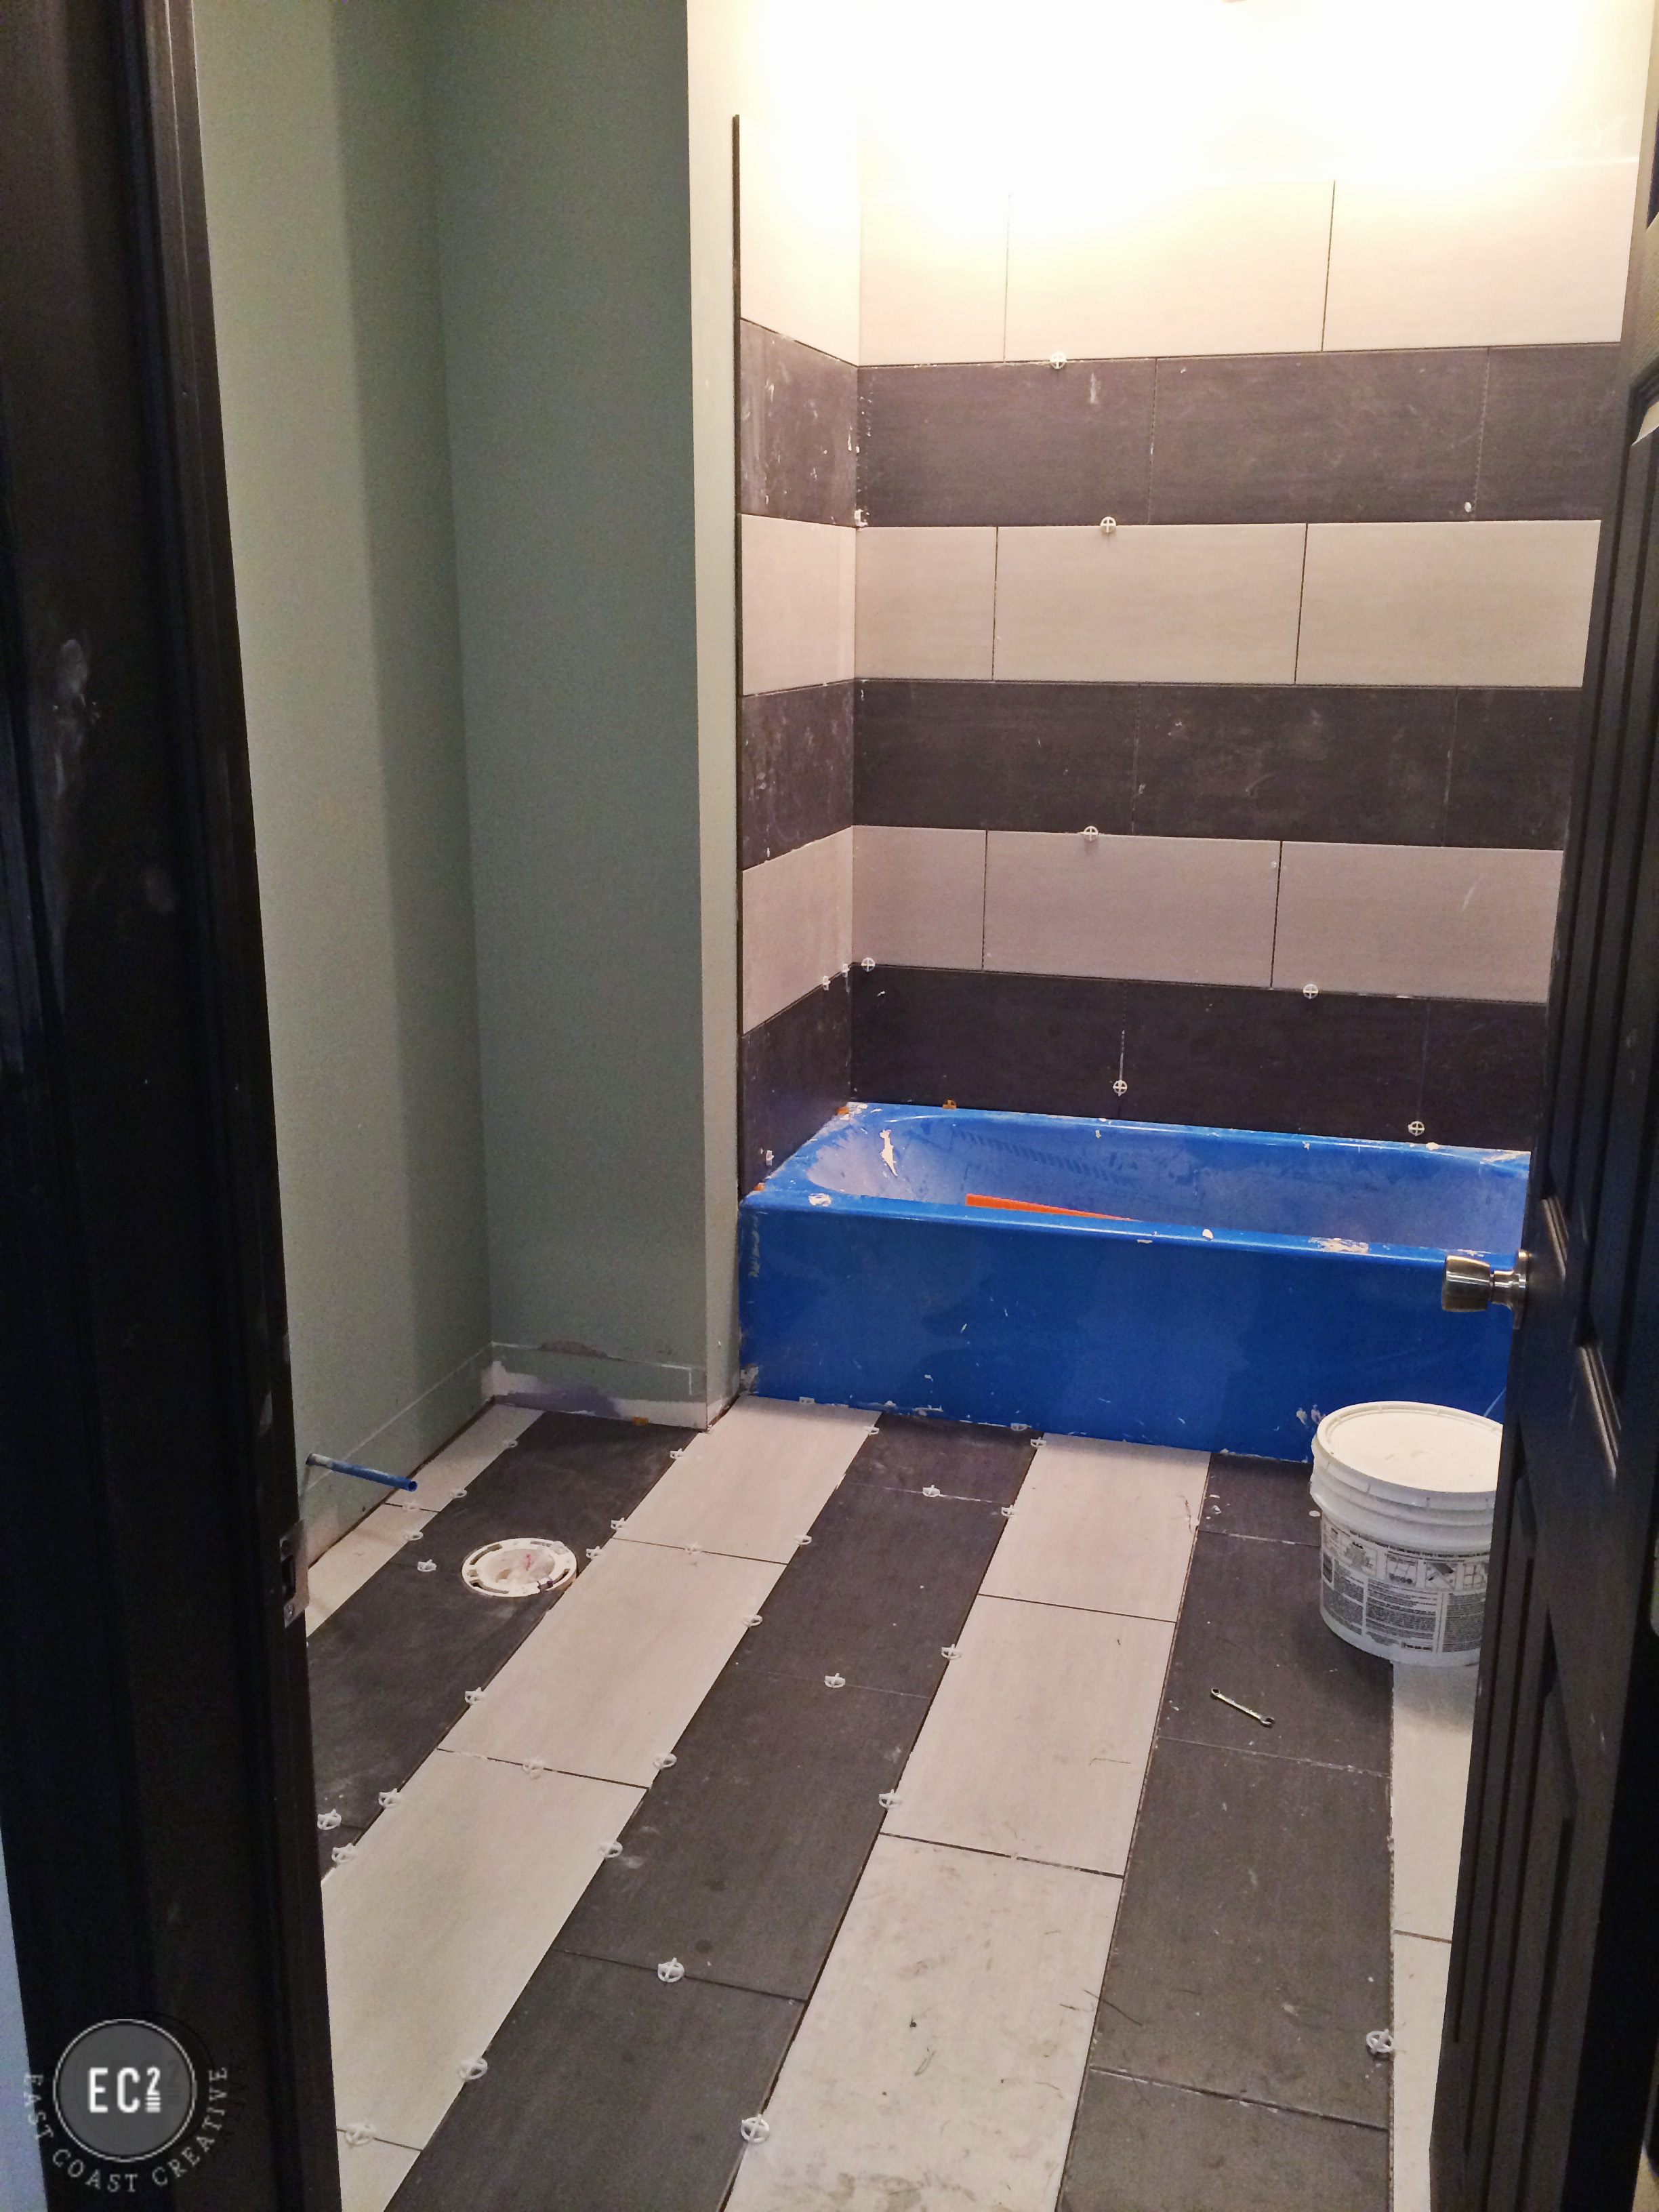
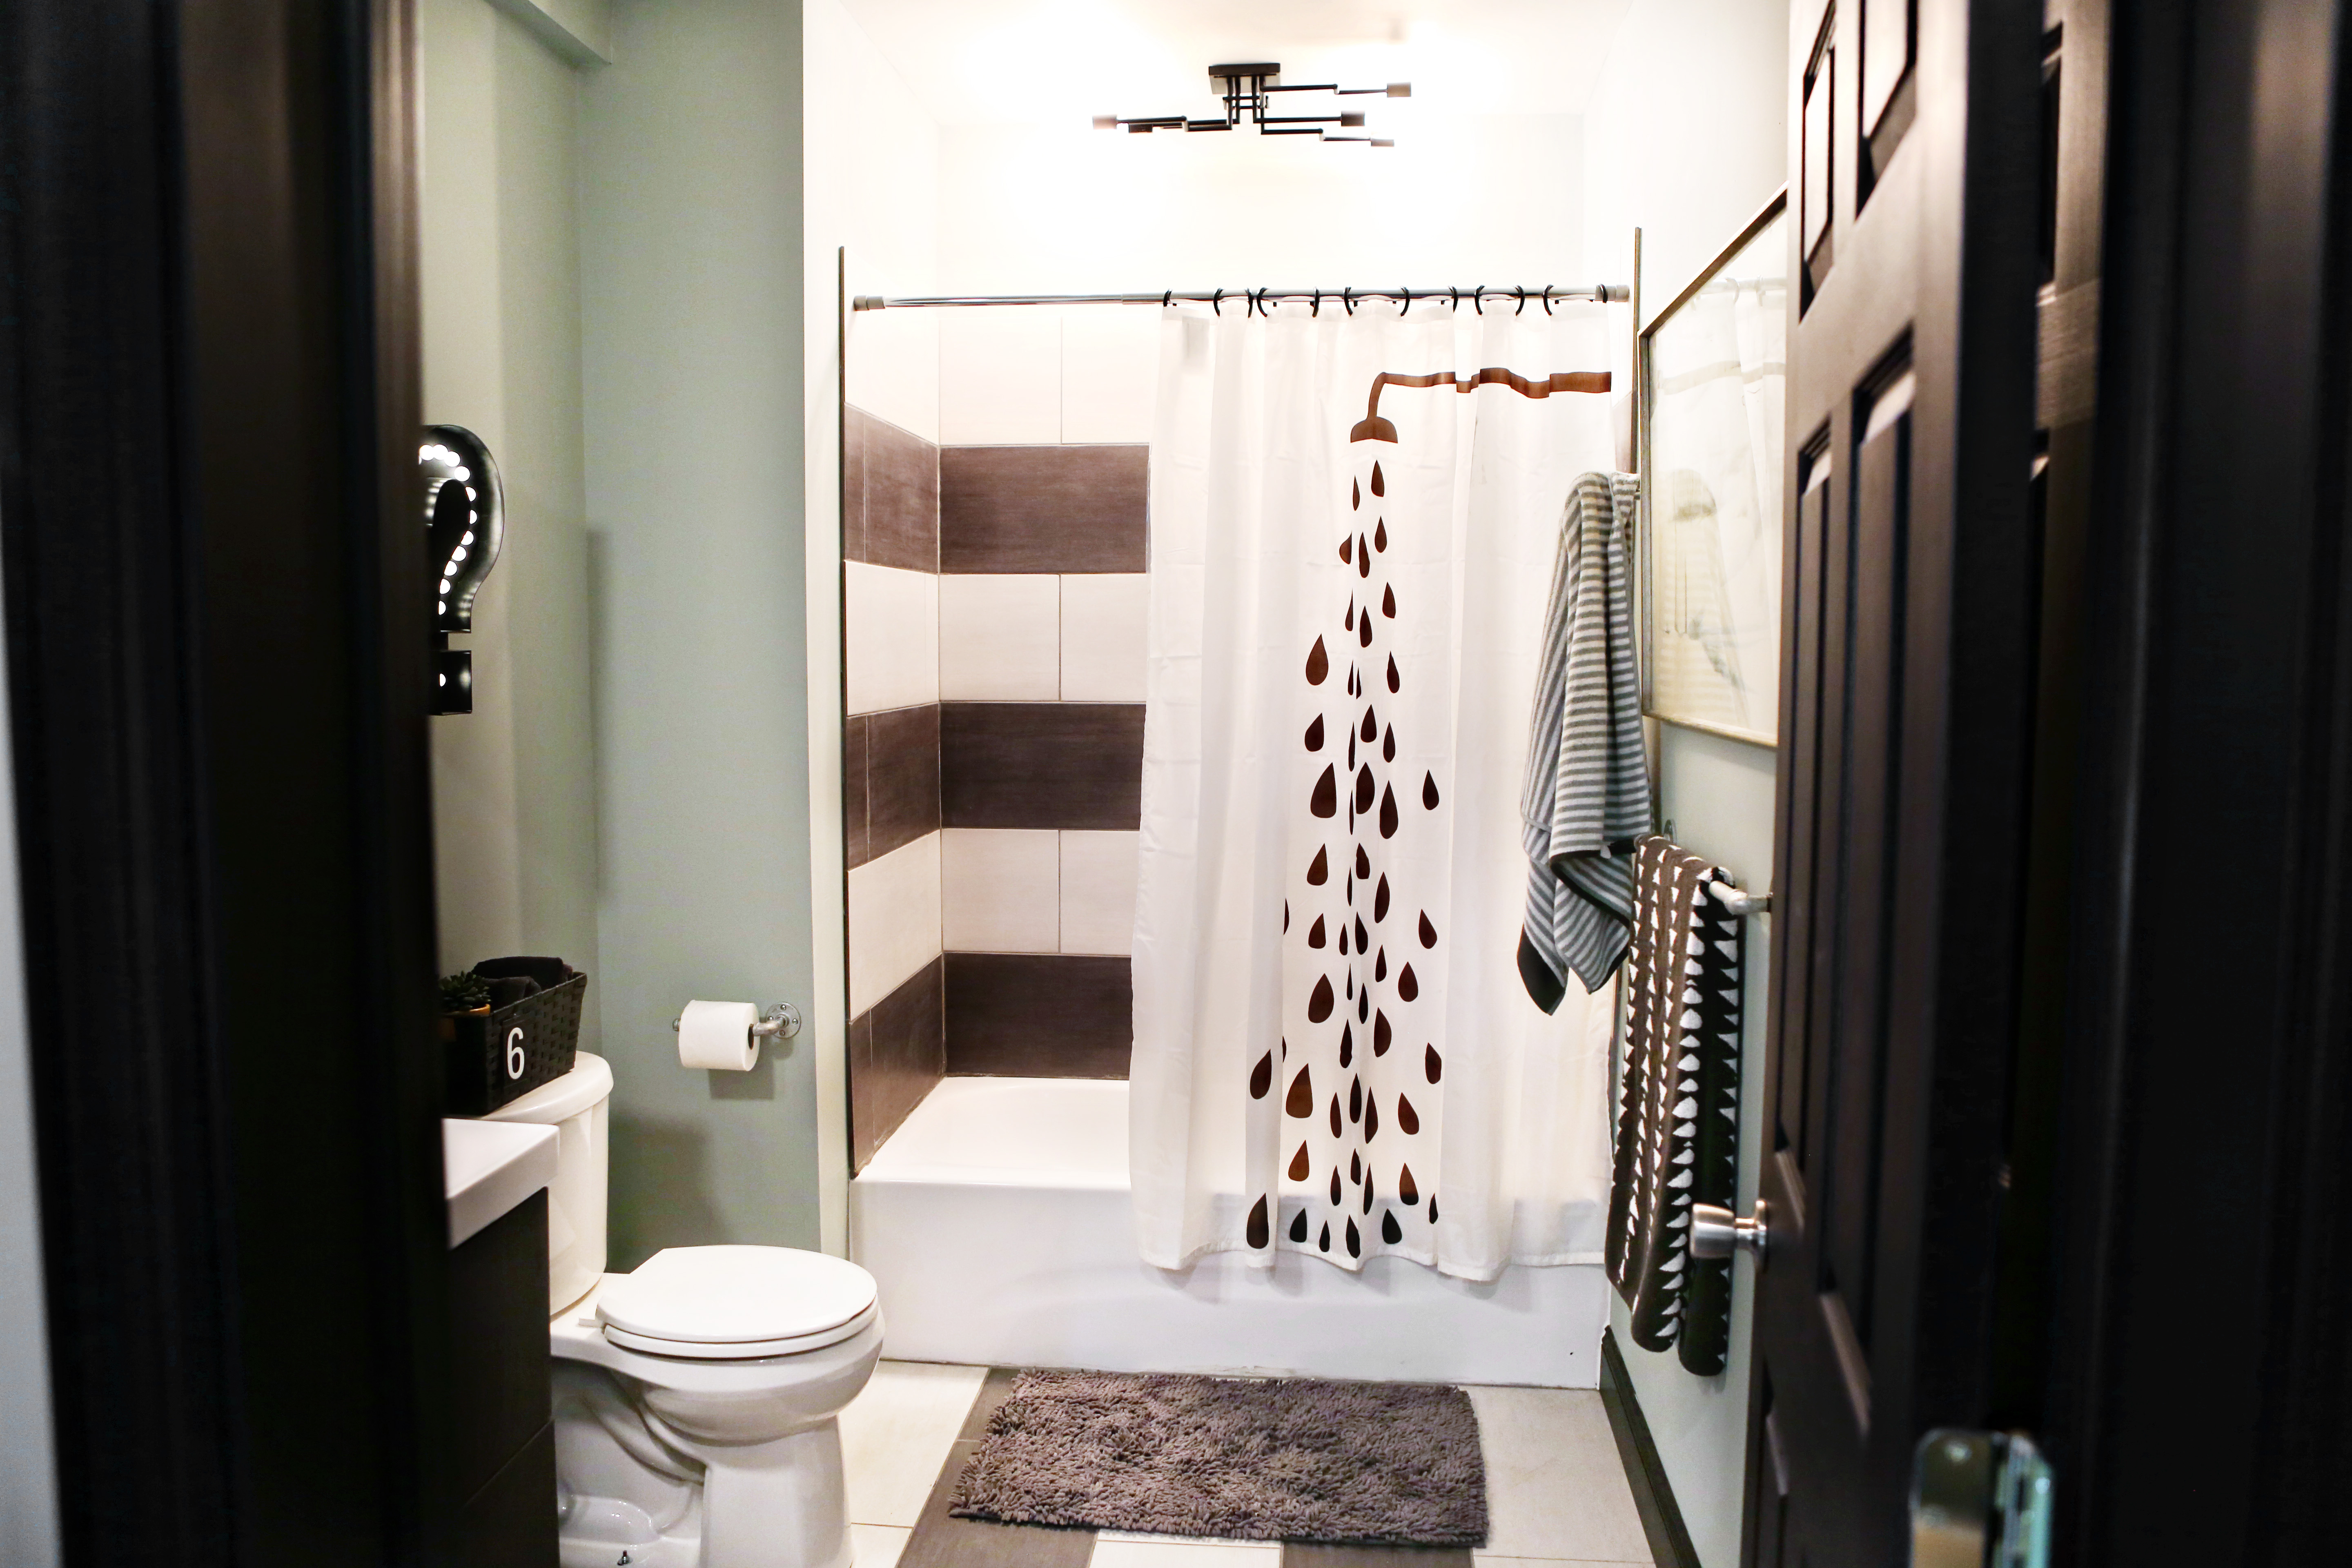
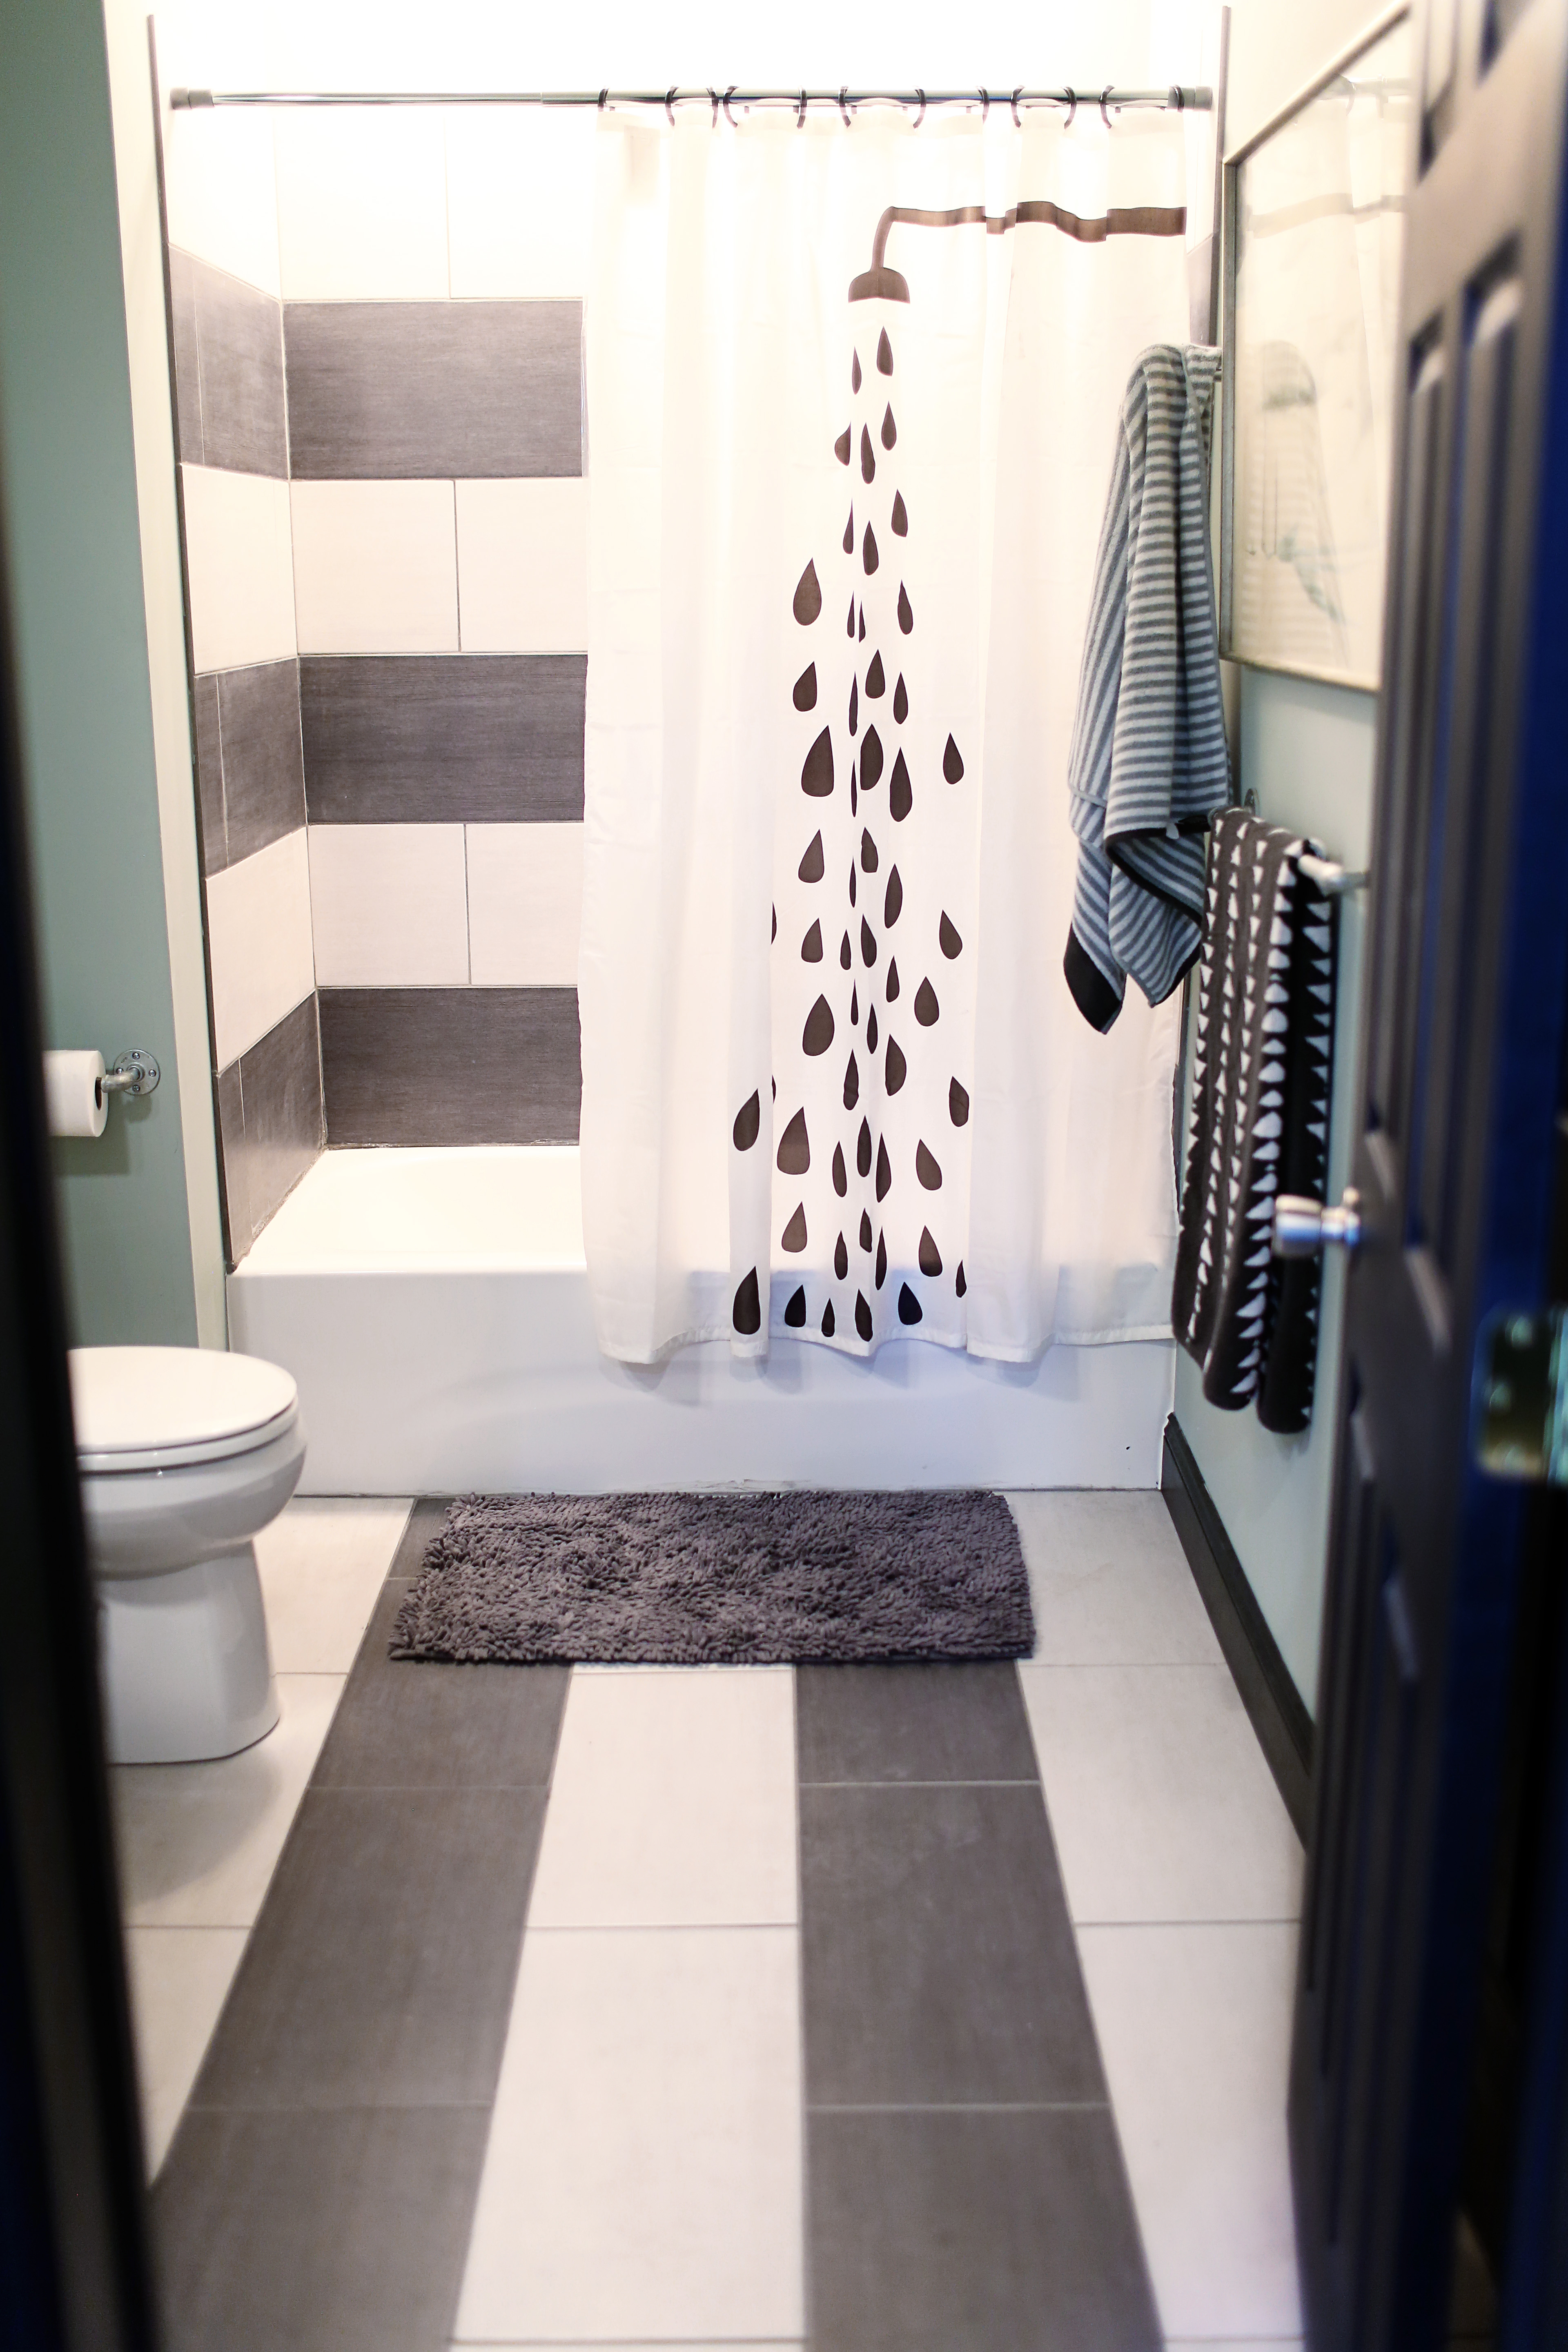
This might seem obvious, but it’s not. I learned pretty quickly that installing tile is a labor of love (more on that later) and I’m so glad that I took my time and picked out tile that I really liked! I had to remember that this bathroom wasn’t going to be one I used, so I had to get my personal tile preferences out of my head. I love working with Build Direct so I got right to work looking at all their tile options, requesting some samples, and eventually I landed on Kaska Porcelain Tile in Silk White and Kaska Porcelain Tile in Silk Marrone.
#2- Whip It Good!
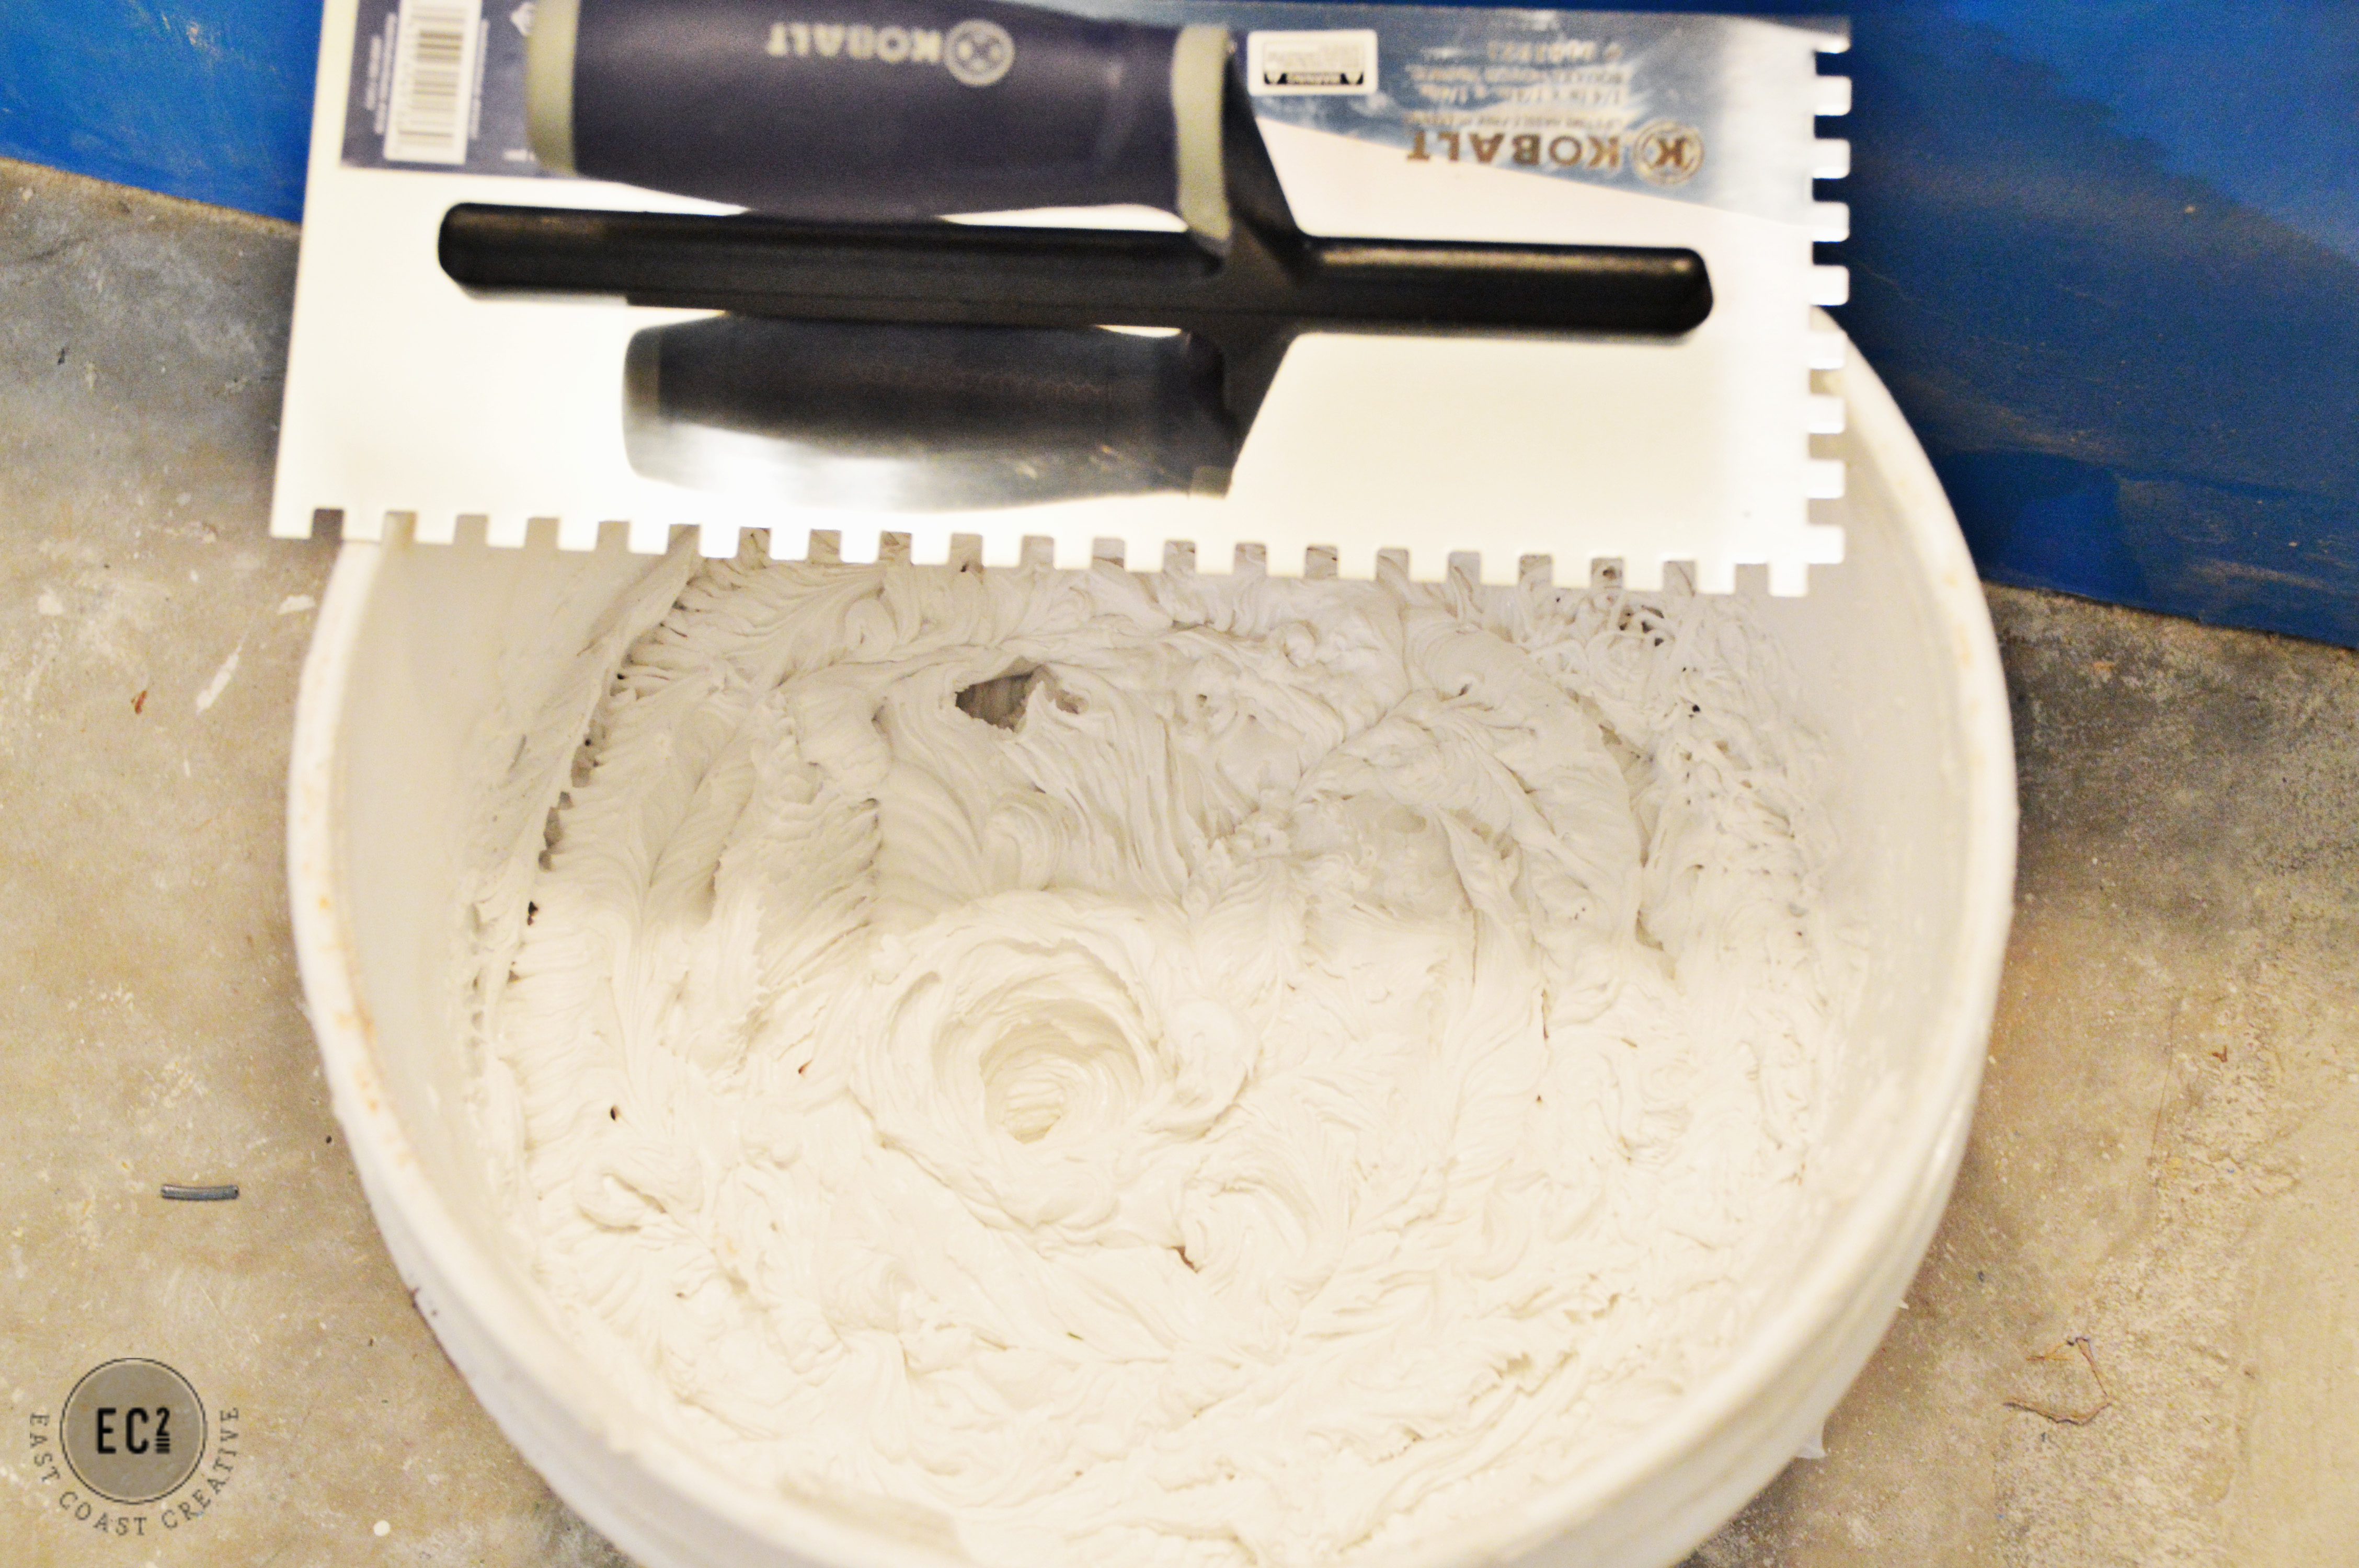
It’s important to mix your mastic really well, and I might have considered using my regular kitchen mixer (just for a second), because I didn’t own a mud mixer attachment for my drill, but they’re really inexpensive and our friend Franco (AKA my tile tutor) hooked me up.

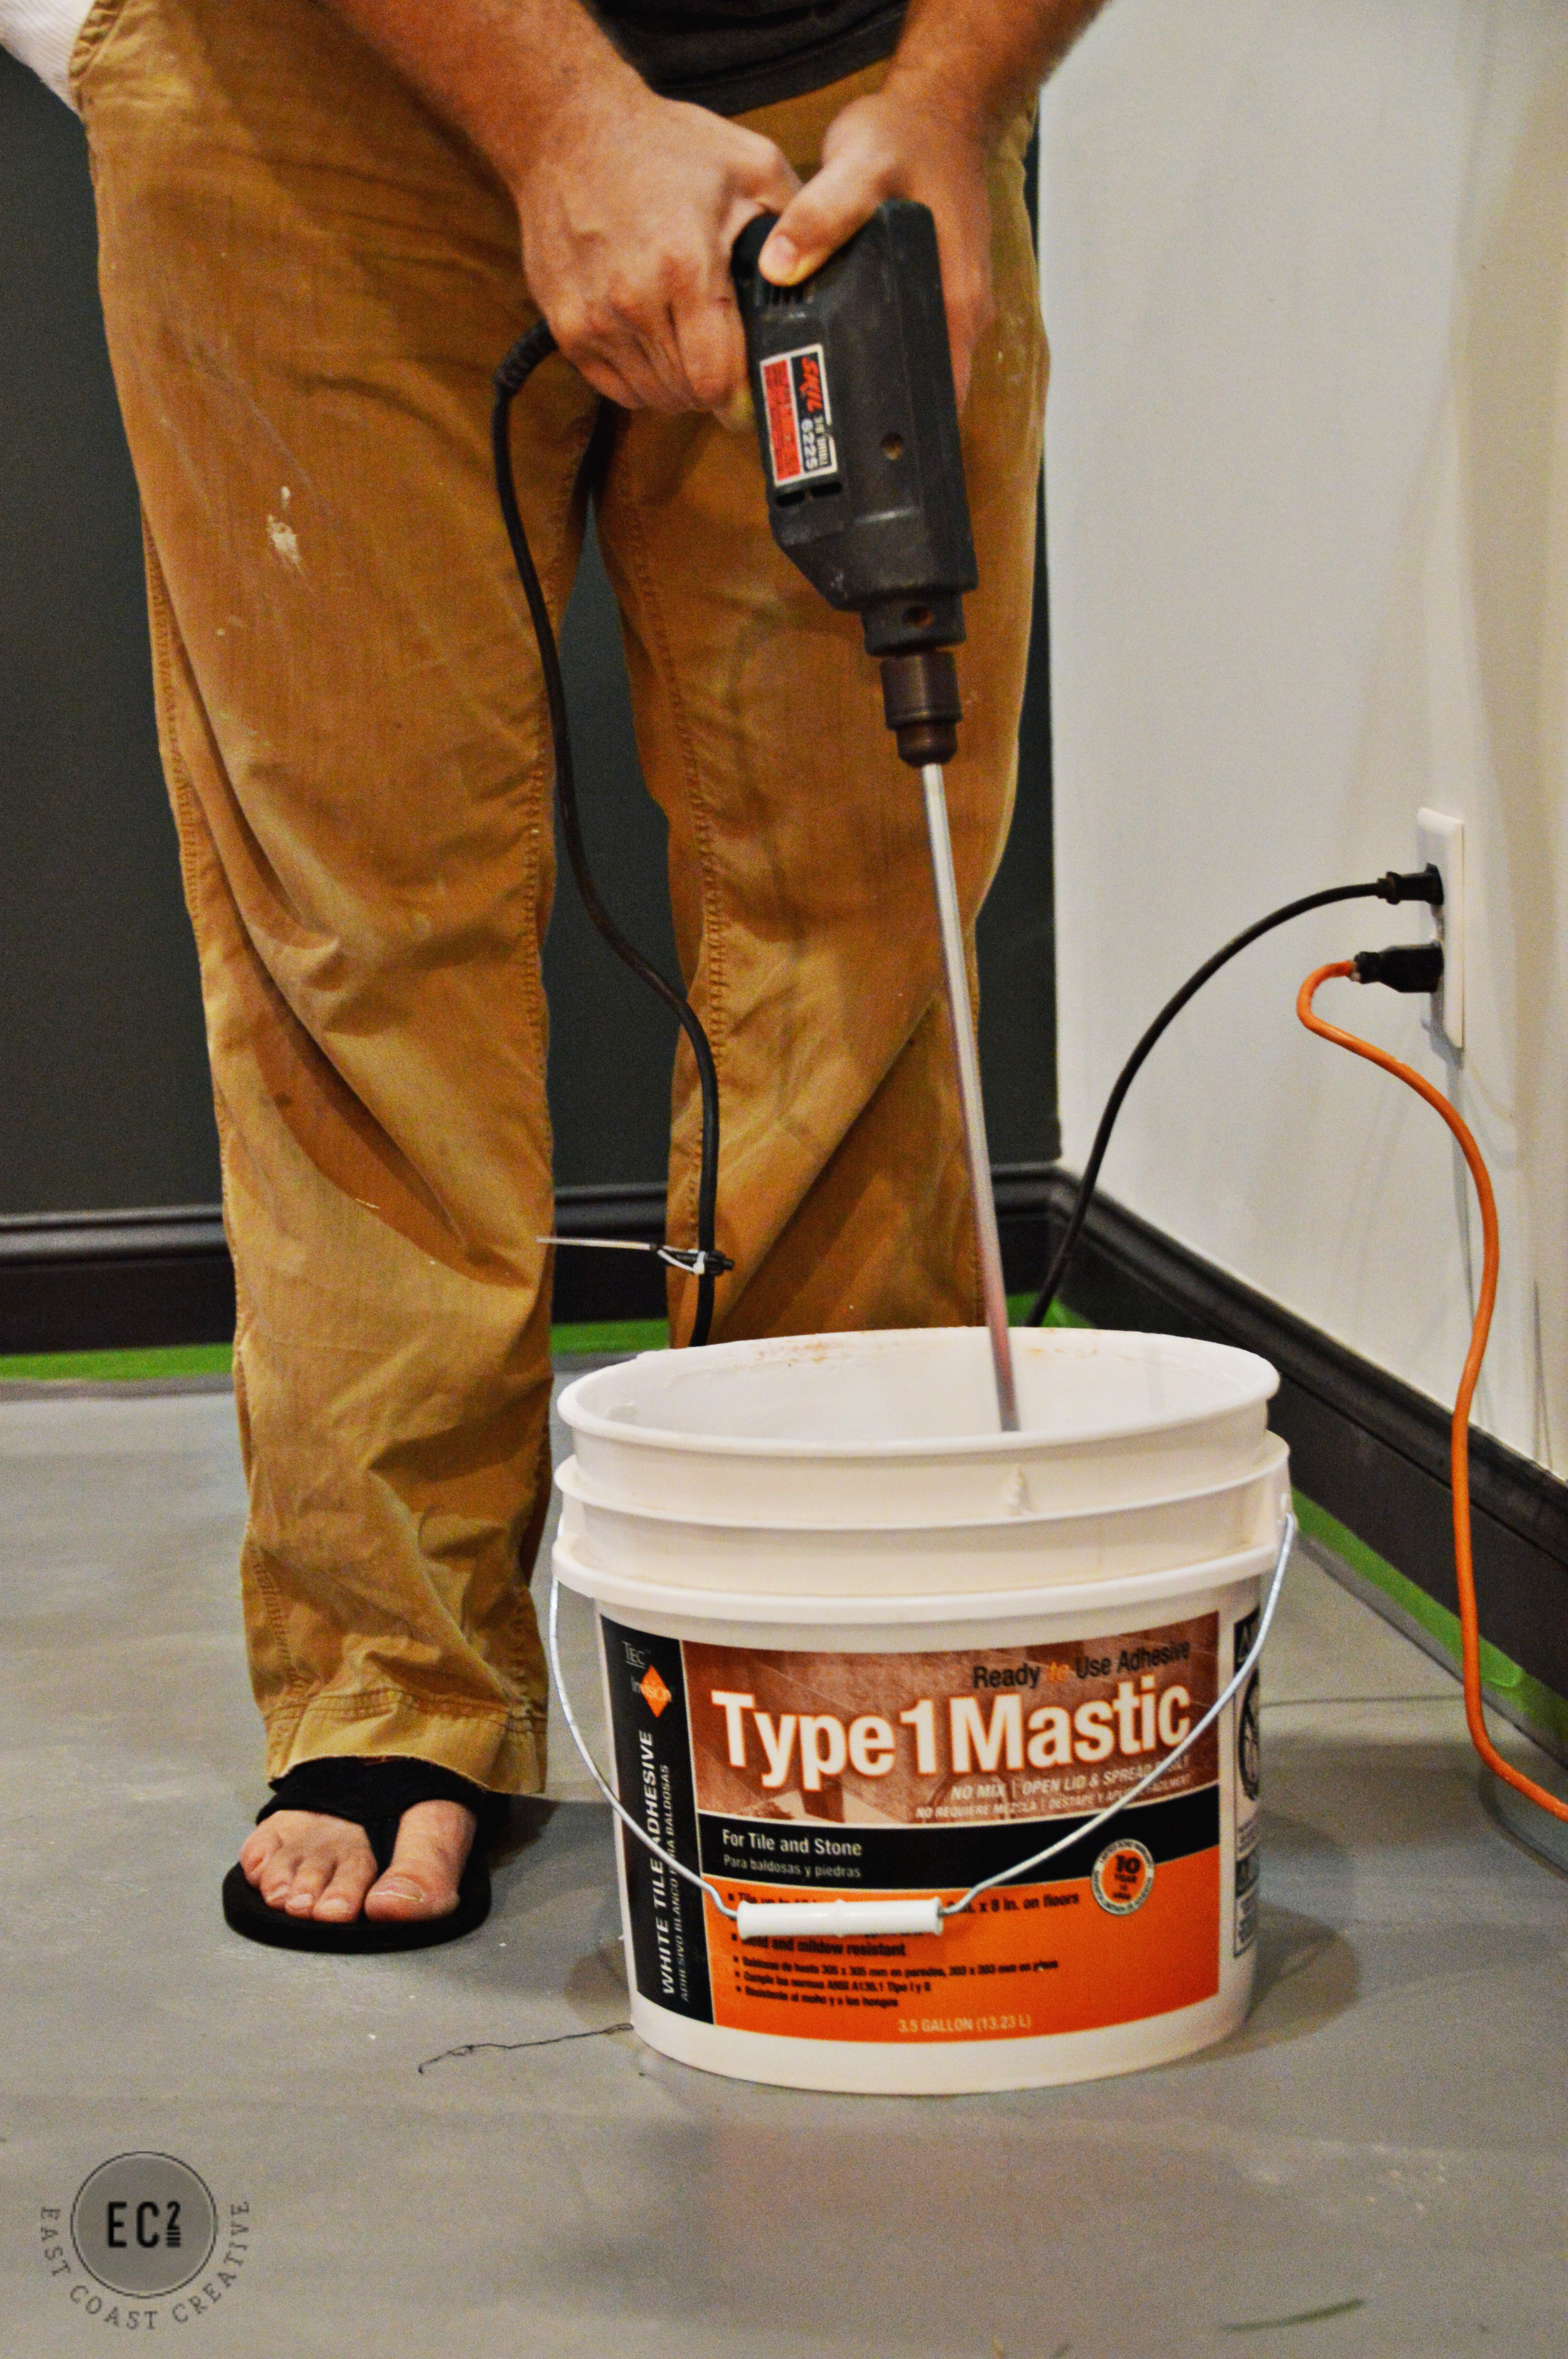
There are awesome tutorials, videos, and guides on the Build Direct site, but for the mastic, just mix it until it looks like delicious frosting. YUM!.
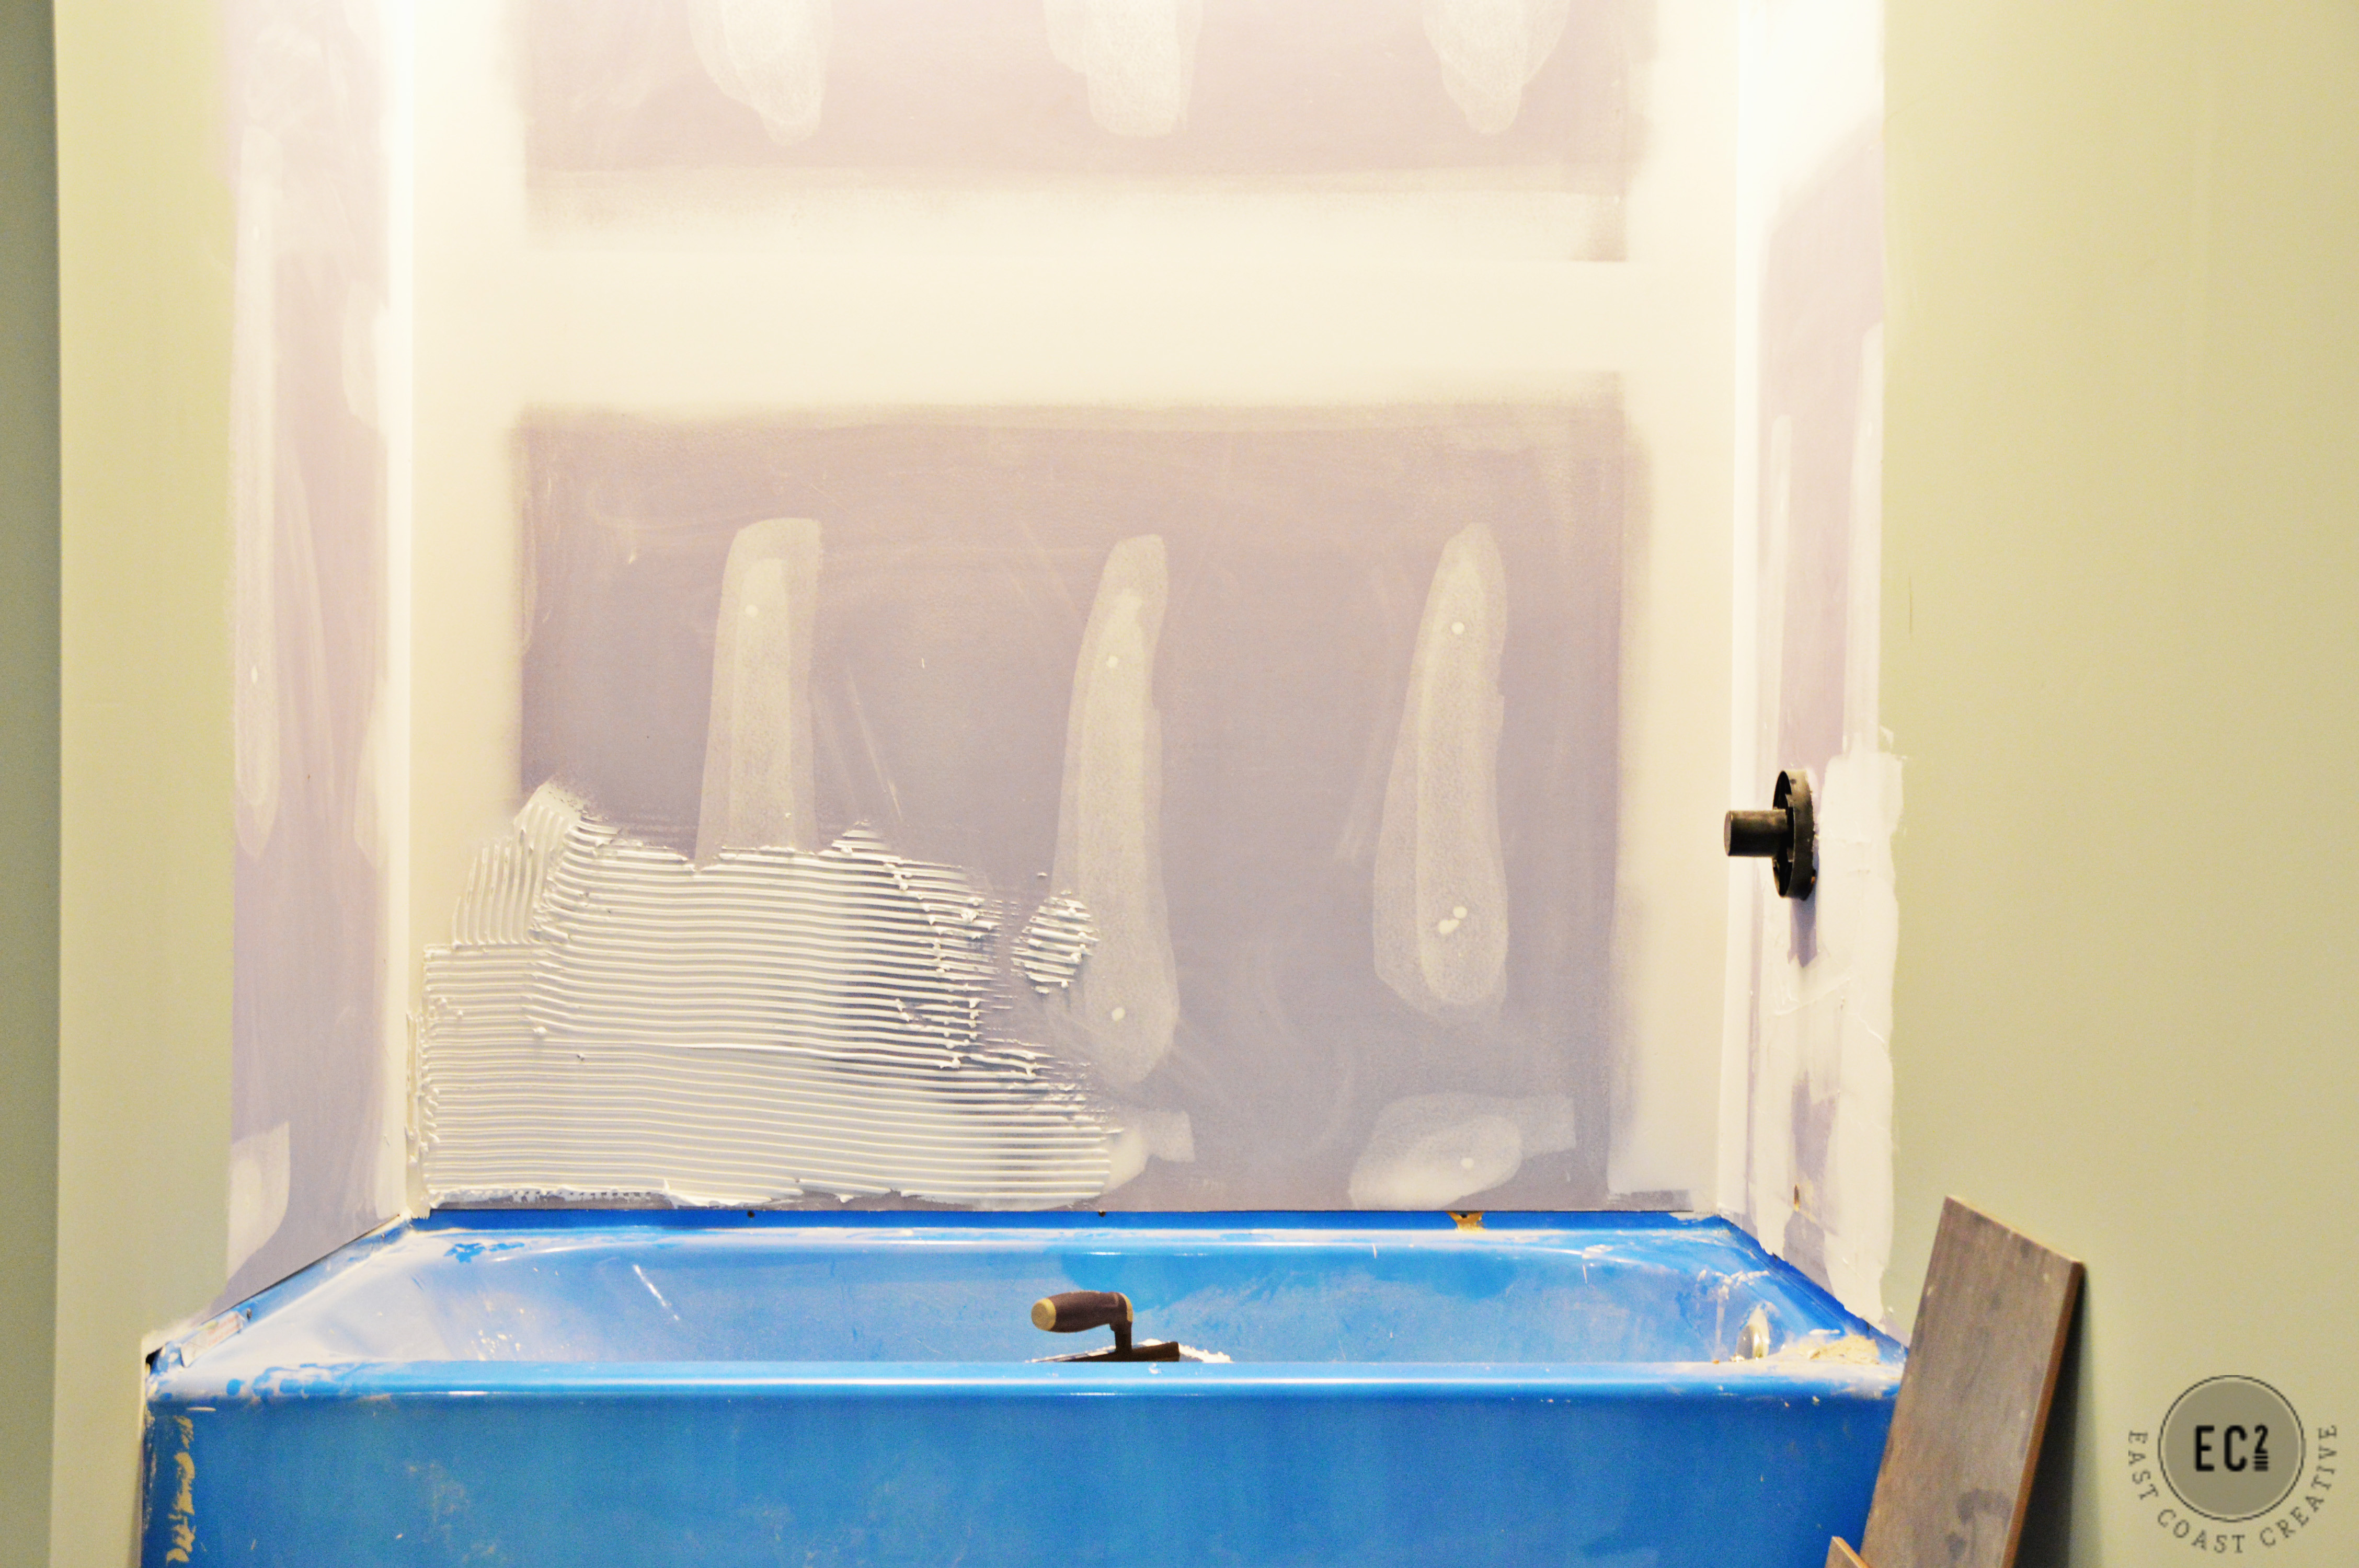
#3- Work in Small Sections
If you don’t know me that well, you may not know that I’m pretty ambitious in almost all aspects of life. I learned that when it comes to tile, working in small sections is a must. It would be SO me, just to mastic an entire wall and think I can bang it right out in no time, but since mastic dries pretty quickly and because cutting and measuring tile takes time, small sections was the way to go!
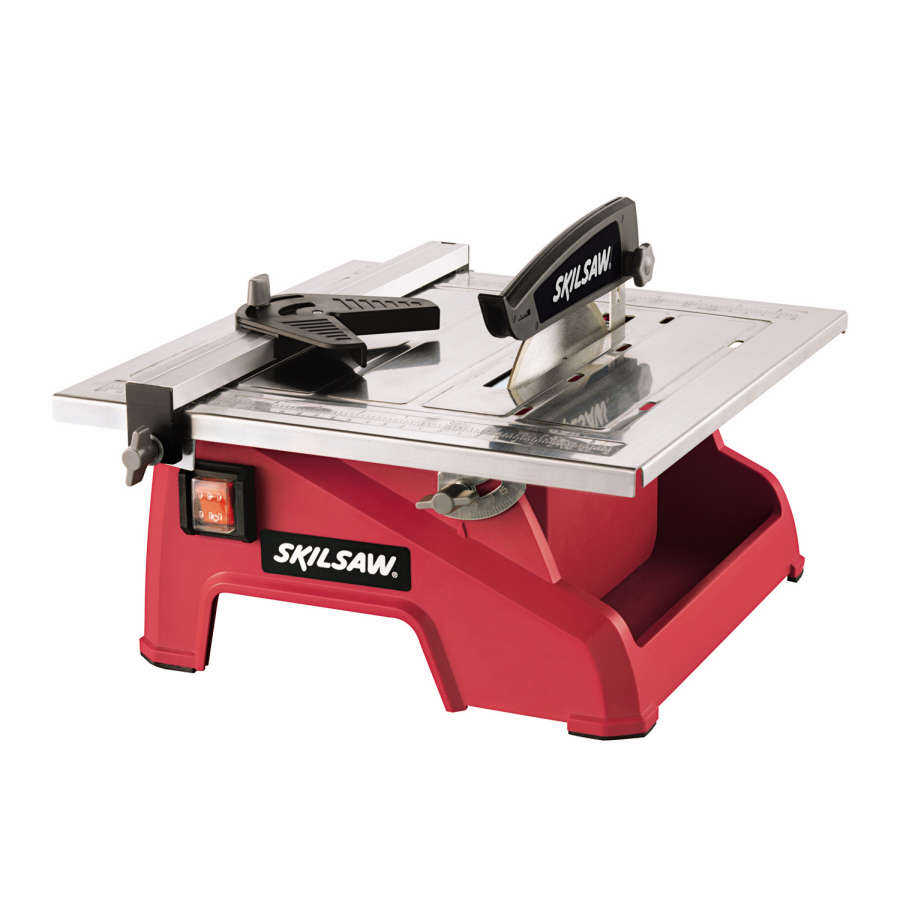
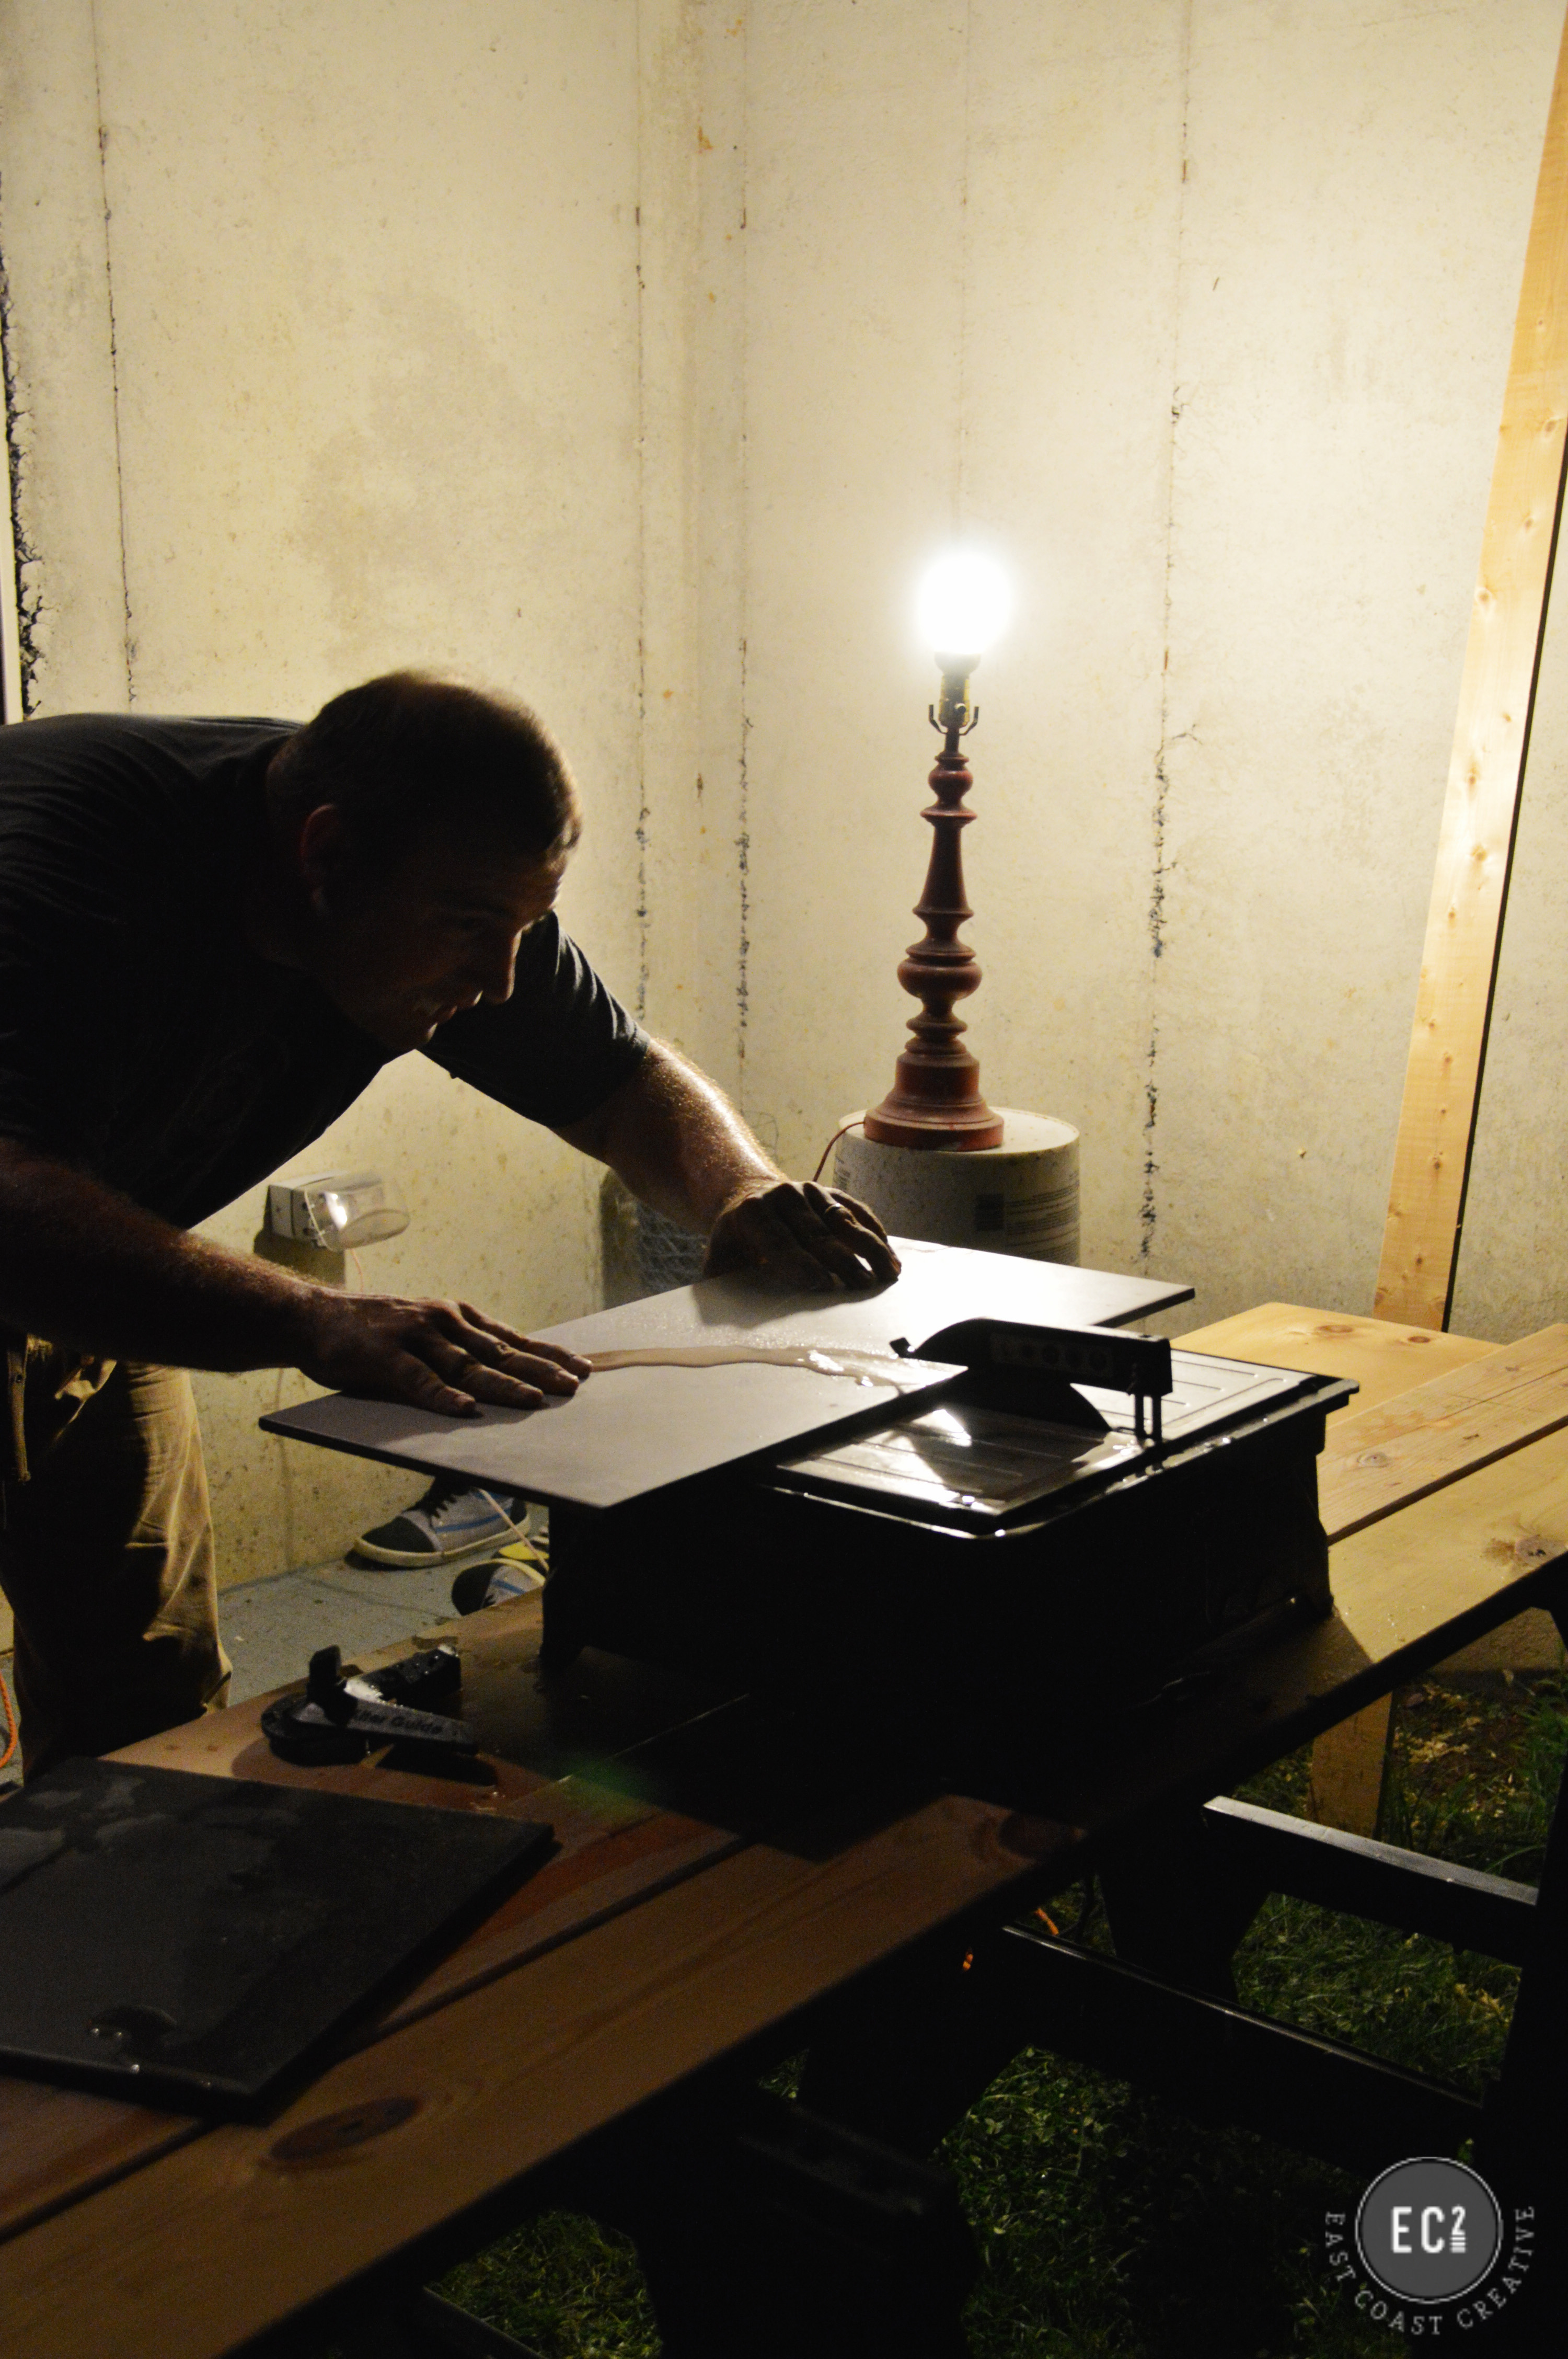
#4- A Cute Baby Saw & Why a Tile Pencil will be Your BFF
To cut our tile, we used a little baby mini wet saw, which was one of the cutest things ever. Yes, a saw can be cute. Eric and I have rented big mama wet saws for installing brick pavers, but we didn’t need nearly that size for this job. You can pick up a small wet saw (that’s perfect for tile jobs like this) for under $100.
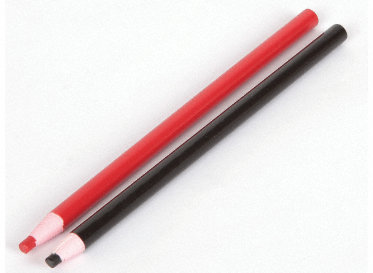
Cute right!?! You might think this was my favorite tool, but nope, it was #2. My favorite tool, and quite possibly my temporary BFF during the project was my red, tile pencil! At first, I thought a plain pencil would work, but as soon as it got wet from the saw, I couldn’t see my mark at all! My “tile teacher” whipped out his red tile pencil and I was back in business. It doesn’t wash off from the saw water, but it’s easy to clean off when you’re done.
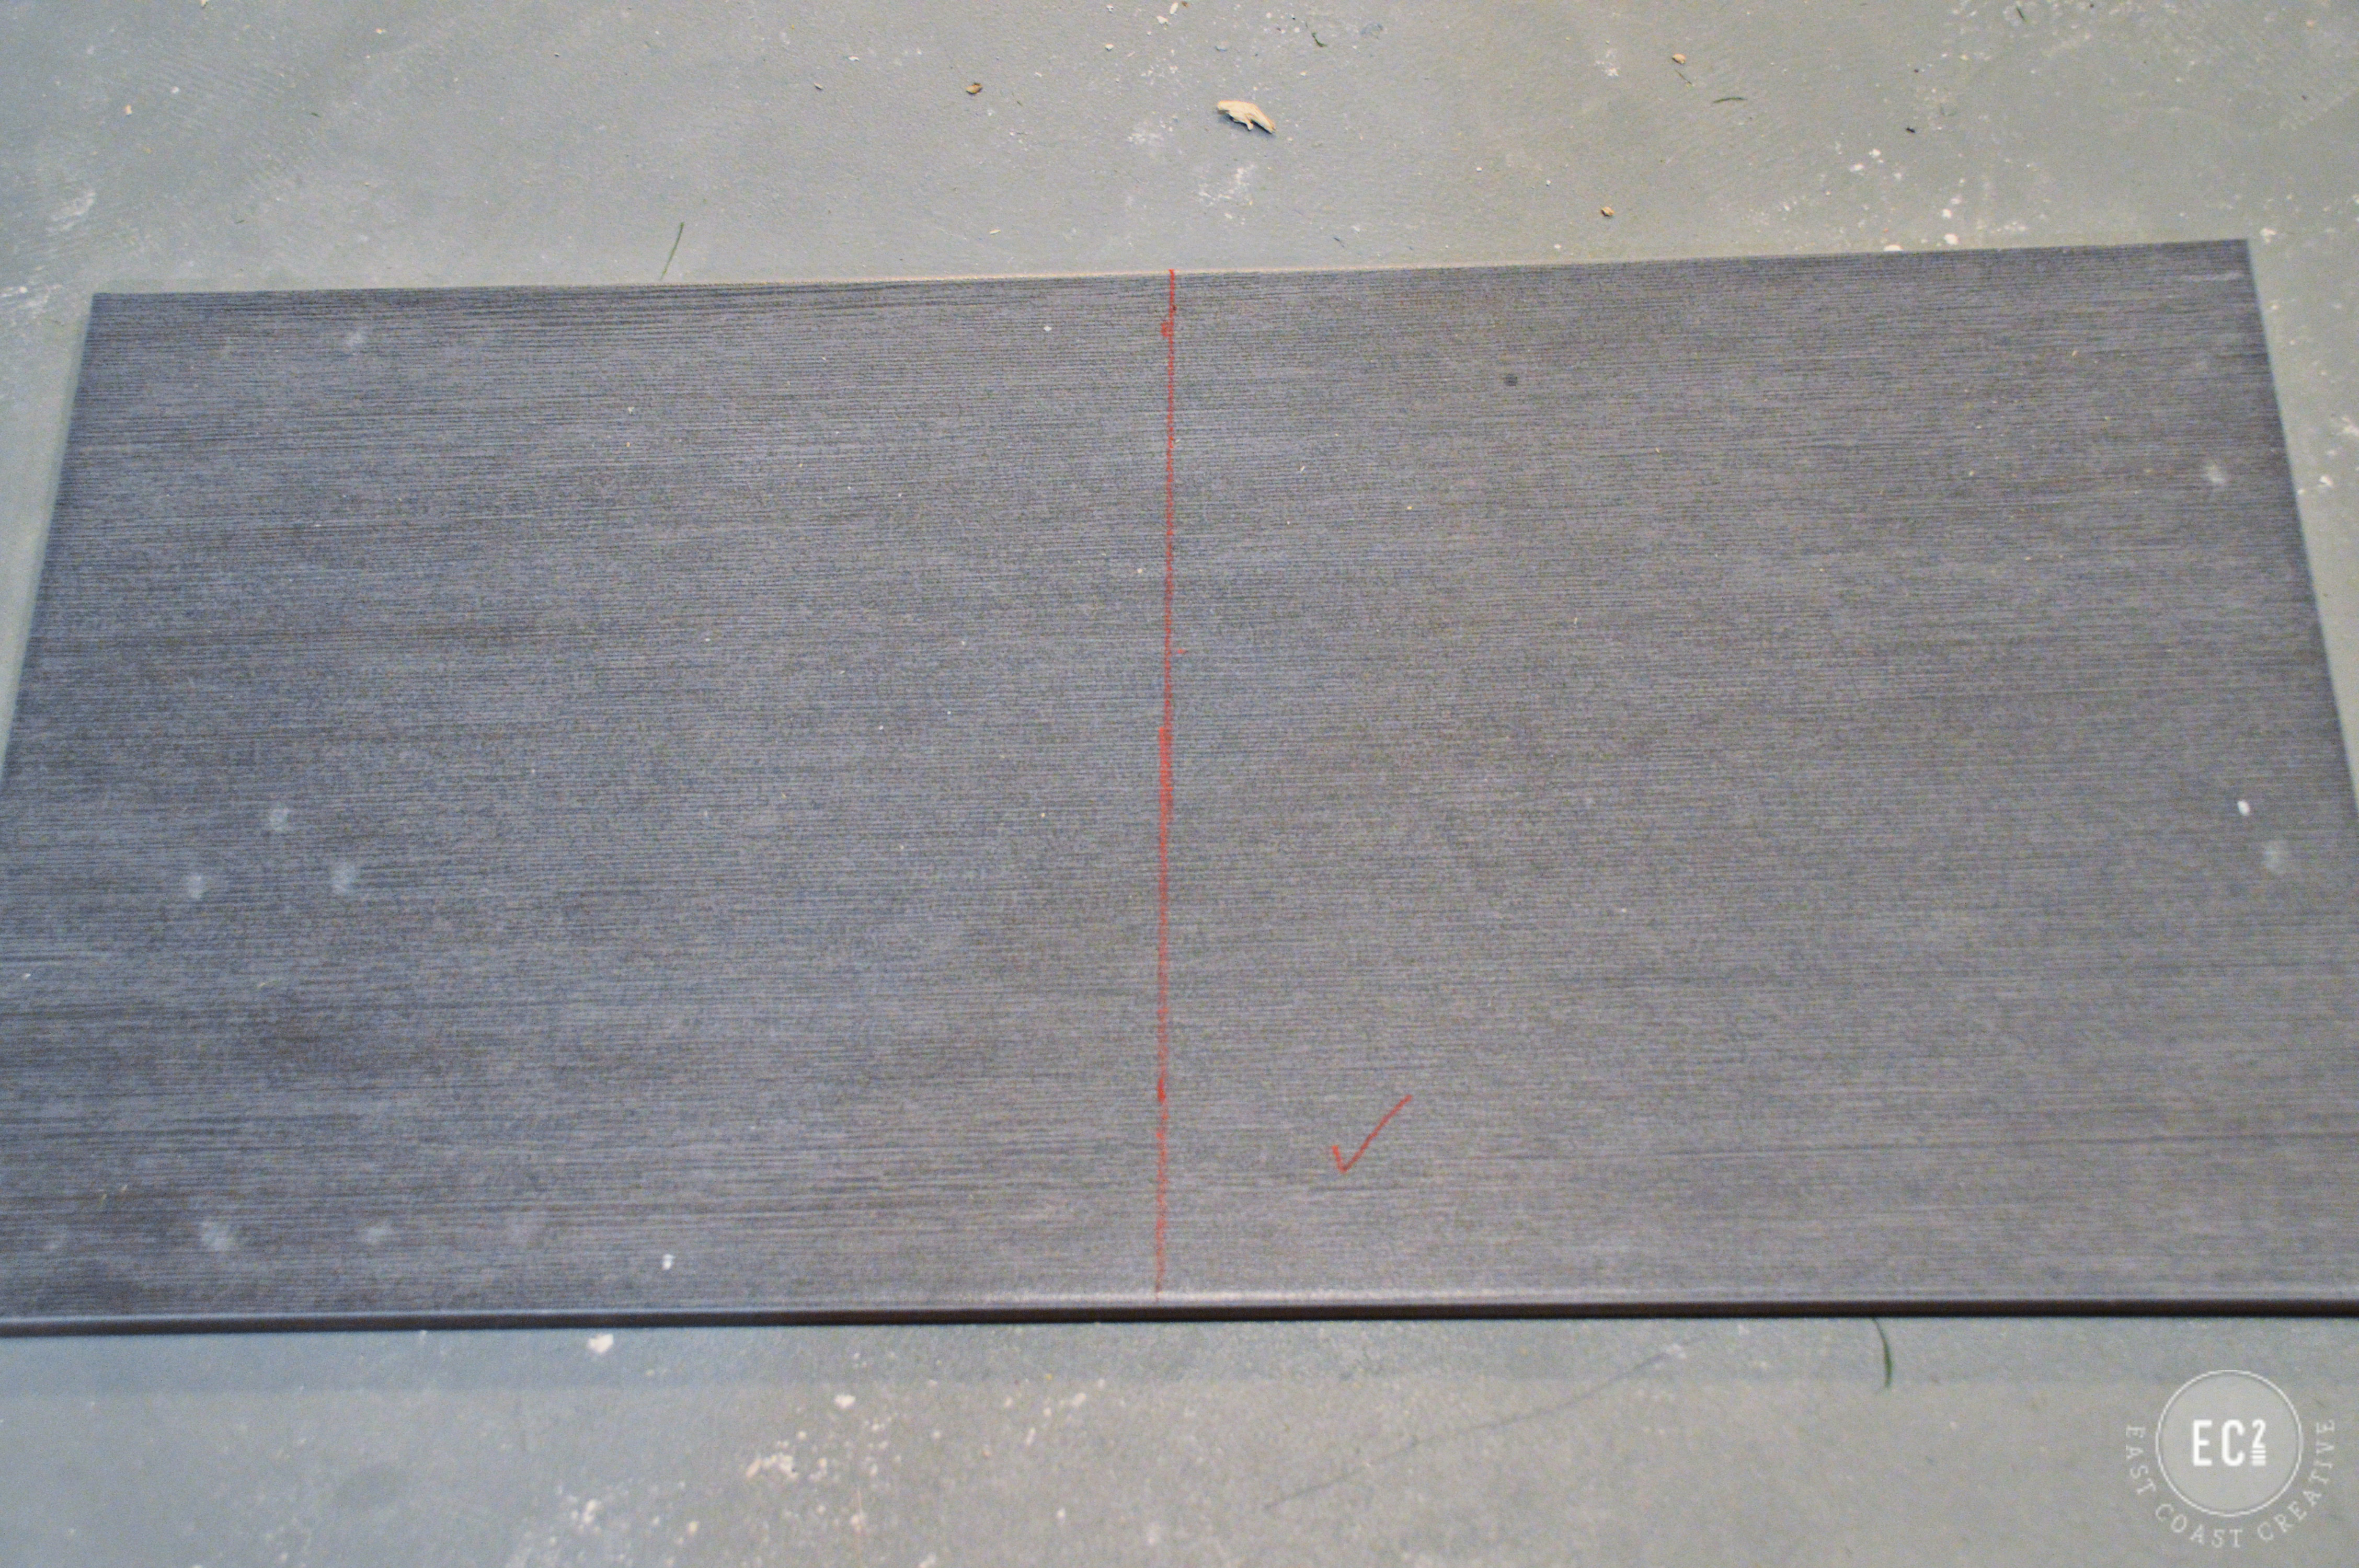
I also learned that a short pencil is better than a long memory (Eric tells me that all the time. It’s like he’s 90 yrs old with some of his phrases). I kept forgetting what size I was supposed to use on the wall, so I started making a little check mark on the “keeper” side.
#5- Lighting is Overrated…
Okay, this is kind of a lie. Lighting is amazing, especially natural light, but life gets crazy and busy sometimes, so we installed the tile when we could, and that meant after 9pm on a few nights.
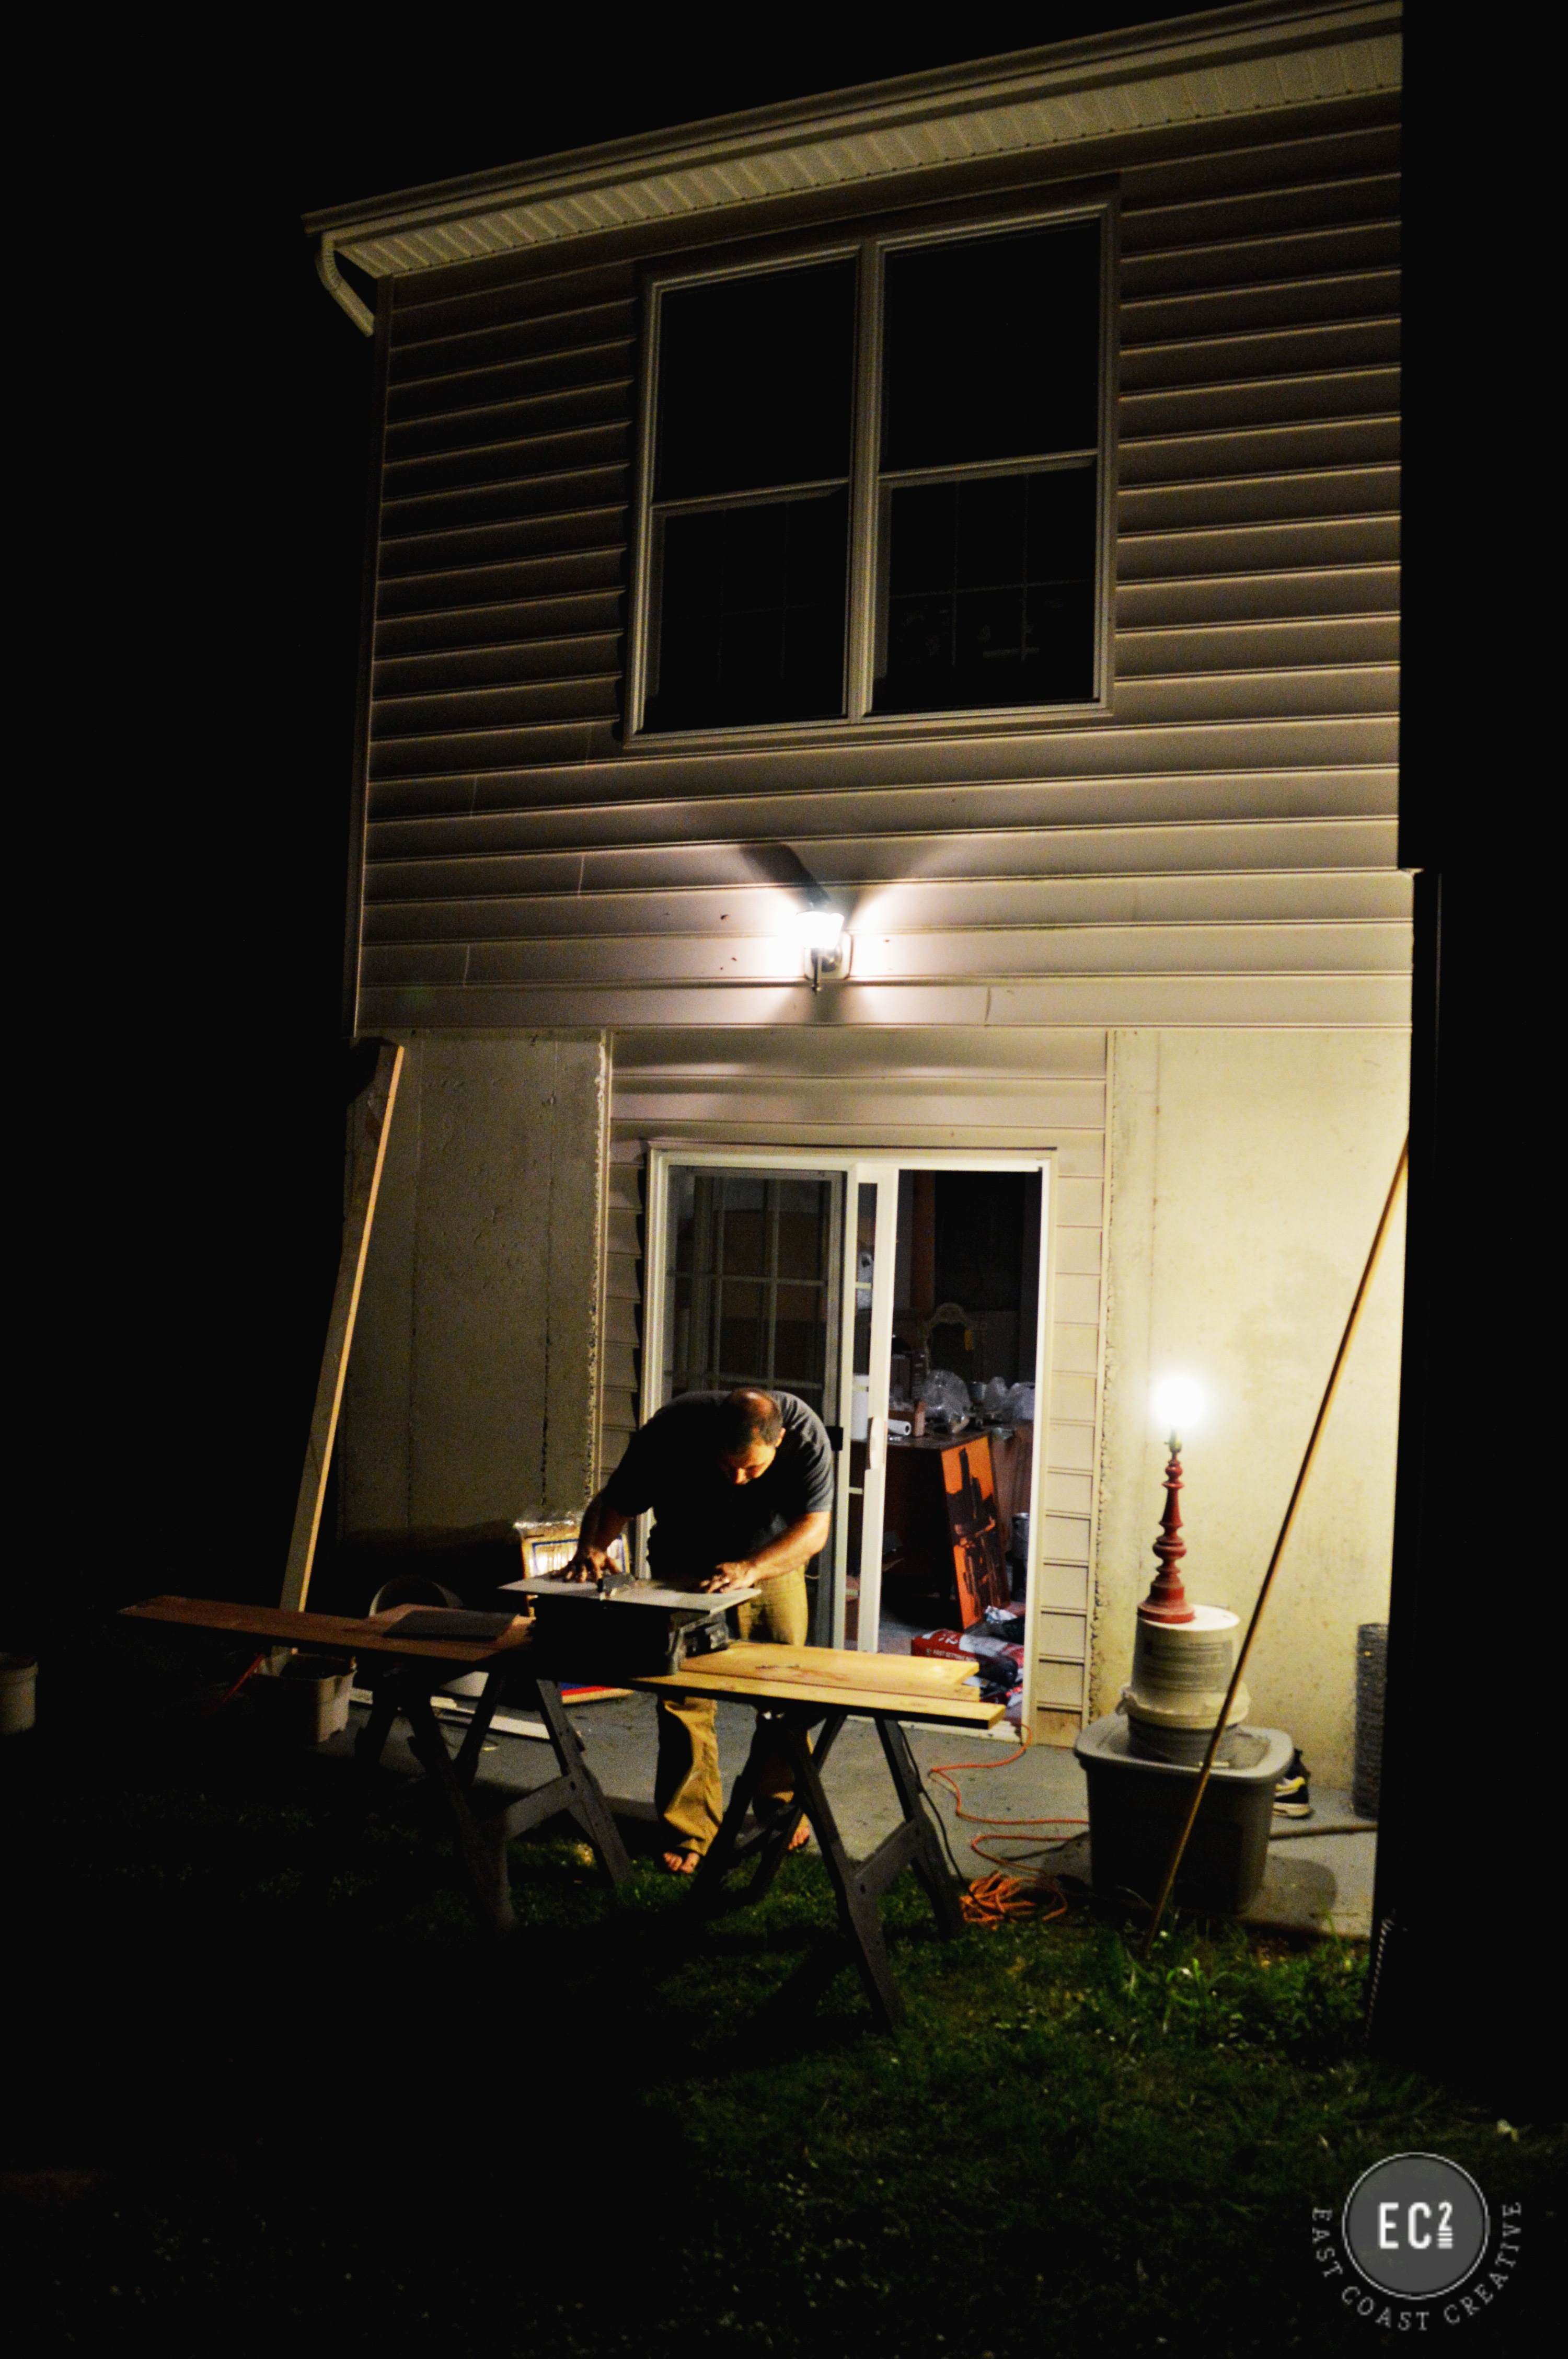
Check out that professional lighting set up. It’s a rubbermaid tote, with a bucket, with an empty mastic container, topped off with an old lamp. Keep it classy SanDiego.
#6- A Little Dab ‘ll Do Ya!
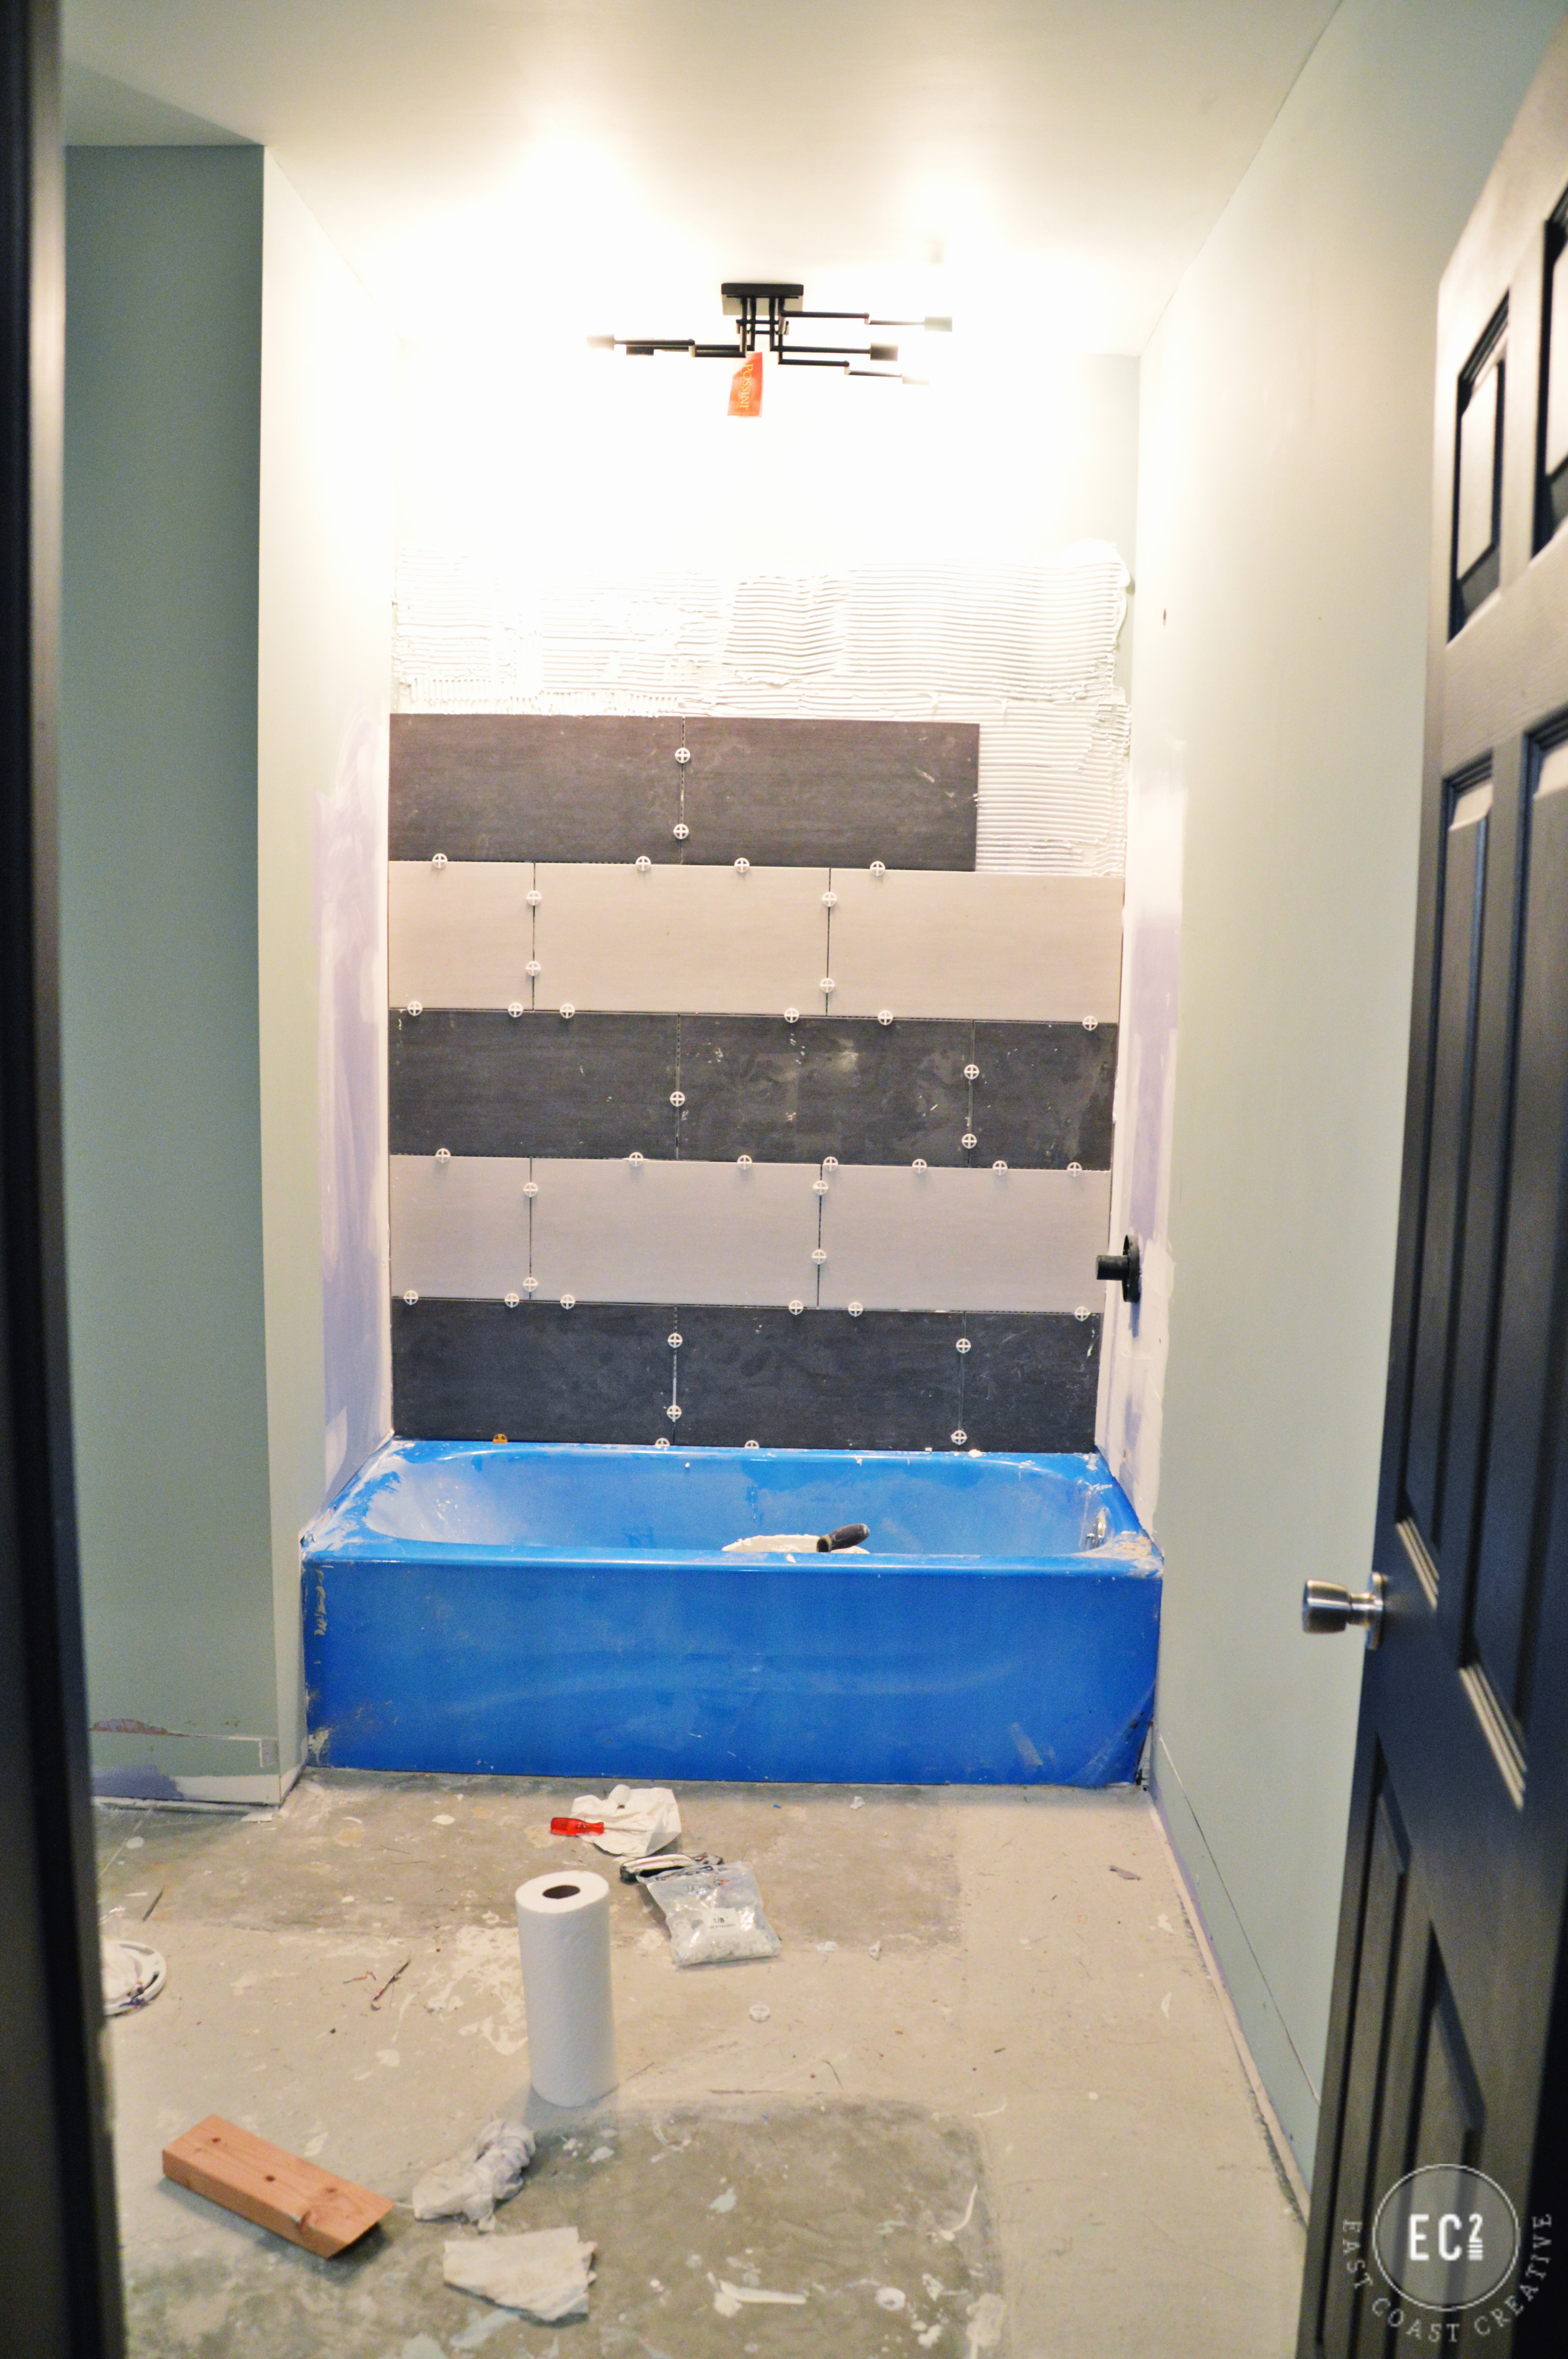
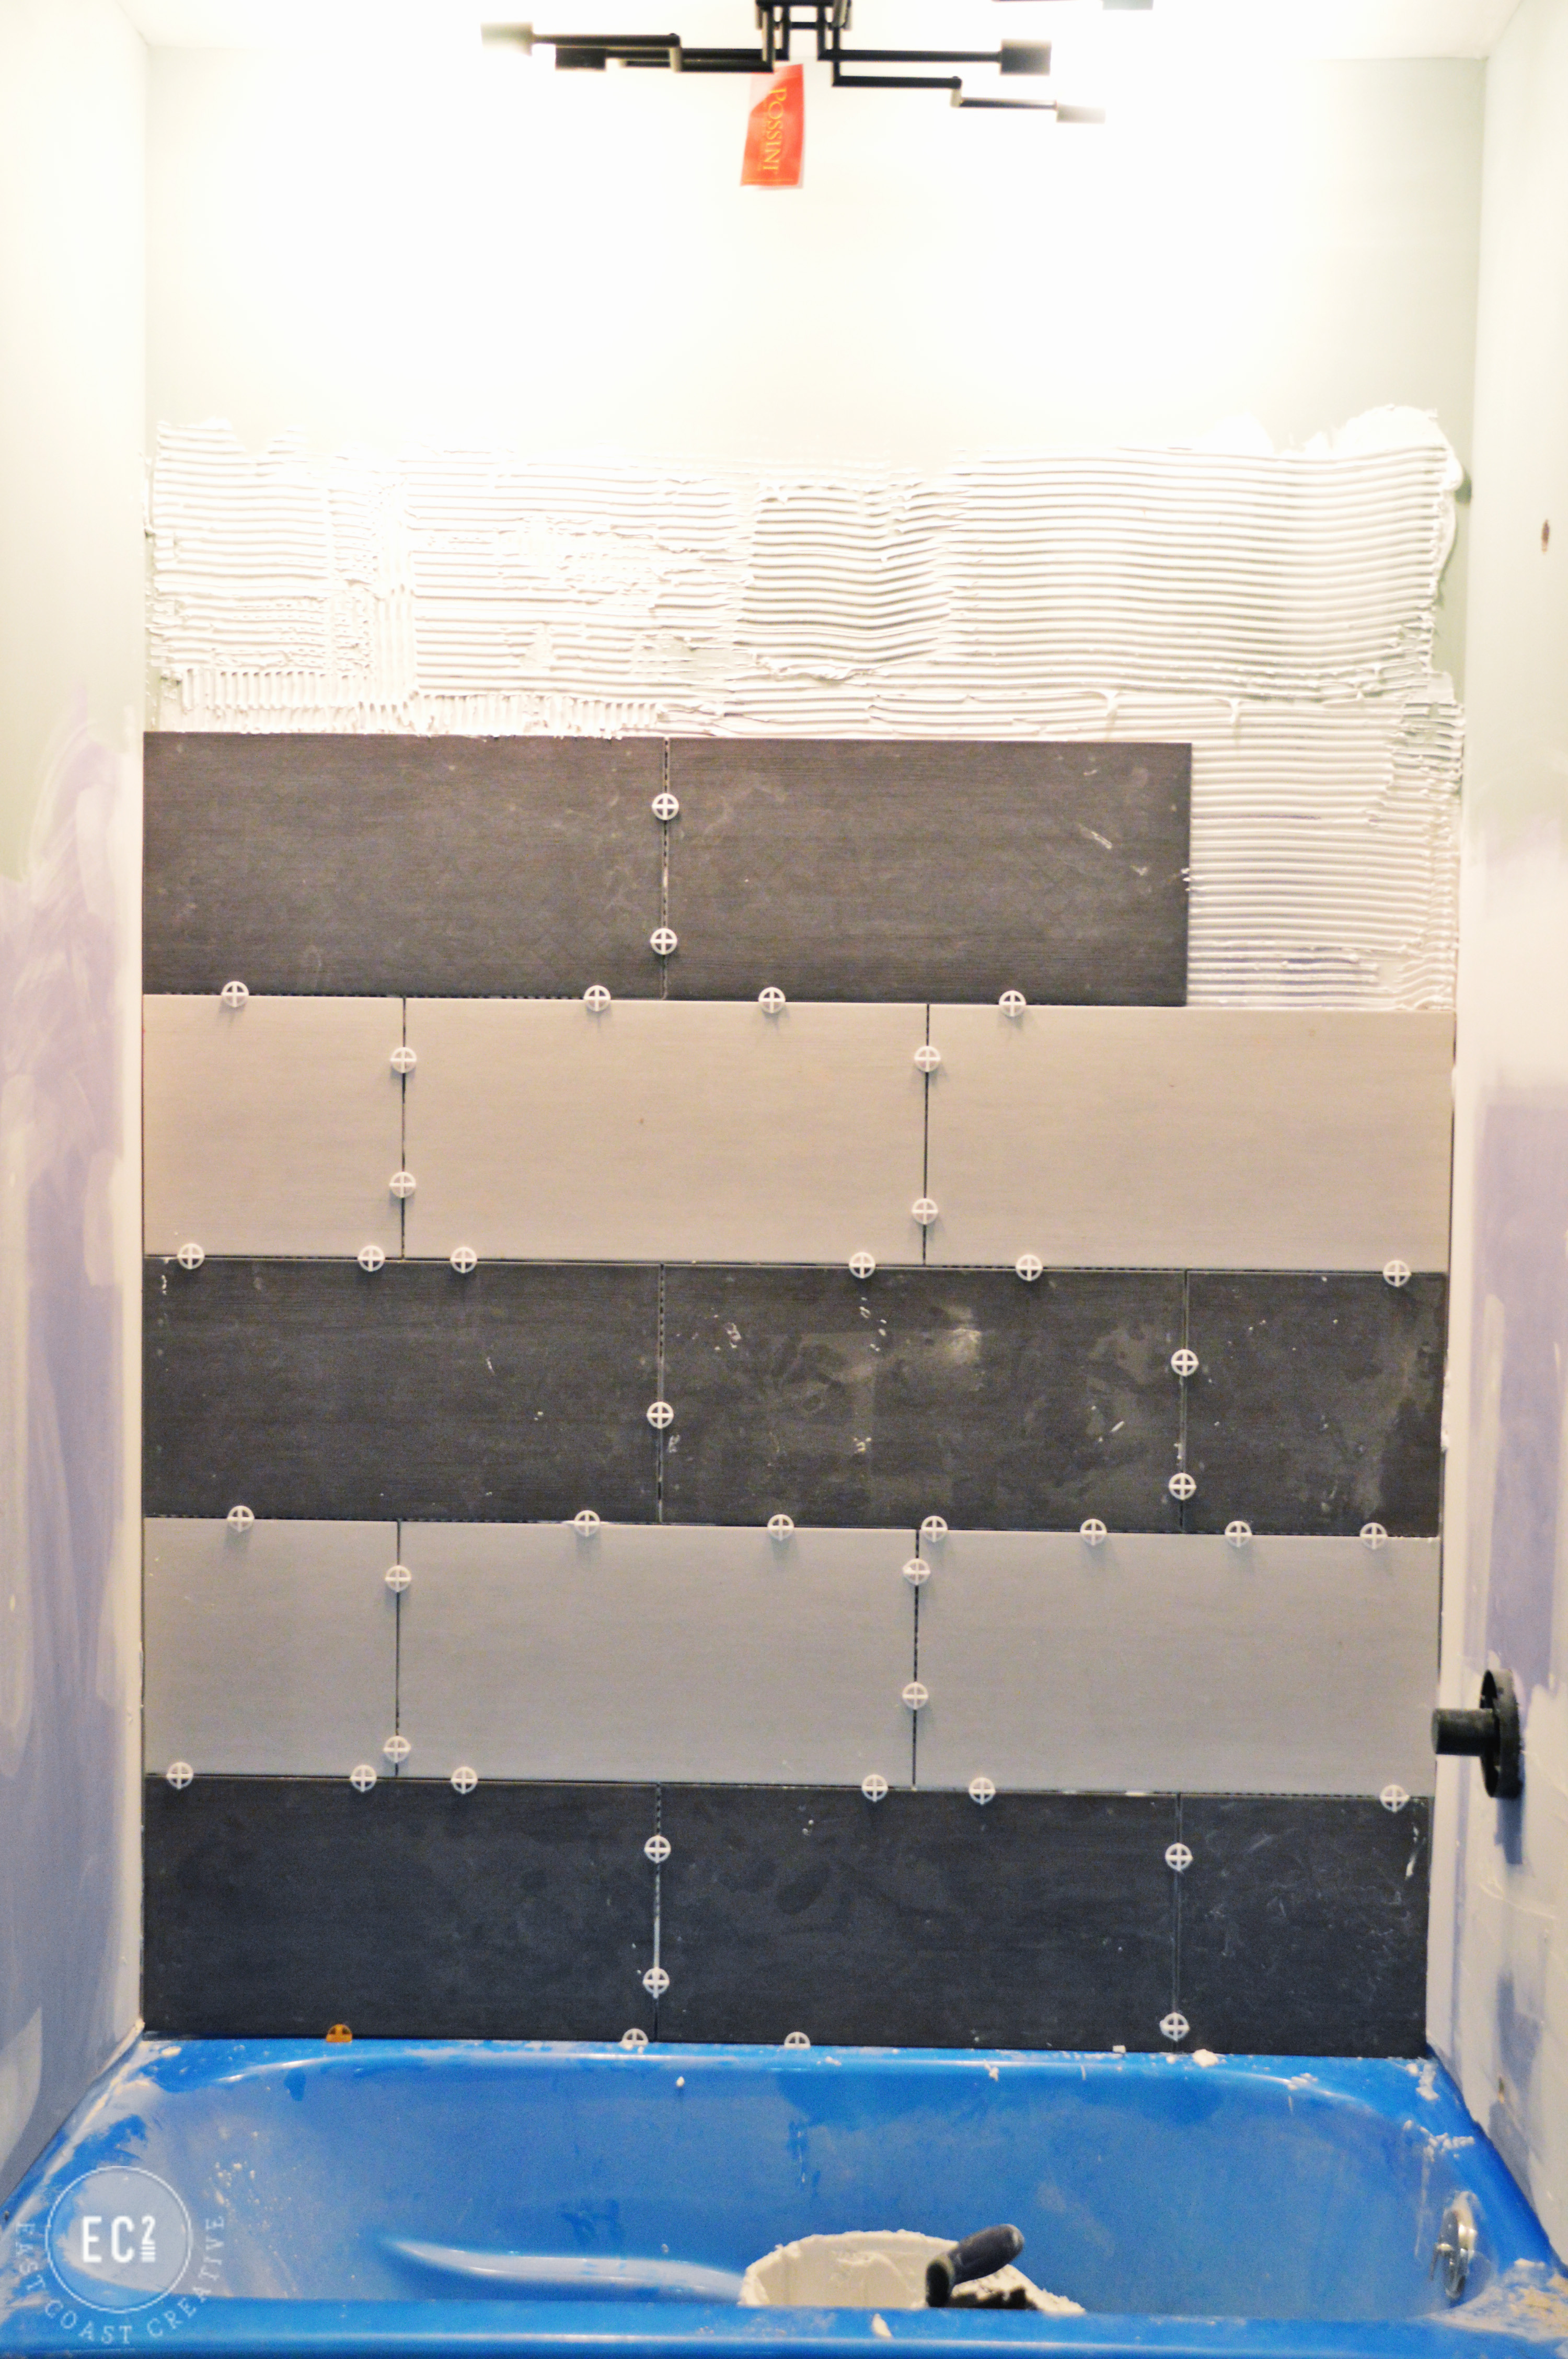
I decided on 1/8 inch spacers for this tile. I could have gone larger, but knowing it’s a bathroom for a guy, who may or may not be prone to messiness, I opted for less grout and chose a dark grey color to hide the dirt because I knew it would look awesome.
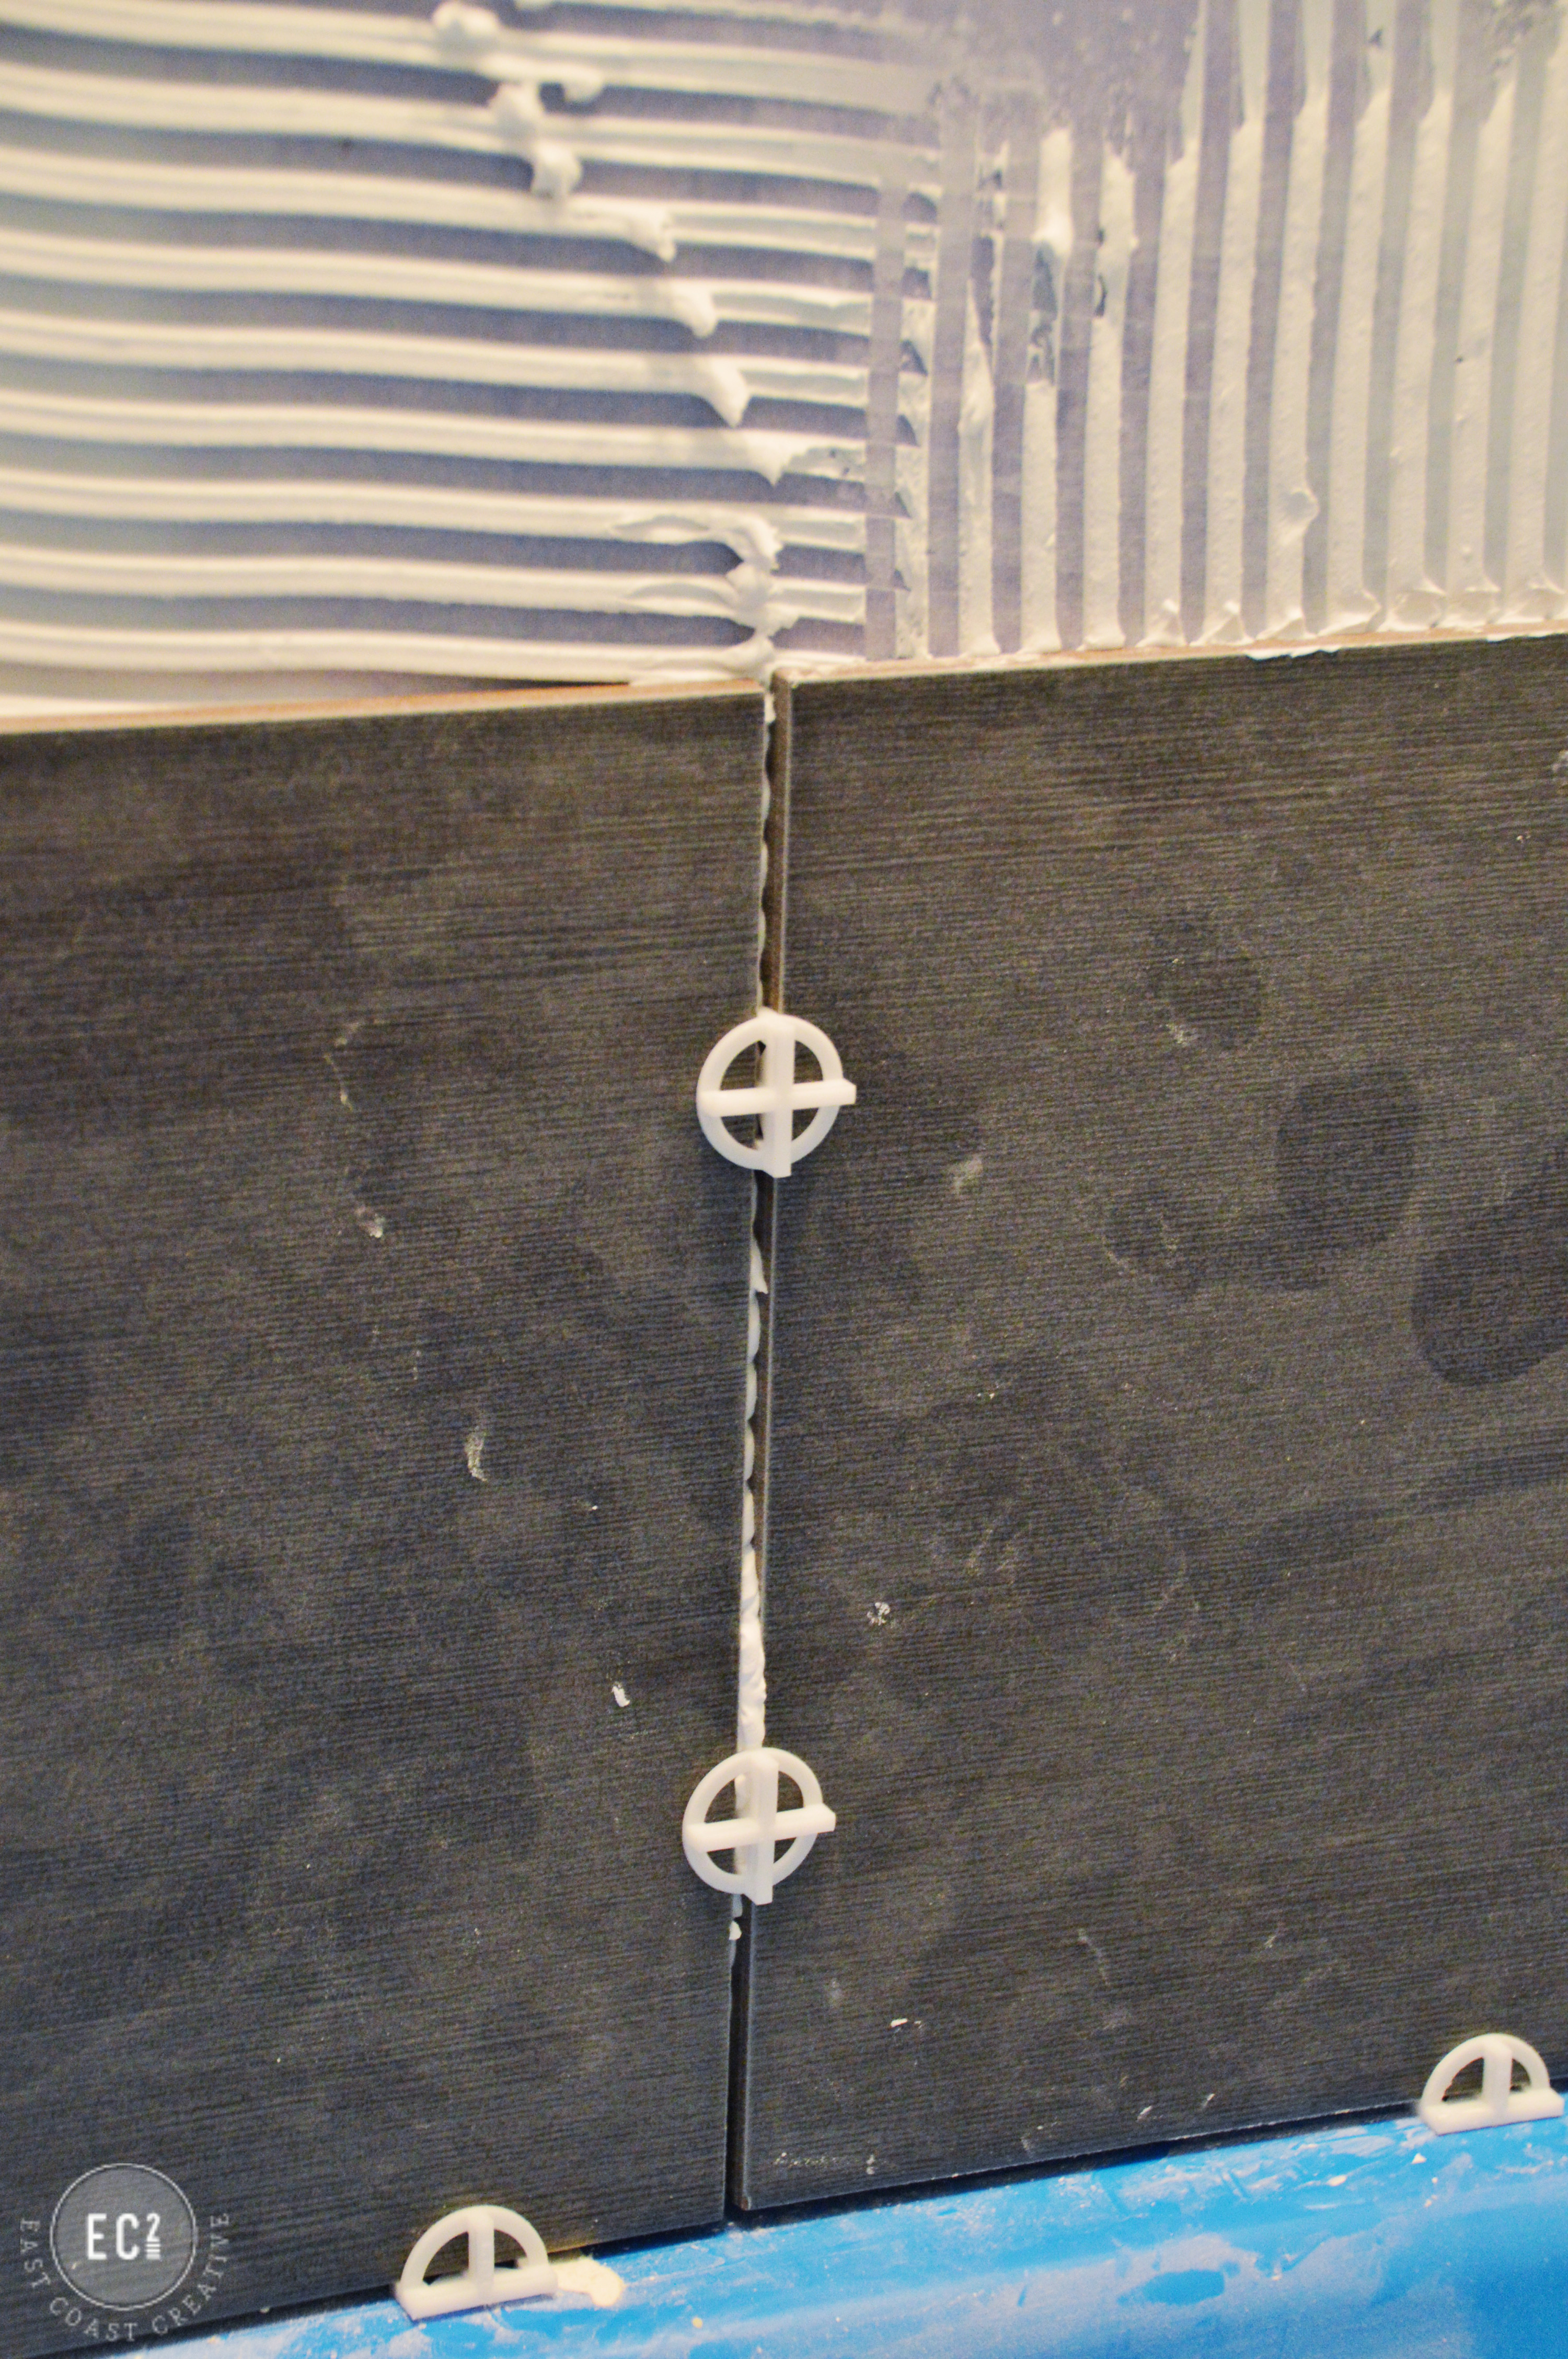
Sometimes, if a spacer wouldn’t stay in on the walls, my tile teacher taught me just to put a little dab of the mastic on the back of the spacer and then it would stick to the tile. Just use a tiny bit, because you want it to help the spacer stay in place, but you don’t want to be chipping it away when you try to remove them.
My Overall Experience
Overall, installing the tile wasn’t hard at all. It did take a lot longer than I’d anticipated (remember, I’m overly ambitious), but it is definitely a homeowner level DIY project. The floor was easier than the walls, just because I didn’t have to worry about the tile slipping and not being level, so if you’re starting your first tile project, maybe give it a whirl on a flooring project first!
I love that the tile in this masculine bathroom is the real show stopper. I didn’t need to stage it and add tons of decor- the tile makes an awesome statement!
You can check out more before and afters from the finished makeover here!
If you’re in the market for tile or really flooring of any kind, check out Build Direct !


Great job on the bathroom! LOVE the shower curtain!!! Would you please tell me where you got it?
TYA Frani
These are some great tips, and I appreciate your advice to work in small sections when installing tile. My husband and I are renovating the master bathroom, and we’re putting in some new tiling. It’s a fairly large space, so we’ll definitely be sure to take the project in small, more manageable sections. Thanks for the great post!
I loved your post! Your personality came right through and made me laugh 🙂 Educational and cute! 🙂 thanks! It looks amazing! Great job!