
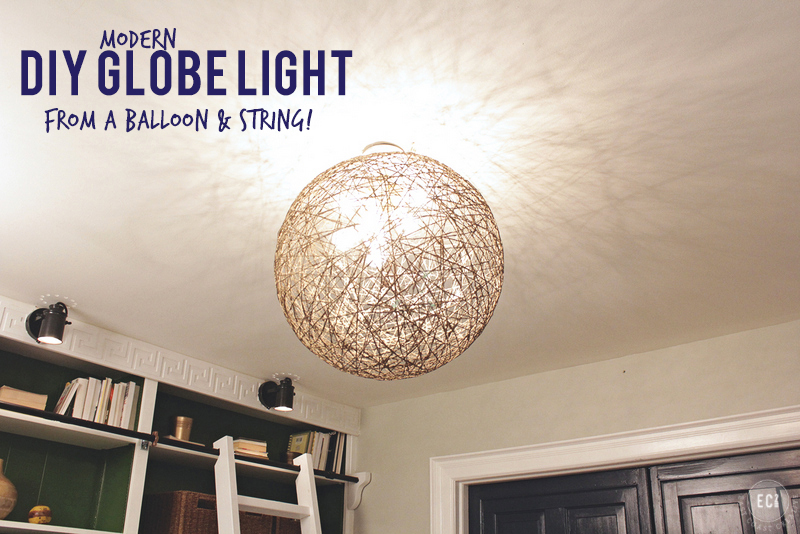
Have you ever tried a DIY project that you thought had a really high chance of failure? Yeah, Jess and I feel that way from time to time and the best part is that we have an entire crew and rolling cameras to document it! This DIY Globe Light was so one of those projects- we either could have looked like we were creative geniuses or total DIY failures! We were so thankful that it worked- this project should really be named “balloon and string on steroids” because it turns these everyday items into a perfect high-end light knock-off!
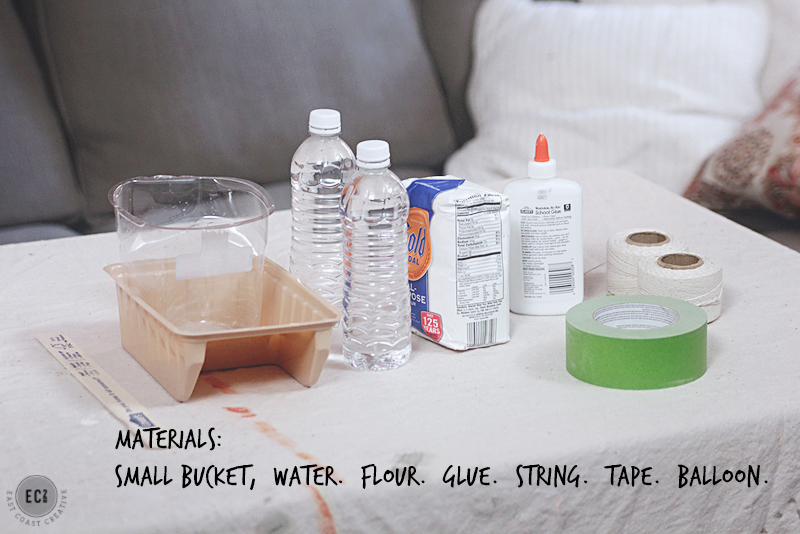
One of the best parts about this project is that it is insanely cheap! Total I think it cost about $10! Here’s what you’ll need:
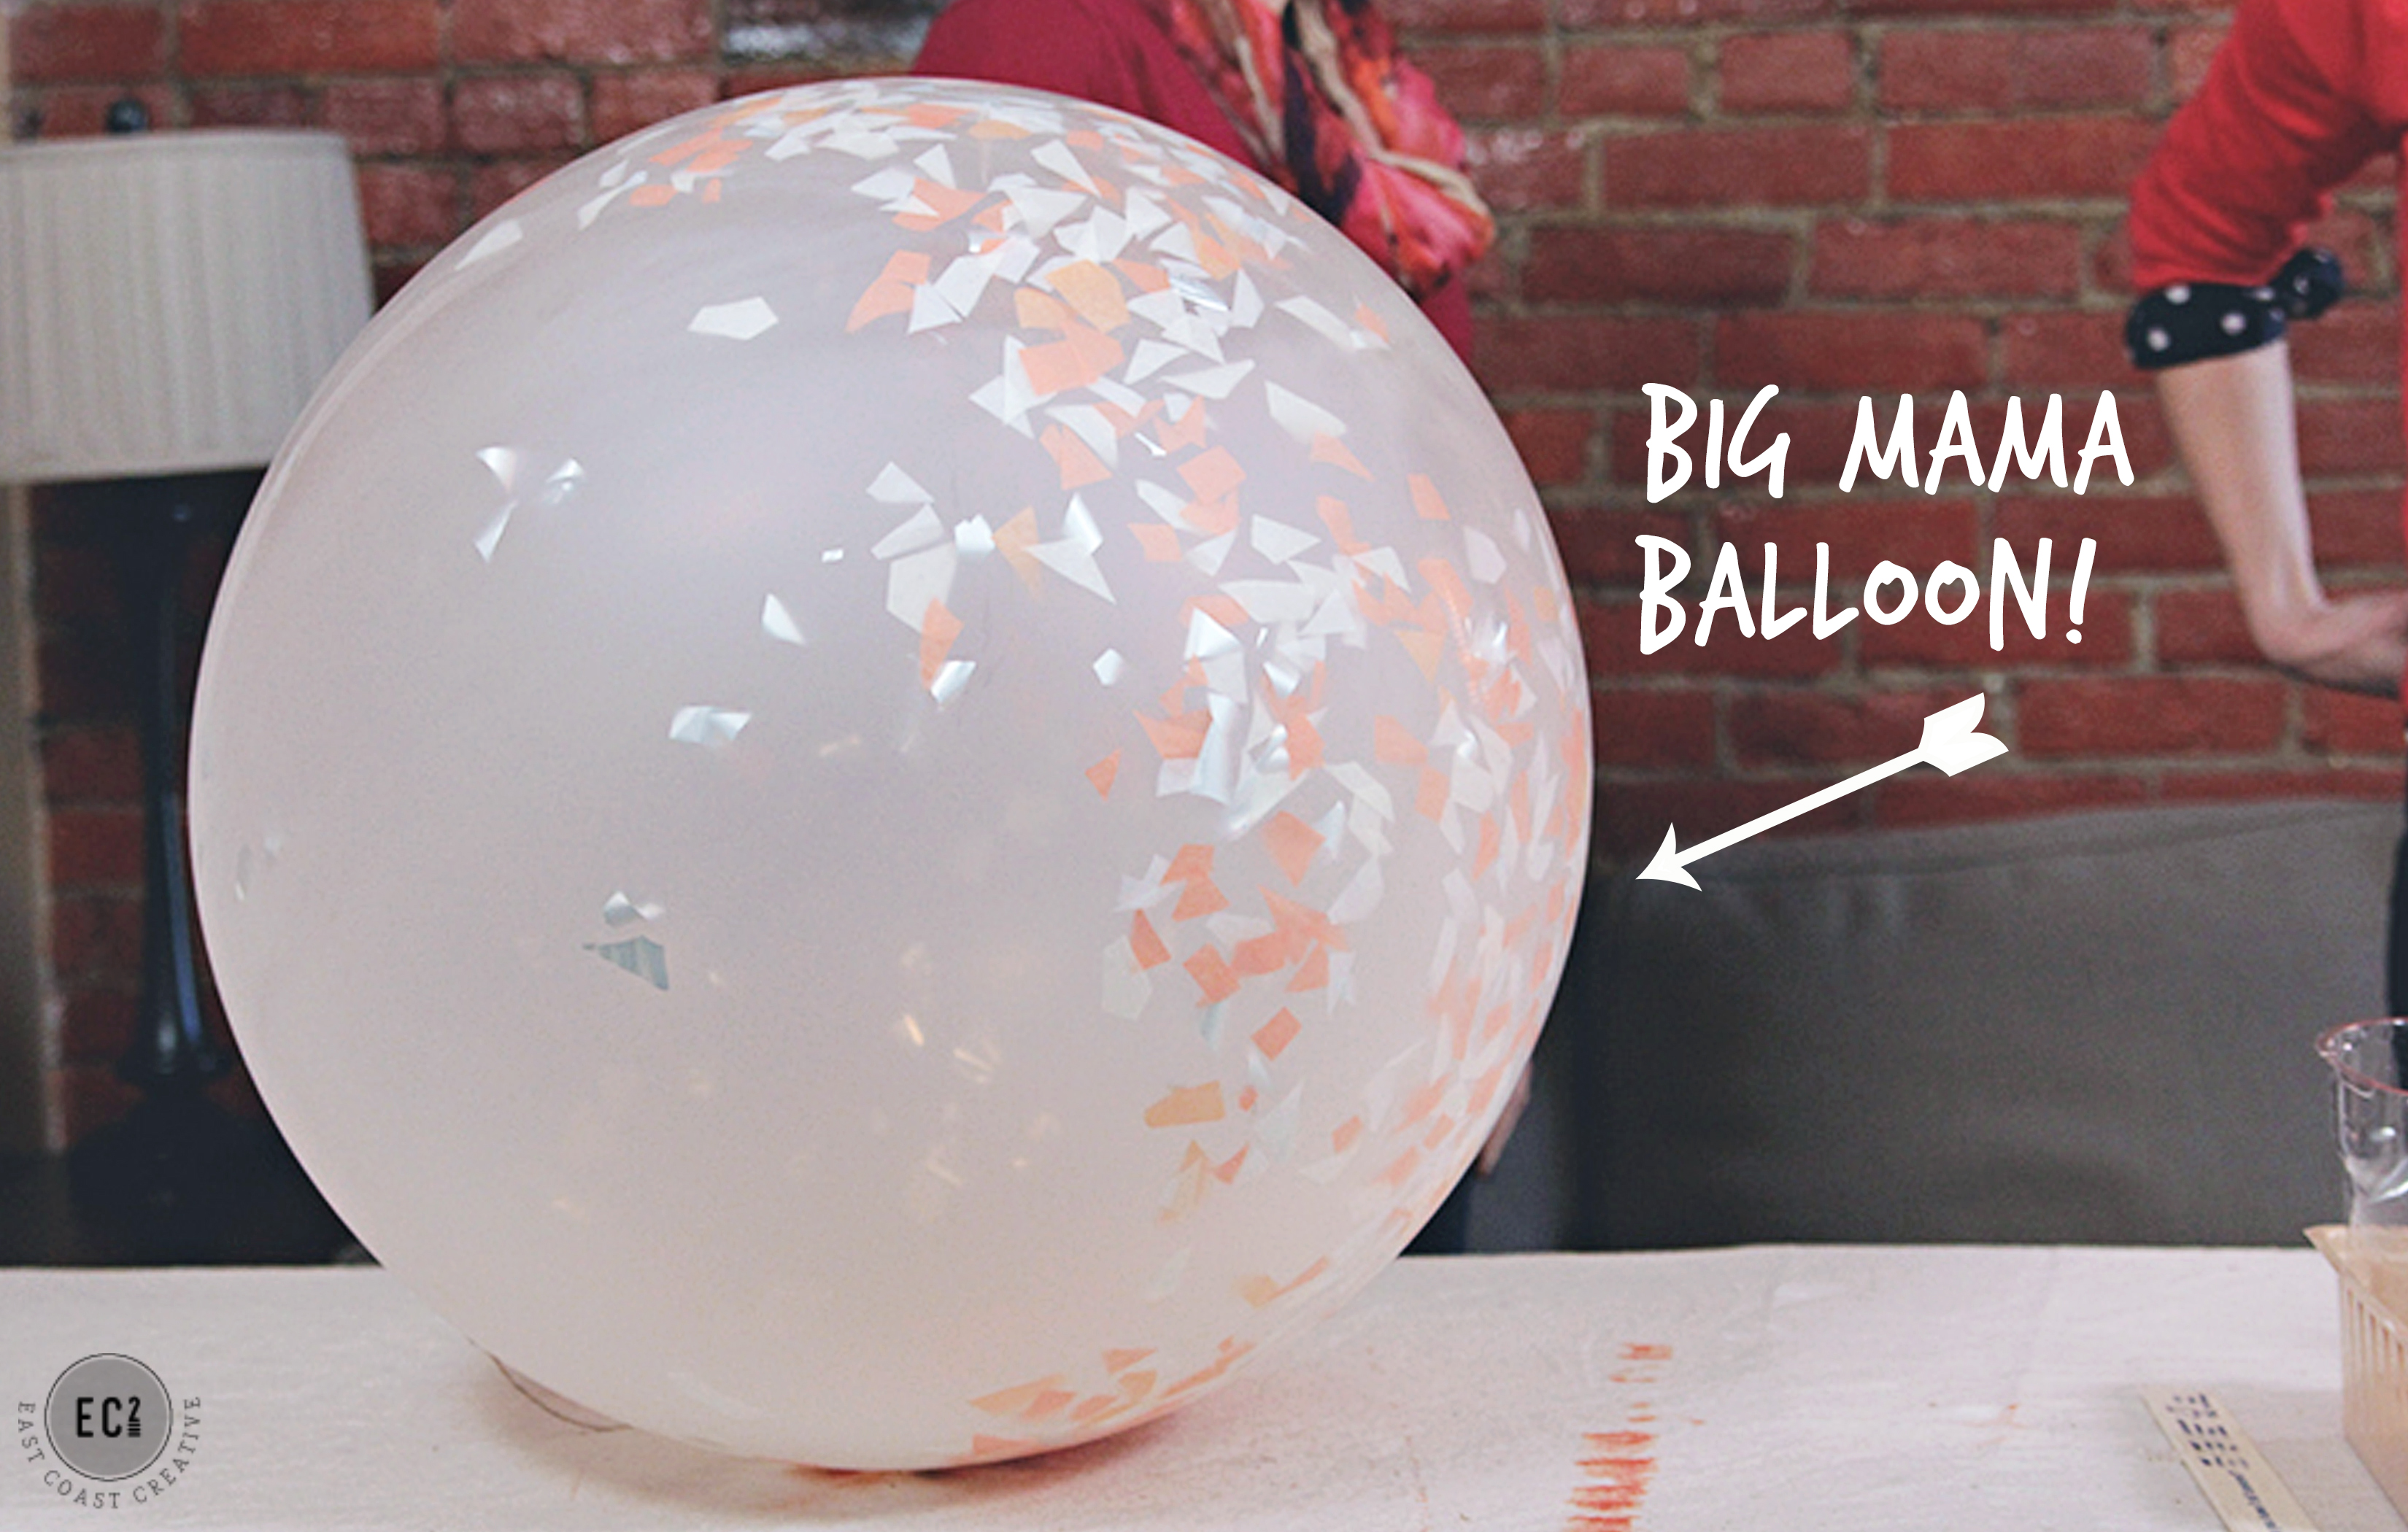
We could have ordered a big, round balloon, but this episode had a really tight budget so Jess remembered seeing one of our friends- Linda from FrogPrince Cake and Cookie Design had just thrown a Sweet 16 party for her daughter and had Instagramed pics of huge balloons.

She did such a great job with the party and guess what? She still had them and she gave us one to use! Score!! You might remember that Linda was the creative lady behind all the fun details for our “Knock It off” Premiere party last summer. Linda is such a talented baker- make sure you check her out!
So, we had our big mama balloon, but if you don’t have a party planner friend, you can find them here.
We mixed up our flour, water and glue using a paint stirrer. We used 4 parts water to 1 part glue and then added flour until we had the consistency of runny pancake batter.
4:1 Water to Glue Ratio. Thicken with Flour
We’re warning you… this is a MESSY project and you’ll need two people. So grab a friend and preferably one that is cool with becoming a sticky mess! Begin unrolling your rolls of string and dipping it into the glue mixture, then wrapping it around the balloon. We used a piece of painter’s tape to hold the string securely to the balloon until we had wrapped around it a few times.
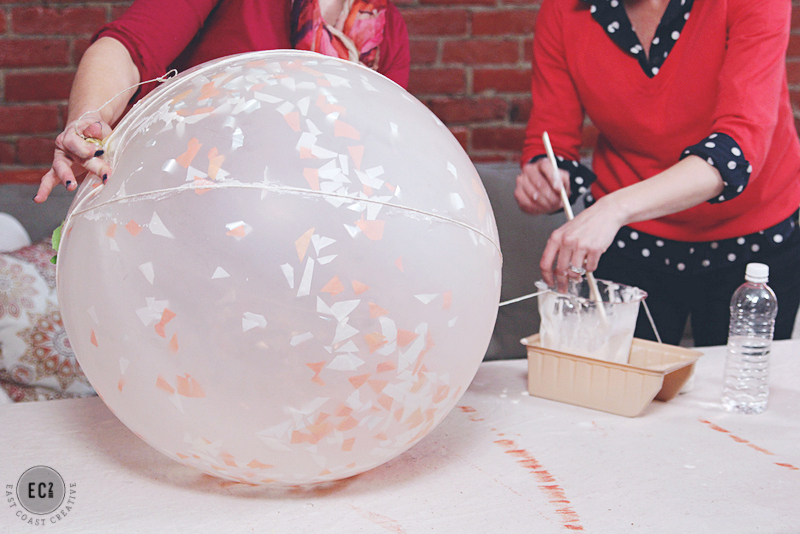
As you pull the string out of the glue, run your fingers over it, removing a bit of excess. 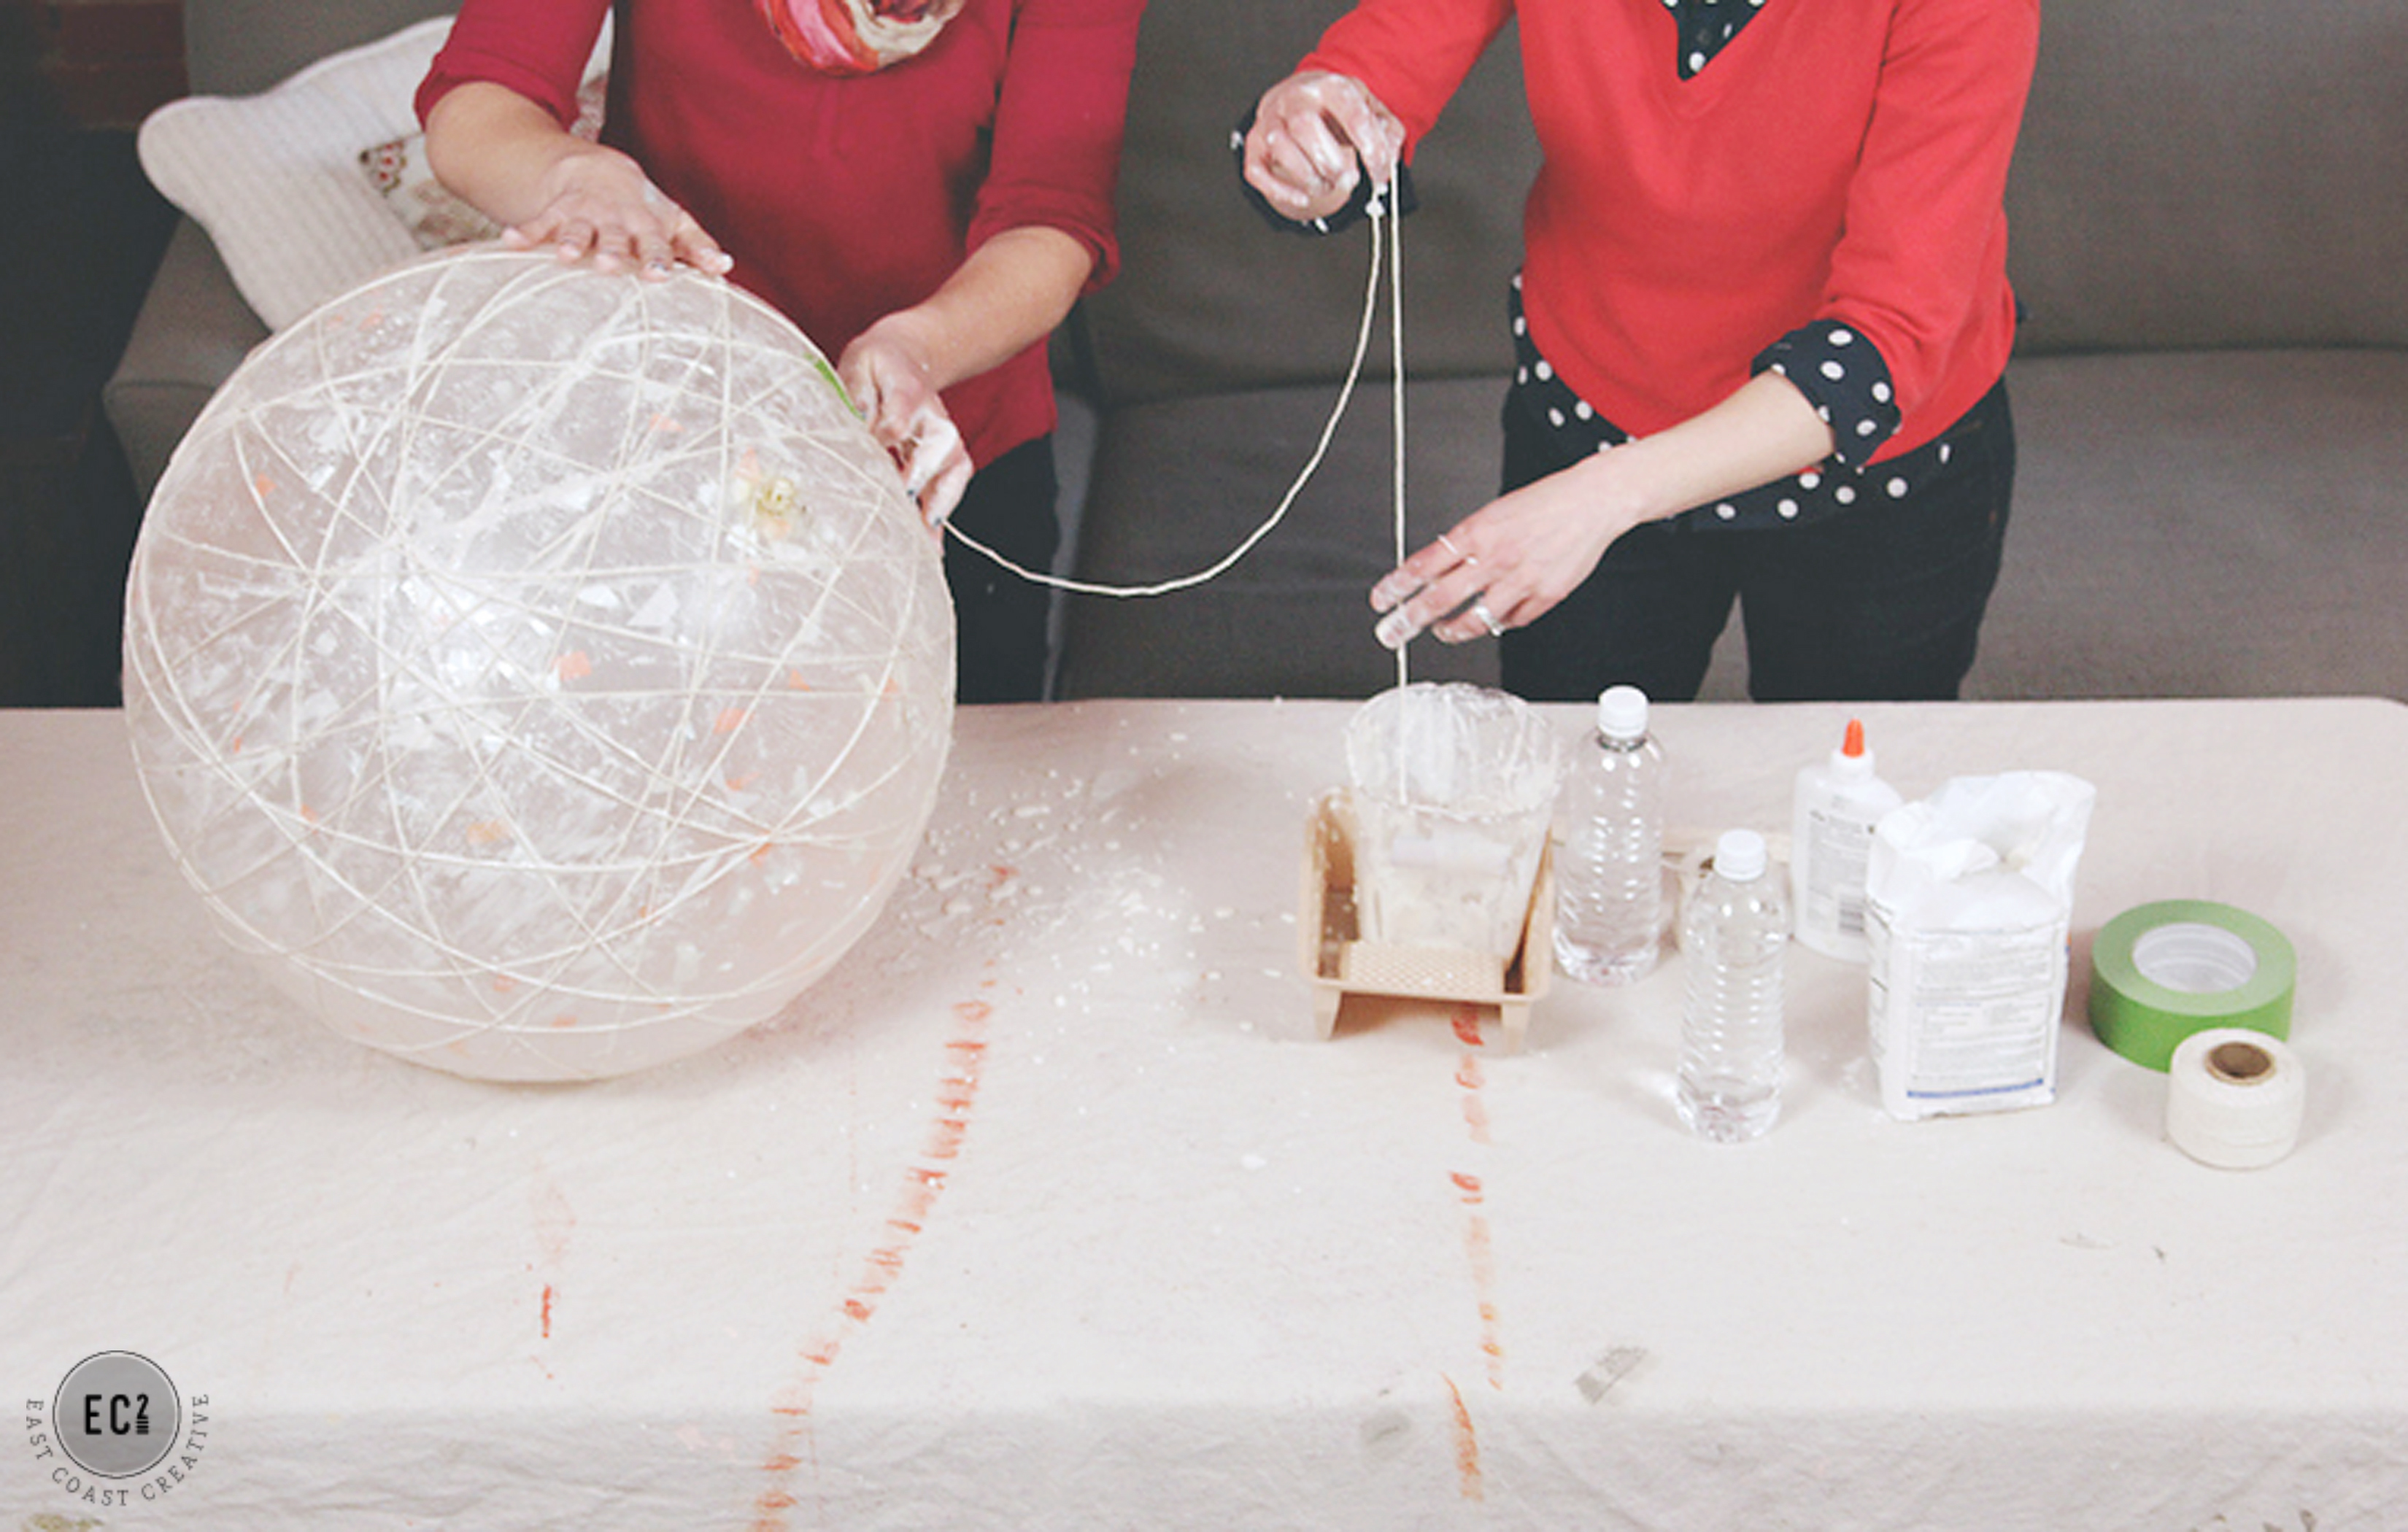
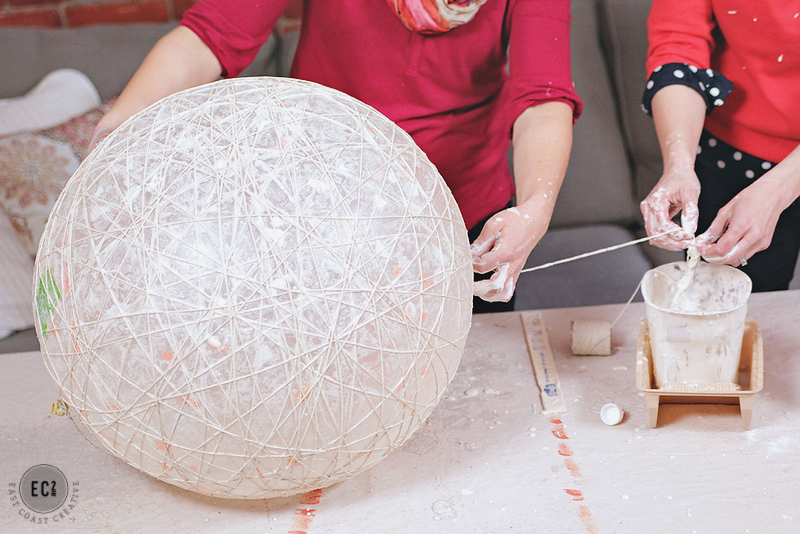
Pretty much just keep wrapping for what will feel like an eternity. You will have open spaces, even when it’s finished, but you need enough string to keep it sturdy and hold its shape when it’s dry.
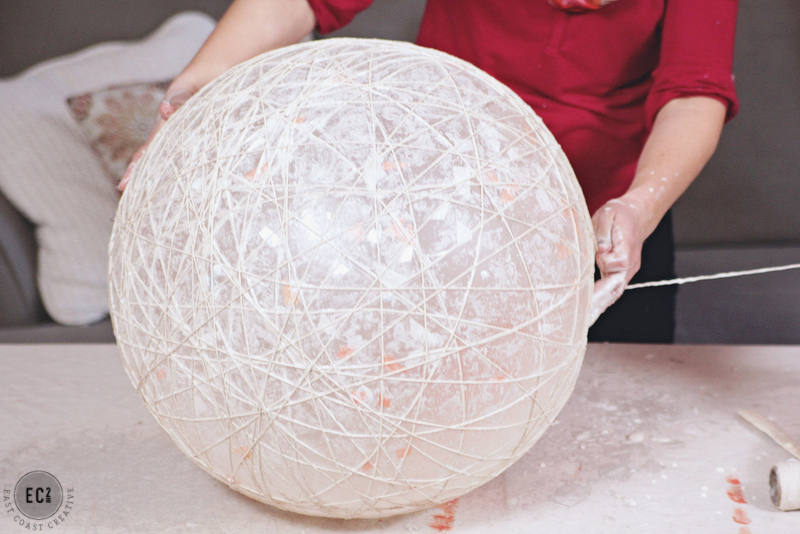
This is how our balloon looked when we were just about done wrapping. Notice all the white glue on Jess’ sweater?? Bummer! It comes with the job, but we get so sad when we ruin our clothes in about one day on set!

Allow the balloon to dry for about 24 hours and then it’s the moment of truth!

So, funny story… we had really high expectations for this to be a majorly dramatic part in the project. Our director was super detailed with camera placement (to capture the moment), placing mics (to hear the epic POP!) and finally we were ready. Jess and the homeowner were so excited and I was just sitting and watching. They dramatically poked into the balloon… and NOTHING happened. Literally it was like the biggest letdown ever! Basically, it just slowly deflated with not an ounce of drama! Ha! Oh well, Jess and I were just thanking our lucky stars that the project was working!!
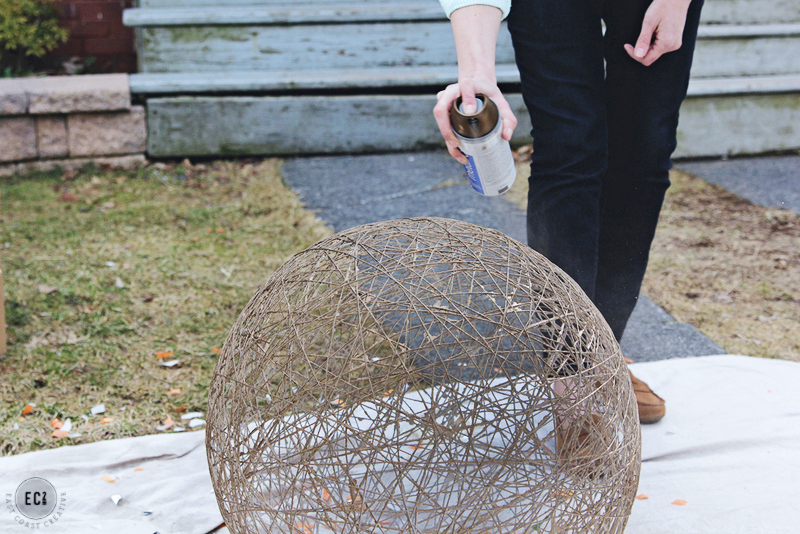
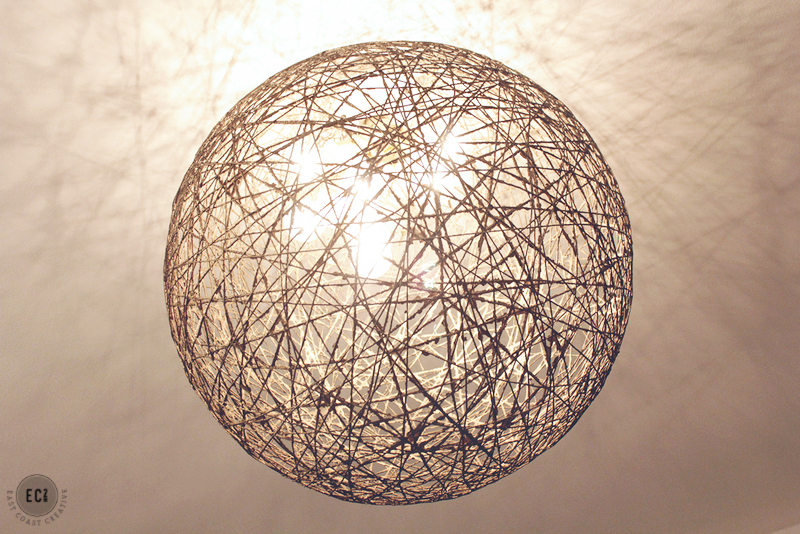
Next, we coated the hardened string with metallic spray paint. The gold finish really made the string look like metal and like a custom light, not just a crafty project!
Check out our DIY Modern Globe Light
Seriously, this is string people! Get out of here!! Even though this is what we wanted it to look like, we were honestly slightly shocked at how legit it looked.
For the inside bulbs, we used connectors just like I used for my playroom’s modern pendant light. Check out that post to see the simple details on branching out your light bulbs.
This light was inexpensive, fun to make, and looked fabulous in the family den makeover!
This is actually a bit of a sneak peek post- this episode hasn’t aired yet. Make sure you check it out on Sunday, May 25th at 7:00pm EST. If you want to know what channel “Knock It Off!” is on in your area- click HERE! And don’t forget that you can always watch full episode online HERE.


I saw this done on bath crashes and have planned to do it ever since. Looks great!
So glad you loved it, would love to see your project when you finish! 🙂
How did you get the lights inside after this was done? Did you cut a hole in the top? Great project! I love your tv show, real life projects done with real life budgets!
Hi Roxanne,
Yes we cut a hole in the top of the string, here is the video tutorial on our show’s website, http://livewellnetwork.com/Knock-It-Off/episodes/DIY-String-Globe-Light-Fixture/9538138?pid=9538142. Thanks for watching the show, we love hearing from our viewers!
L <3 V E this!!! WOW! I am going to try this in a bundle w/ smaller balloons for a corner of my craft room!!
That sounds like an awesome idea Chelle, would love to see pictures when you complete it! 🙂
You two are the bee’s knees! This is gorgeous! Of course it helps that the balloon was so huge.
Thanks for the sweet compliment Laura. Yes, it certainly helped having a friend who had a giant balloon on hand!
This is wonderful and seems super easy and fun. I can have my minions help with this…they’ll love the messy!
Quick question, what type of balloon as it that you all used?
Couldn’t you just use mod podge?
Or better question, is there an advantage to using your mix?
How do you think white xmas lights would look in these? I have a loft with high ceilings that looks over my dining room. So I’m thinking of making 3 of these, and placing a string of white xmas lights inside to make it look like there are fire flies inside… or is that too whimsical for a home of a 30-something year old woman that doesn’t have children?? LOL
I’m totally doing this! How did you hang the globe?