
Monday’s temporary fabric wallpaper tutorial isn’t the only fun project we have for you from our holiday episode on Knock it Off. Oh, and if you thought my Halloween pallet DIY was fun (although I think the overall response was 50/50- lol) , wait until you see what we did for Christmas!
I’m all about having a fun, decorated porch for Christmas, but I’m not into spending a ton of money on it. Actually, yesterday Eric and I had to decide if we were going to put lights on the outside of our house. The kids always want us to, but we haven’t since we moved into this house (3 yrs ago). We did the math and lights would have cost us around $300 to do a basic job… Ugh! I just couldn’t justify it. So, we will be the lameo, lightless house once again. Sorry neighbors!
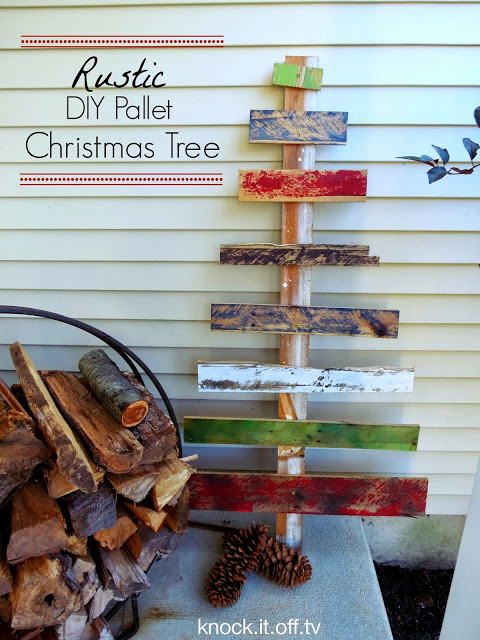
Anyhow… I was supposed to be talking about inexpensive porch decor… We used one FREE pallet and some leftover paint to create this rustic, homespun looking outdoor tree. The look isn’t for everyone, but if you’re going for a more primitive or rustic style, this project is for you!
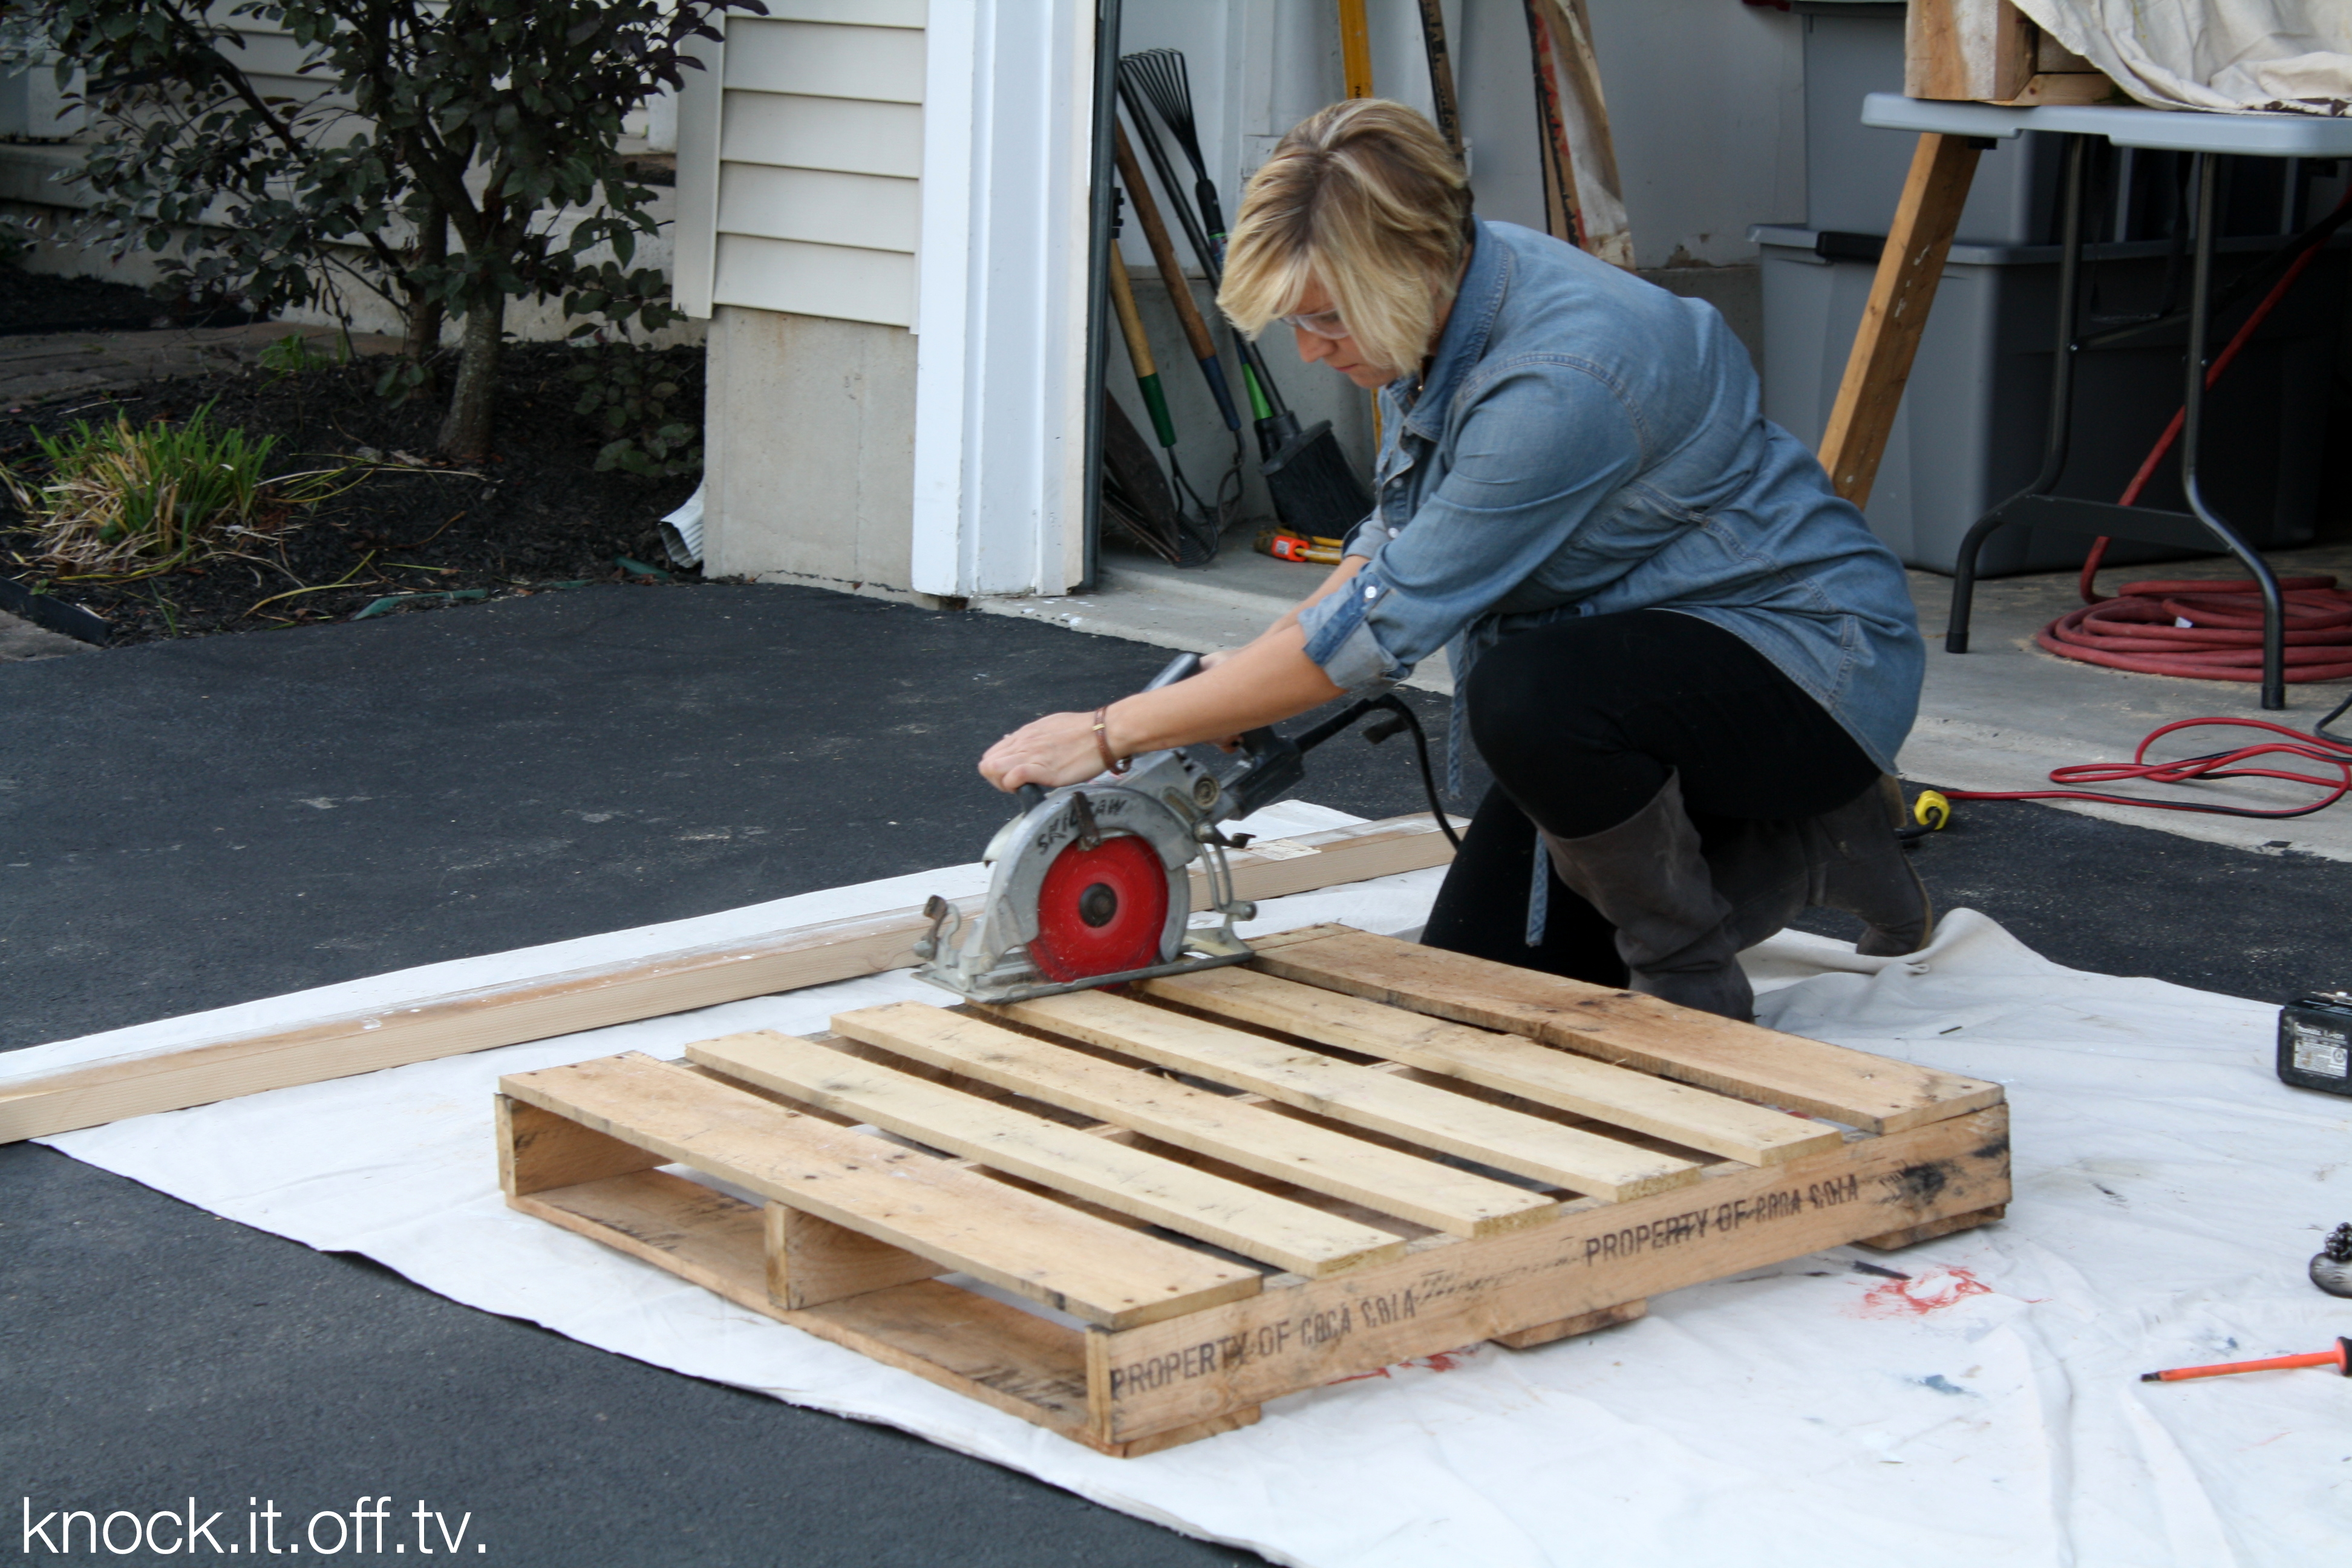
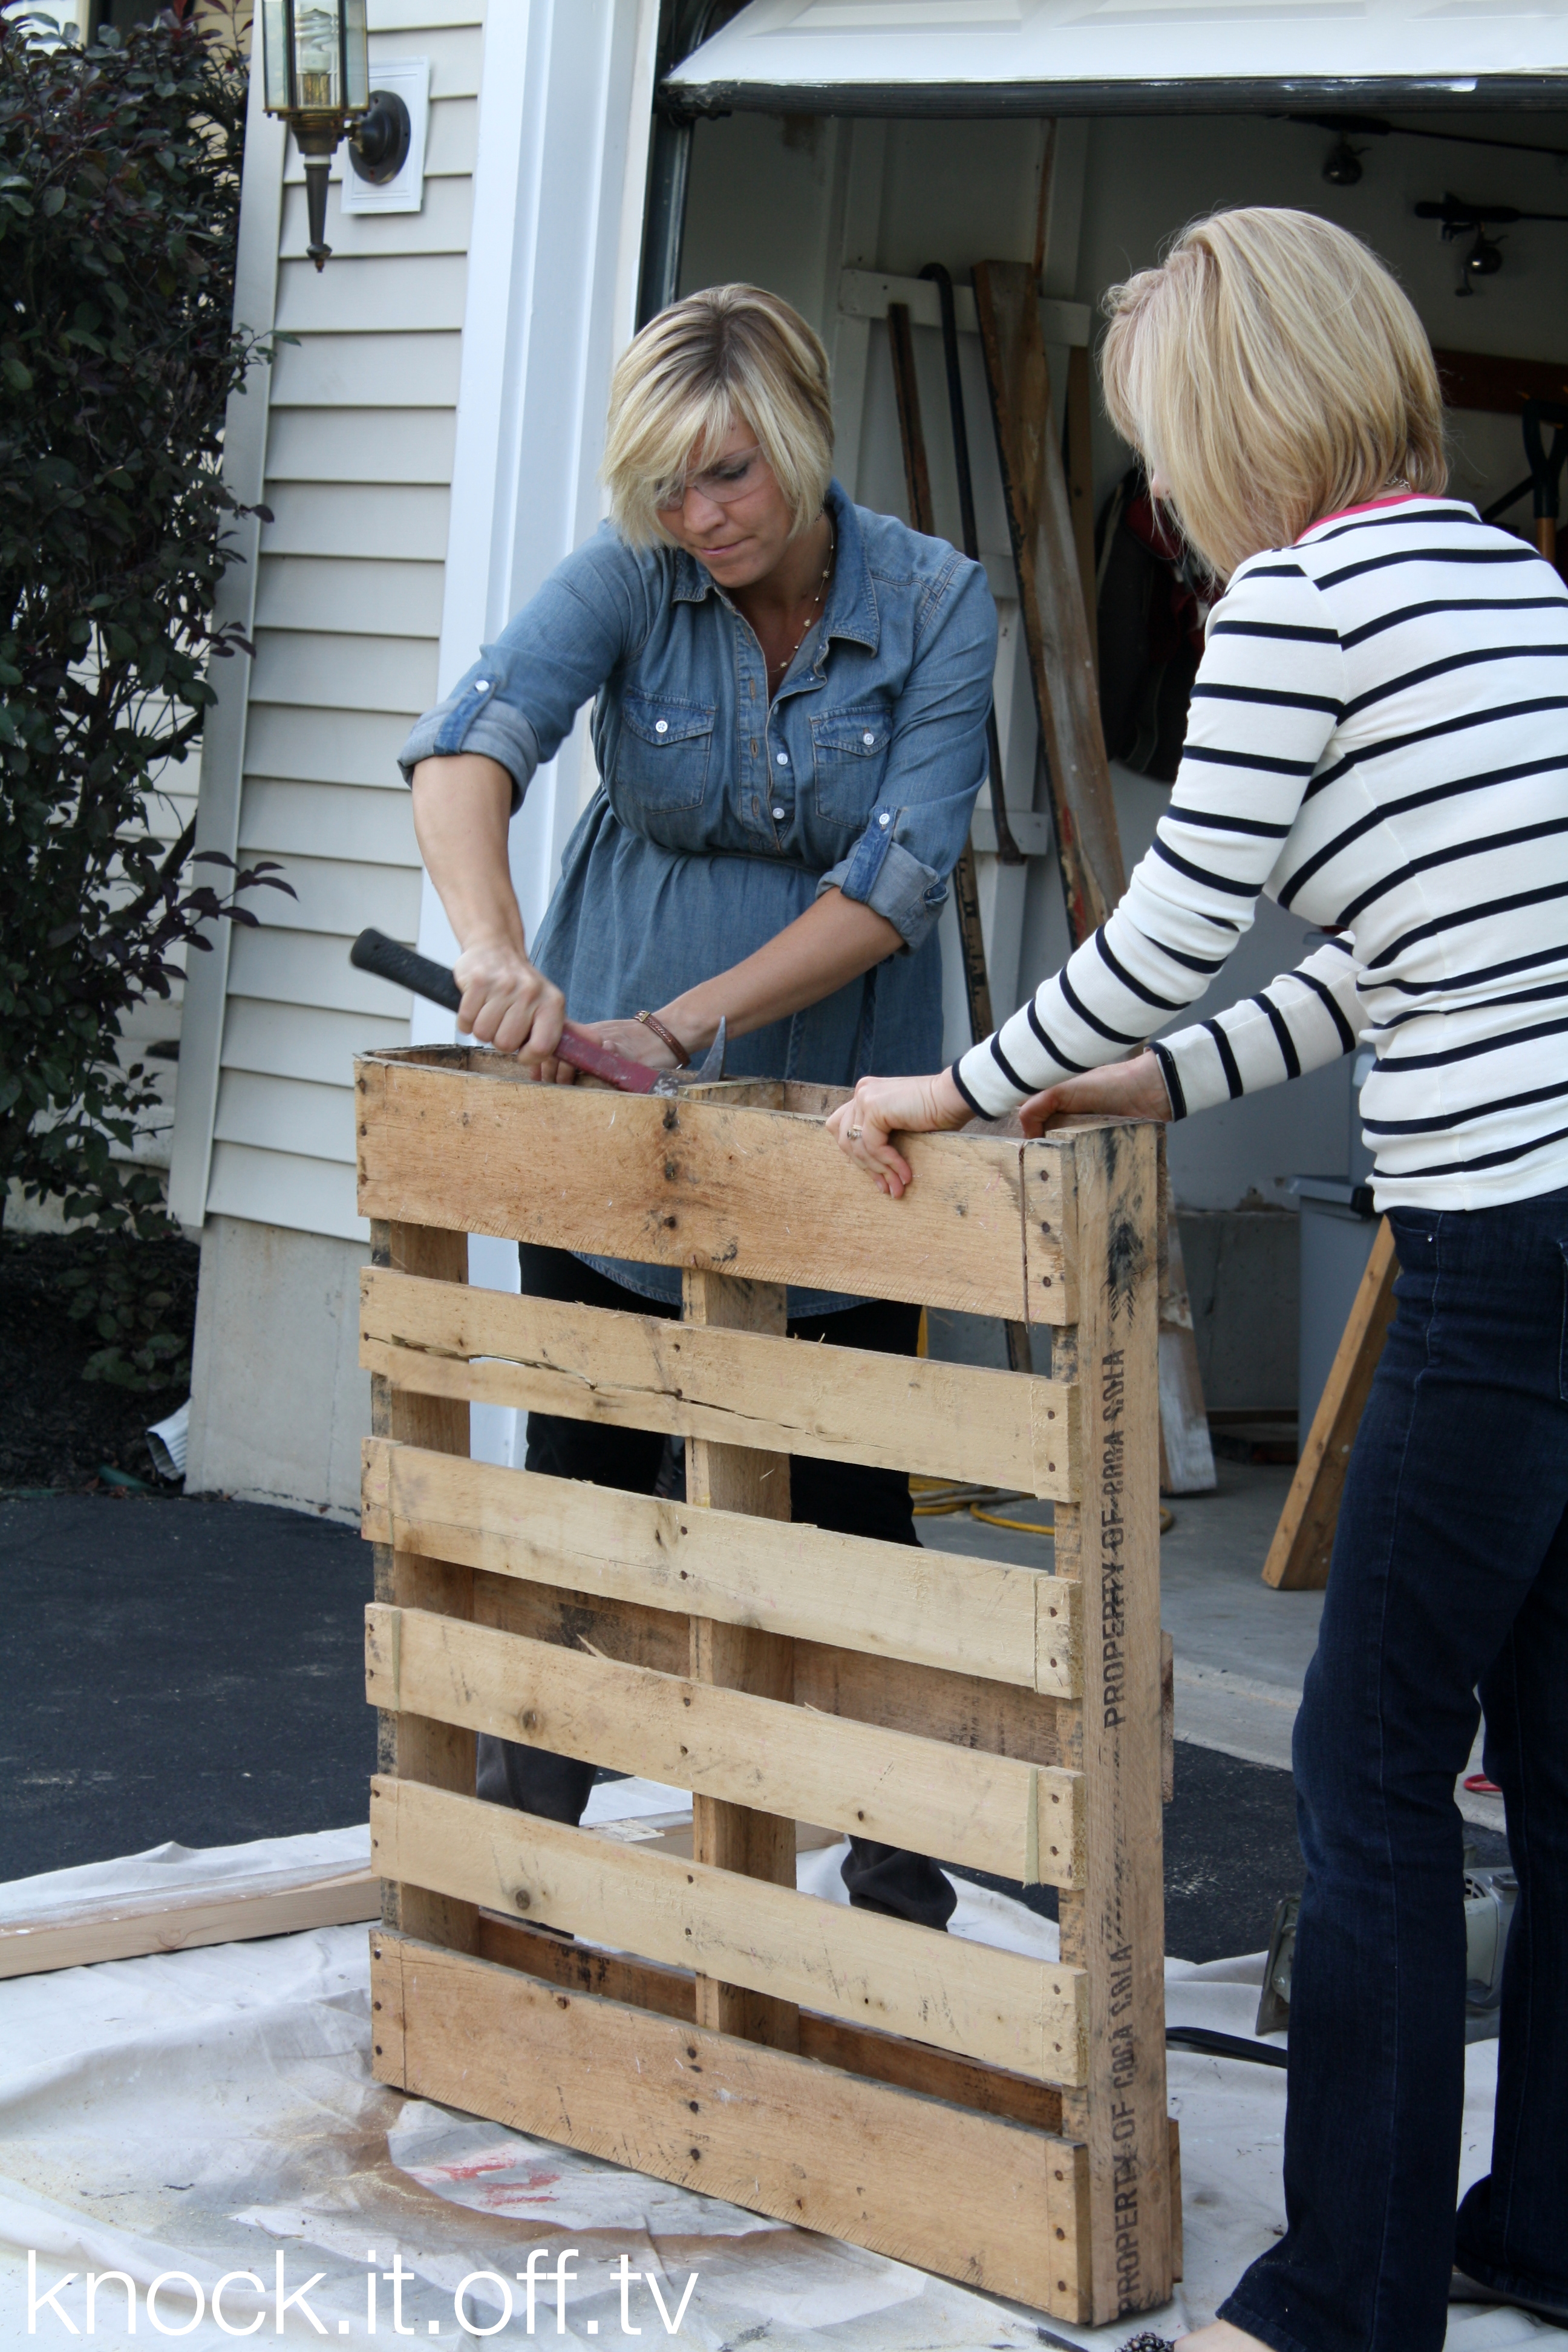
Here’s Jess cutting this pallet like a boss… and I should mention that she went into labor about 12 hours after this picture was taken! If you haven’t watched our Christmas episode yet, I kind of just spoiled the surprise, but shame on you for not watching earlier! lol (You can watch it online HERE).
You can use a crowbar, hacksaw, circular saw, just about anything to cut your pallet down into planks.
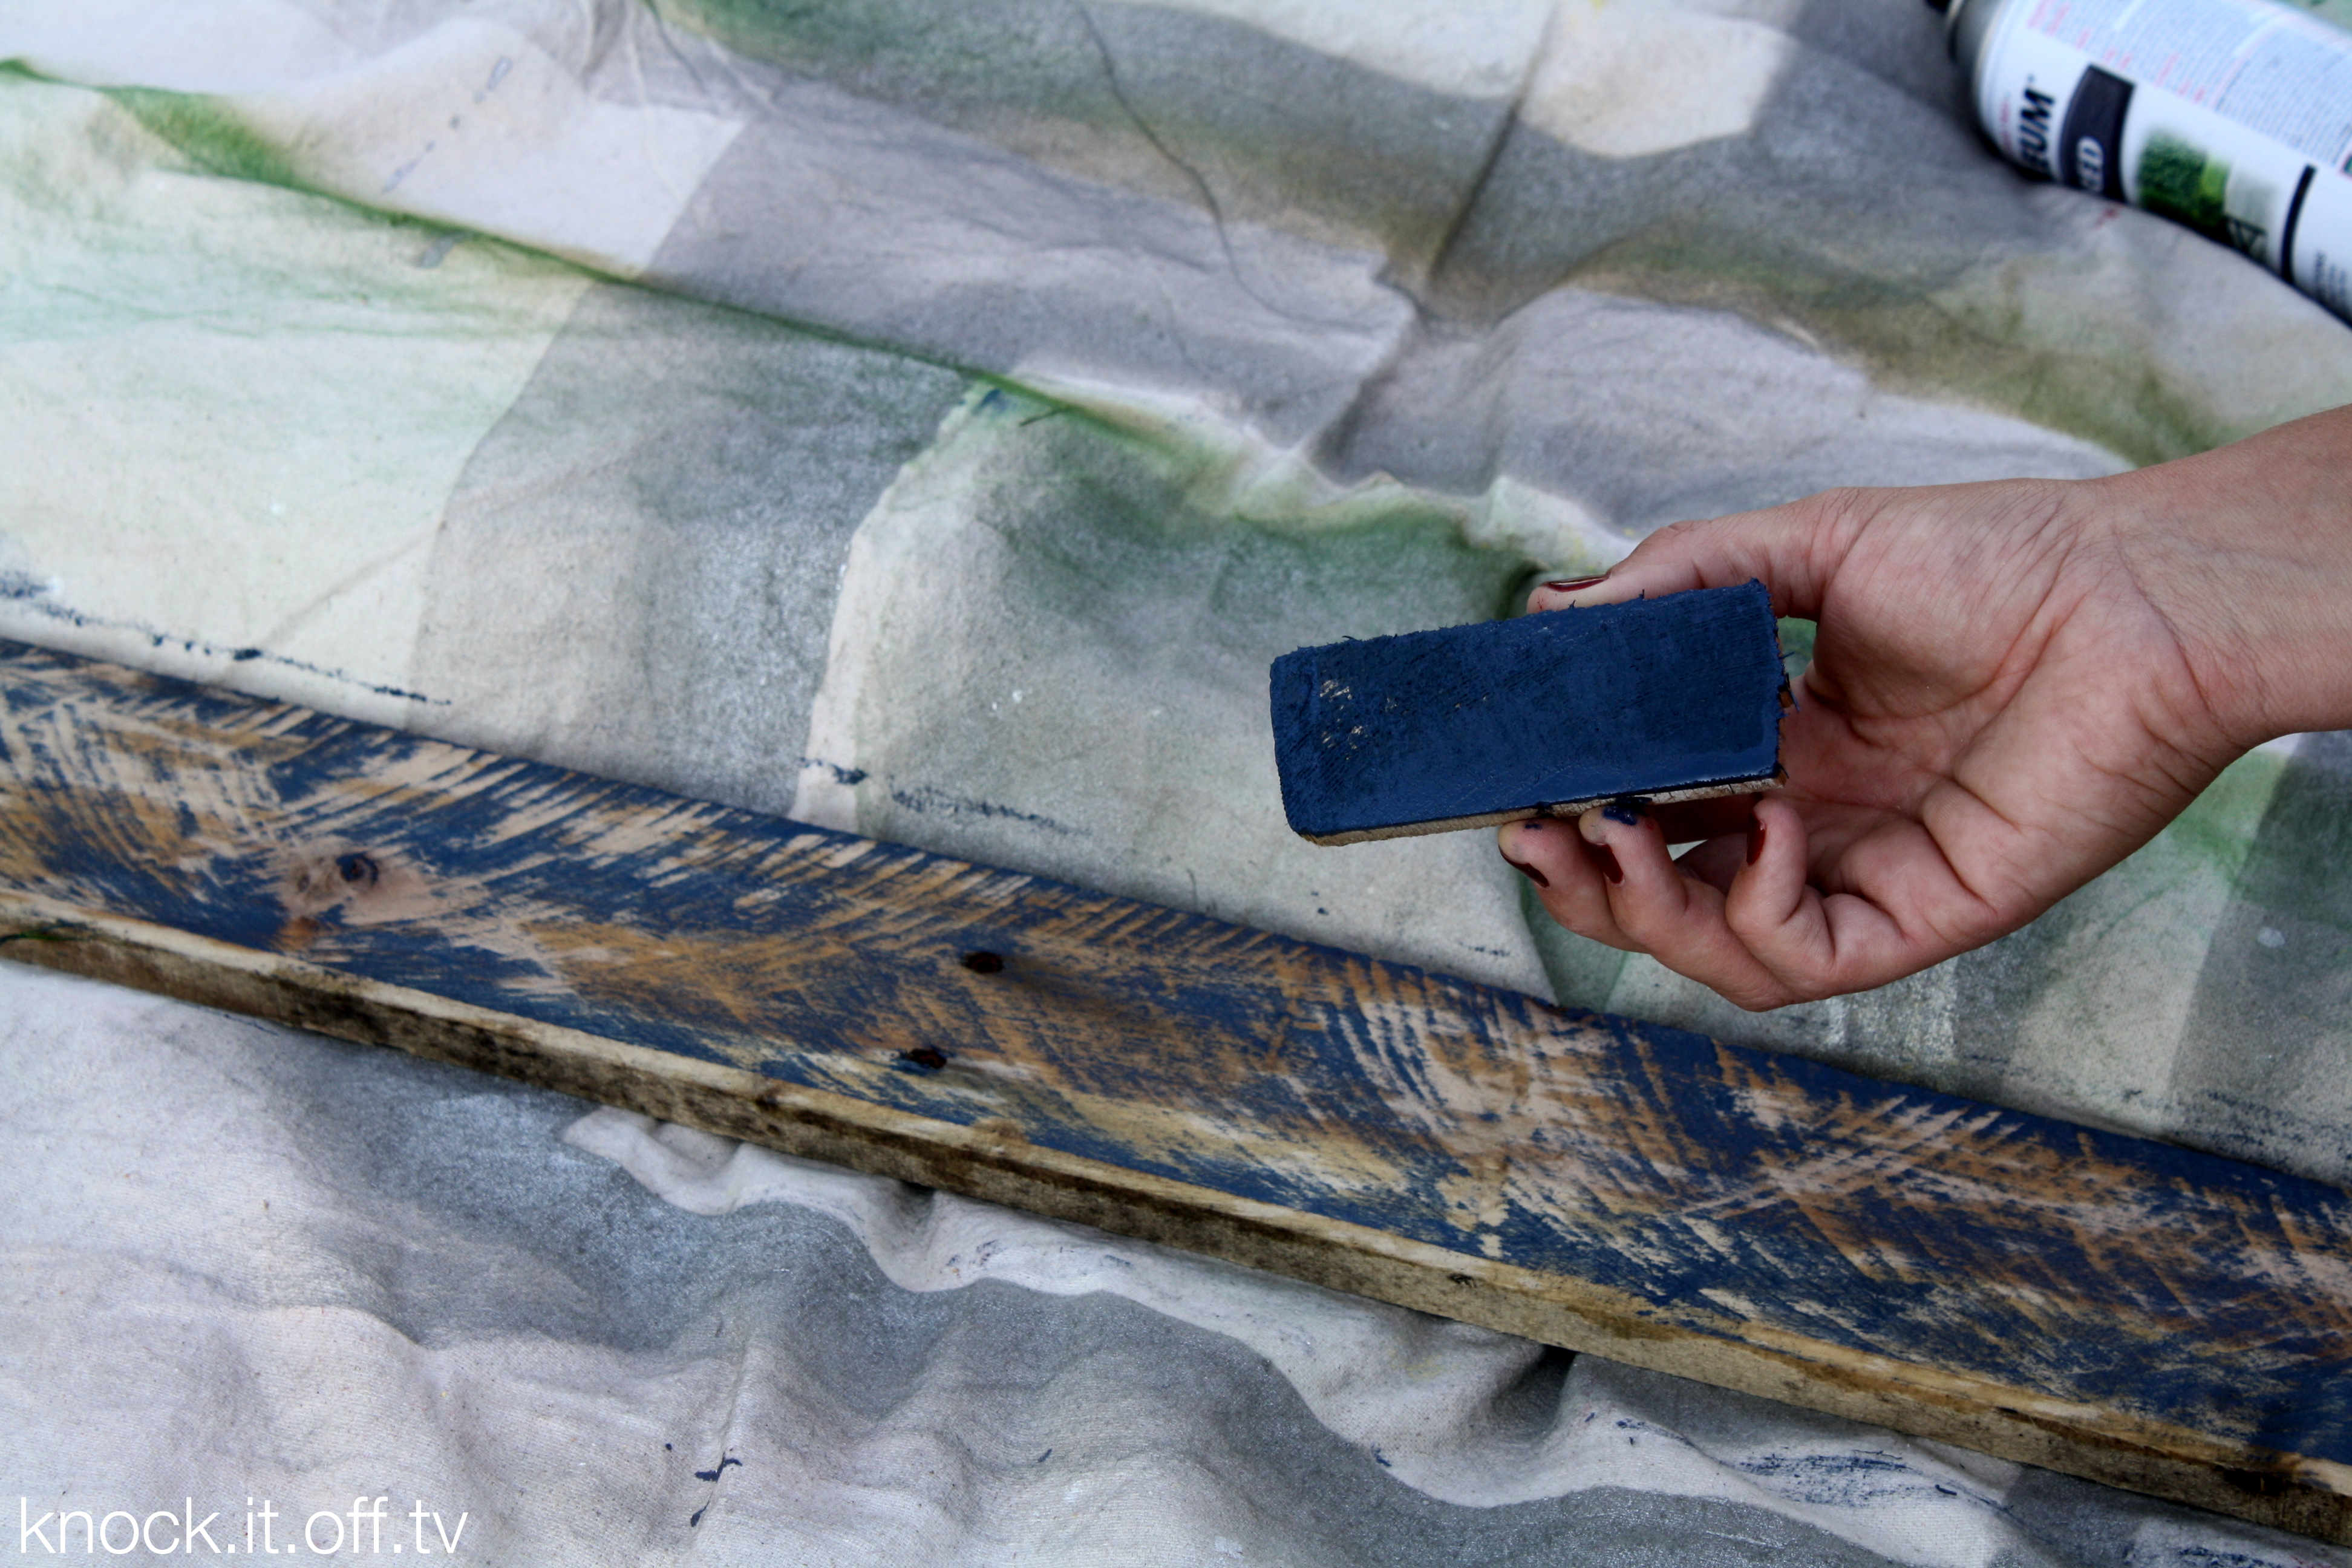
Once we had the wood off and the nails removed, we worked on painting the planks. We wanted a very imperfect look, so we used one of my very favorite techniques… block painting!

You just dip your block of wood into some paint and rub it on the wood. The wood on wood, gives you a really uneven finish. It would be so hard to get this look with a brush.
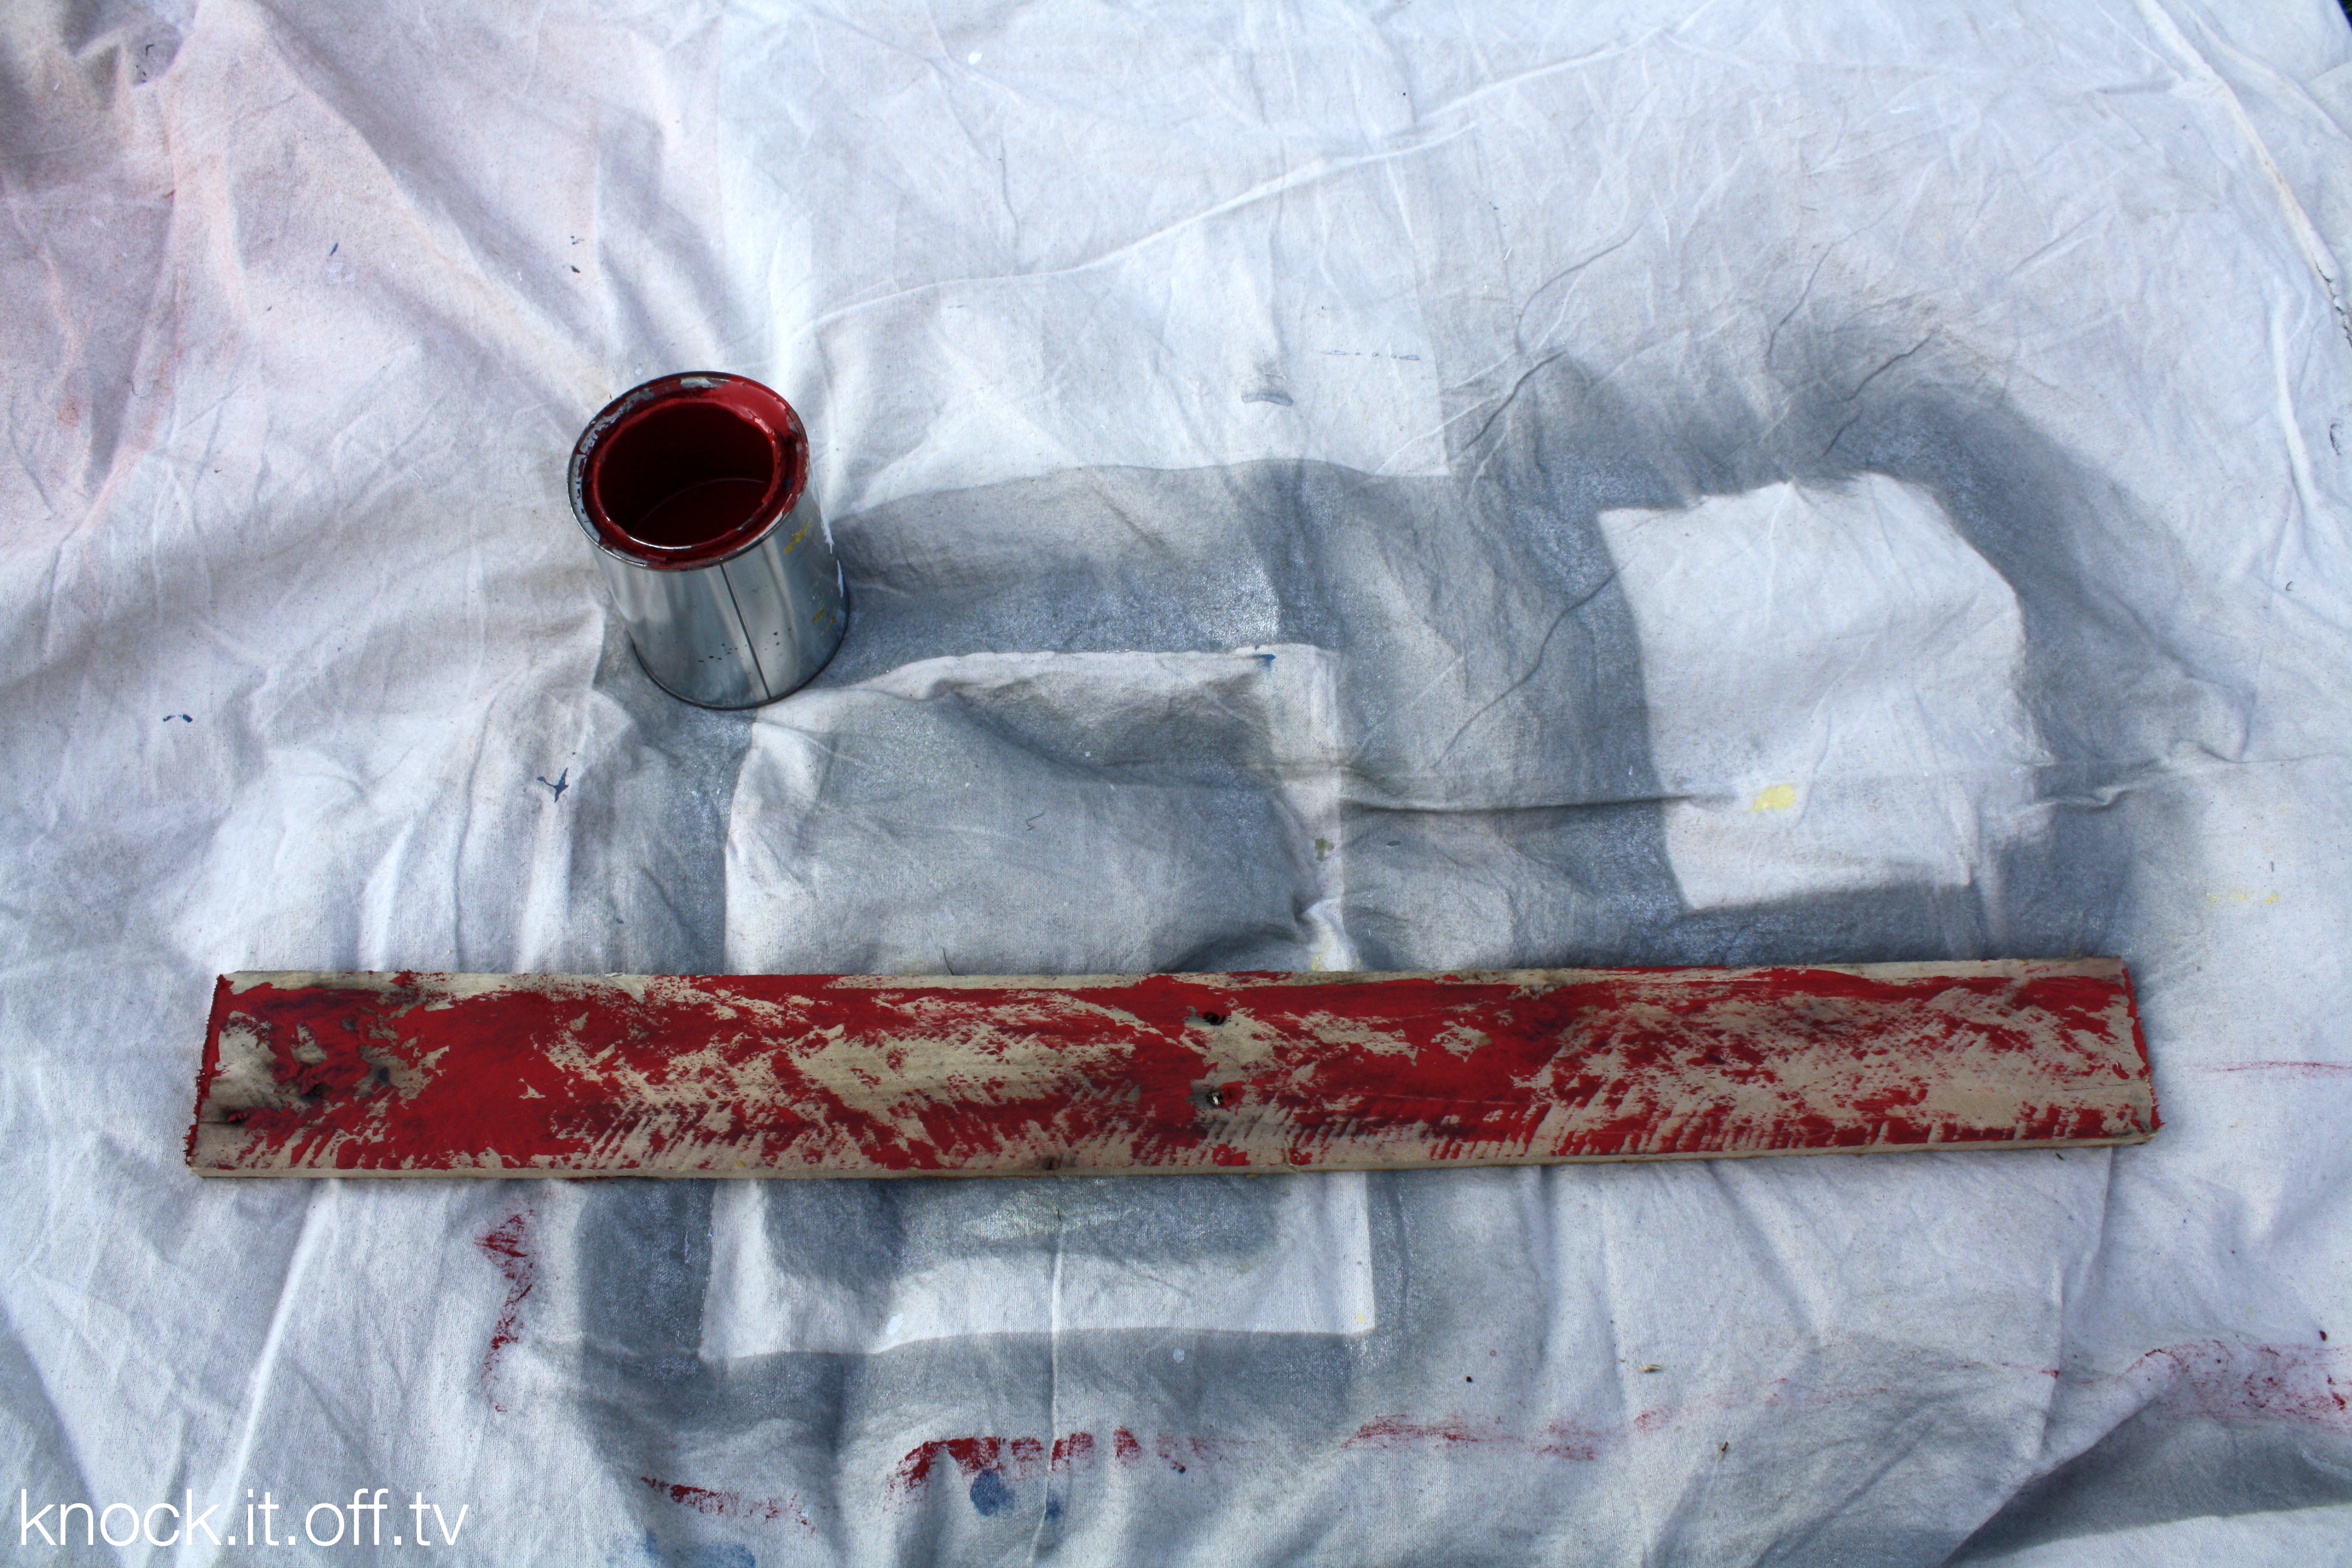
Each piece of wood will accept the paint differently depending on the grain and how much texture the piece has.
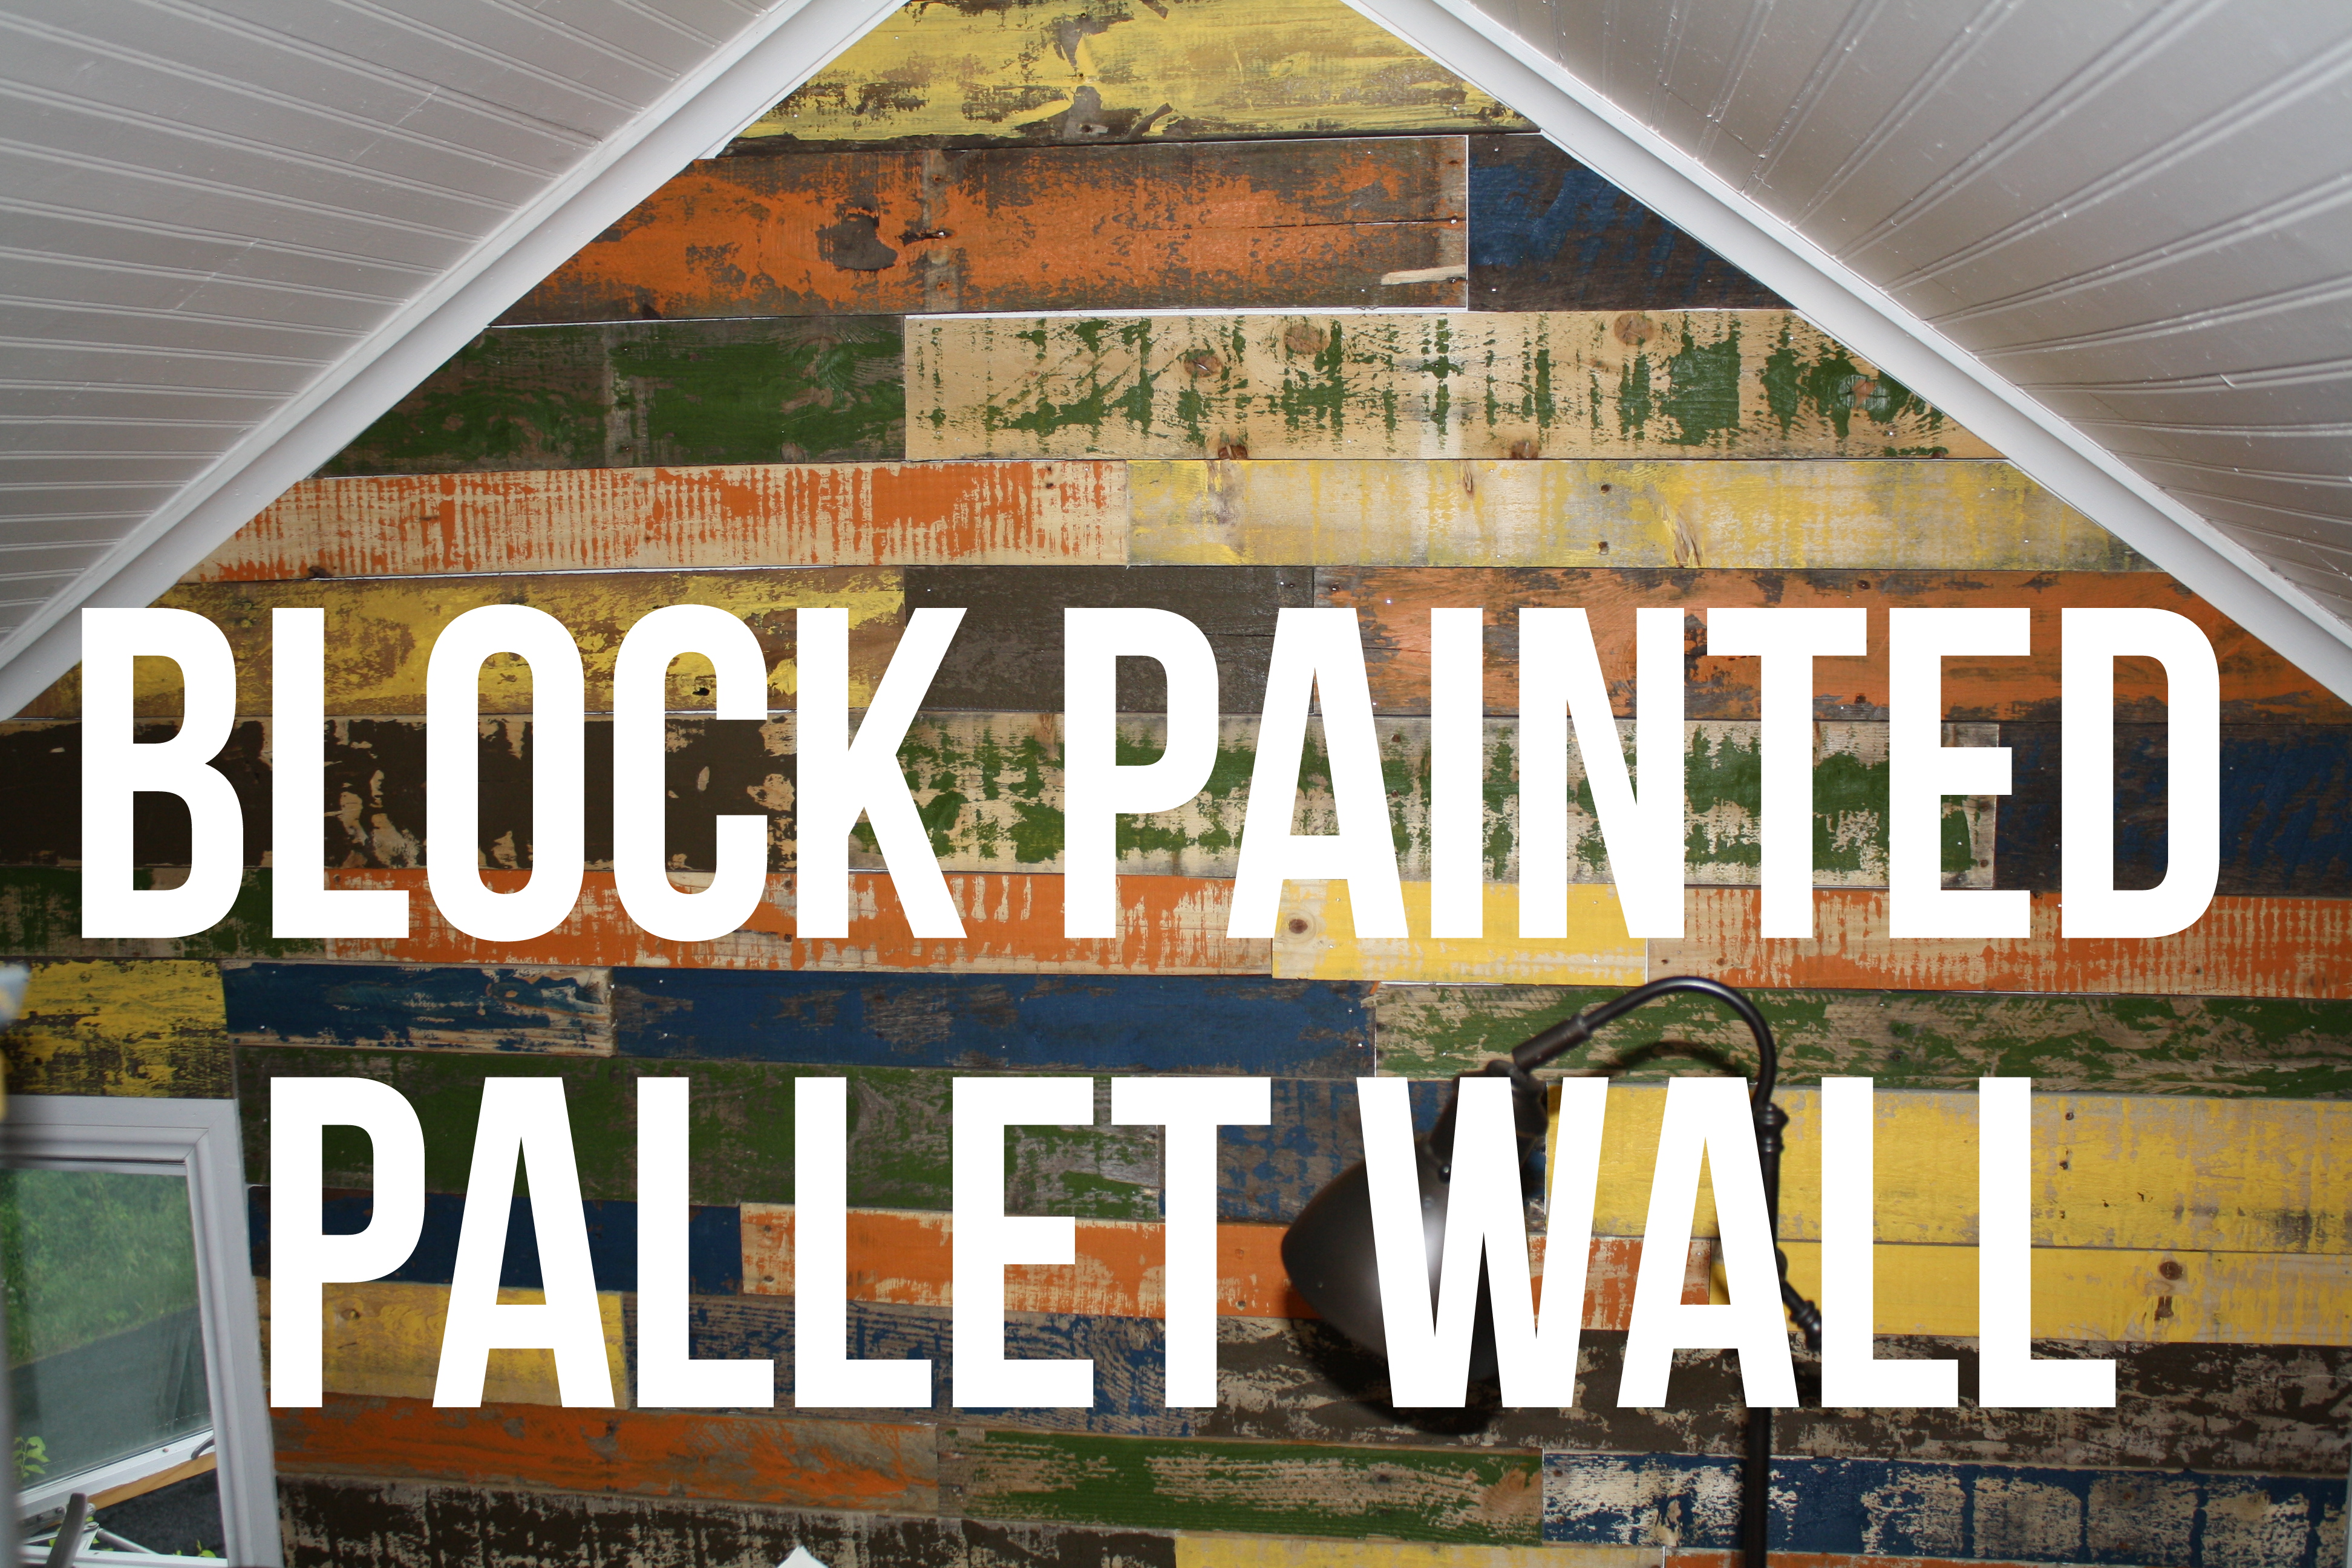
We used this same paint block technique on our colorful pallet wall from another episode.
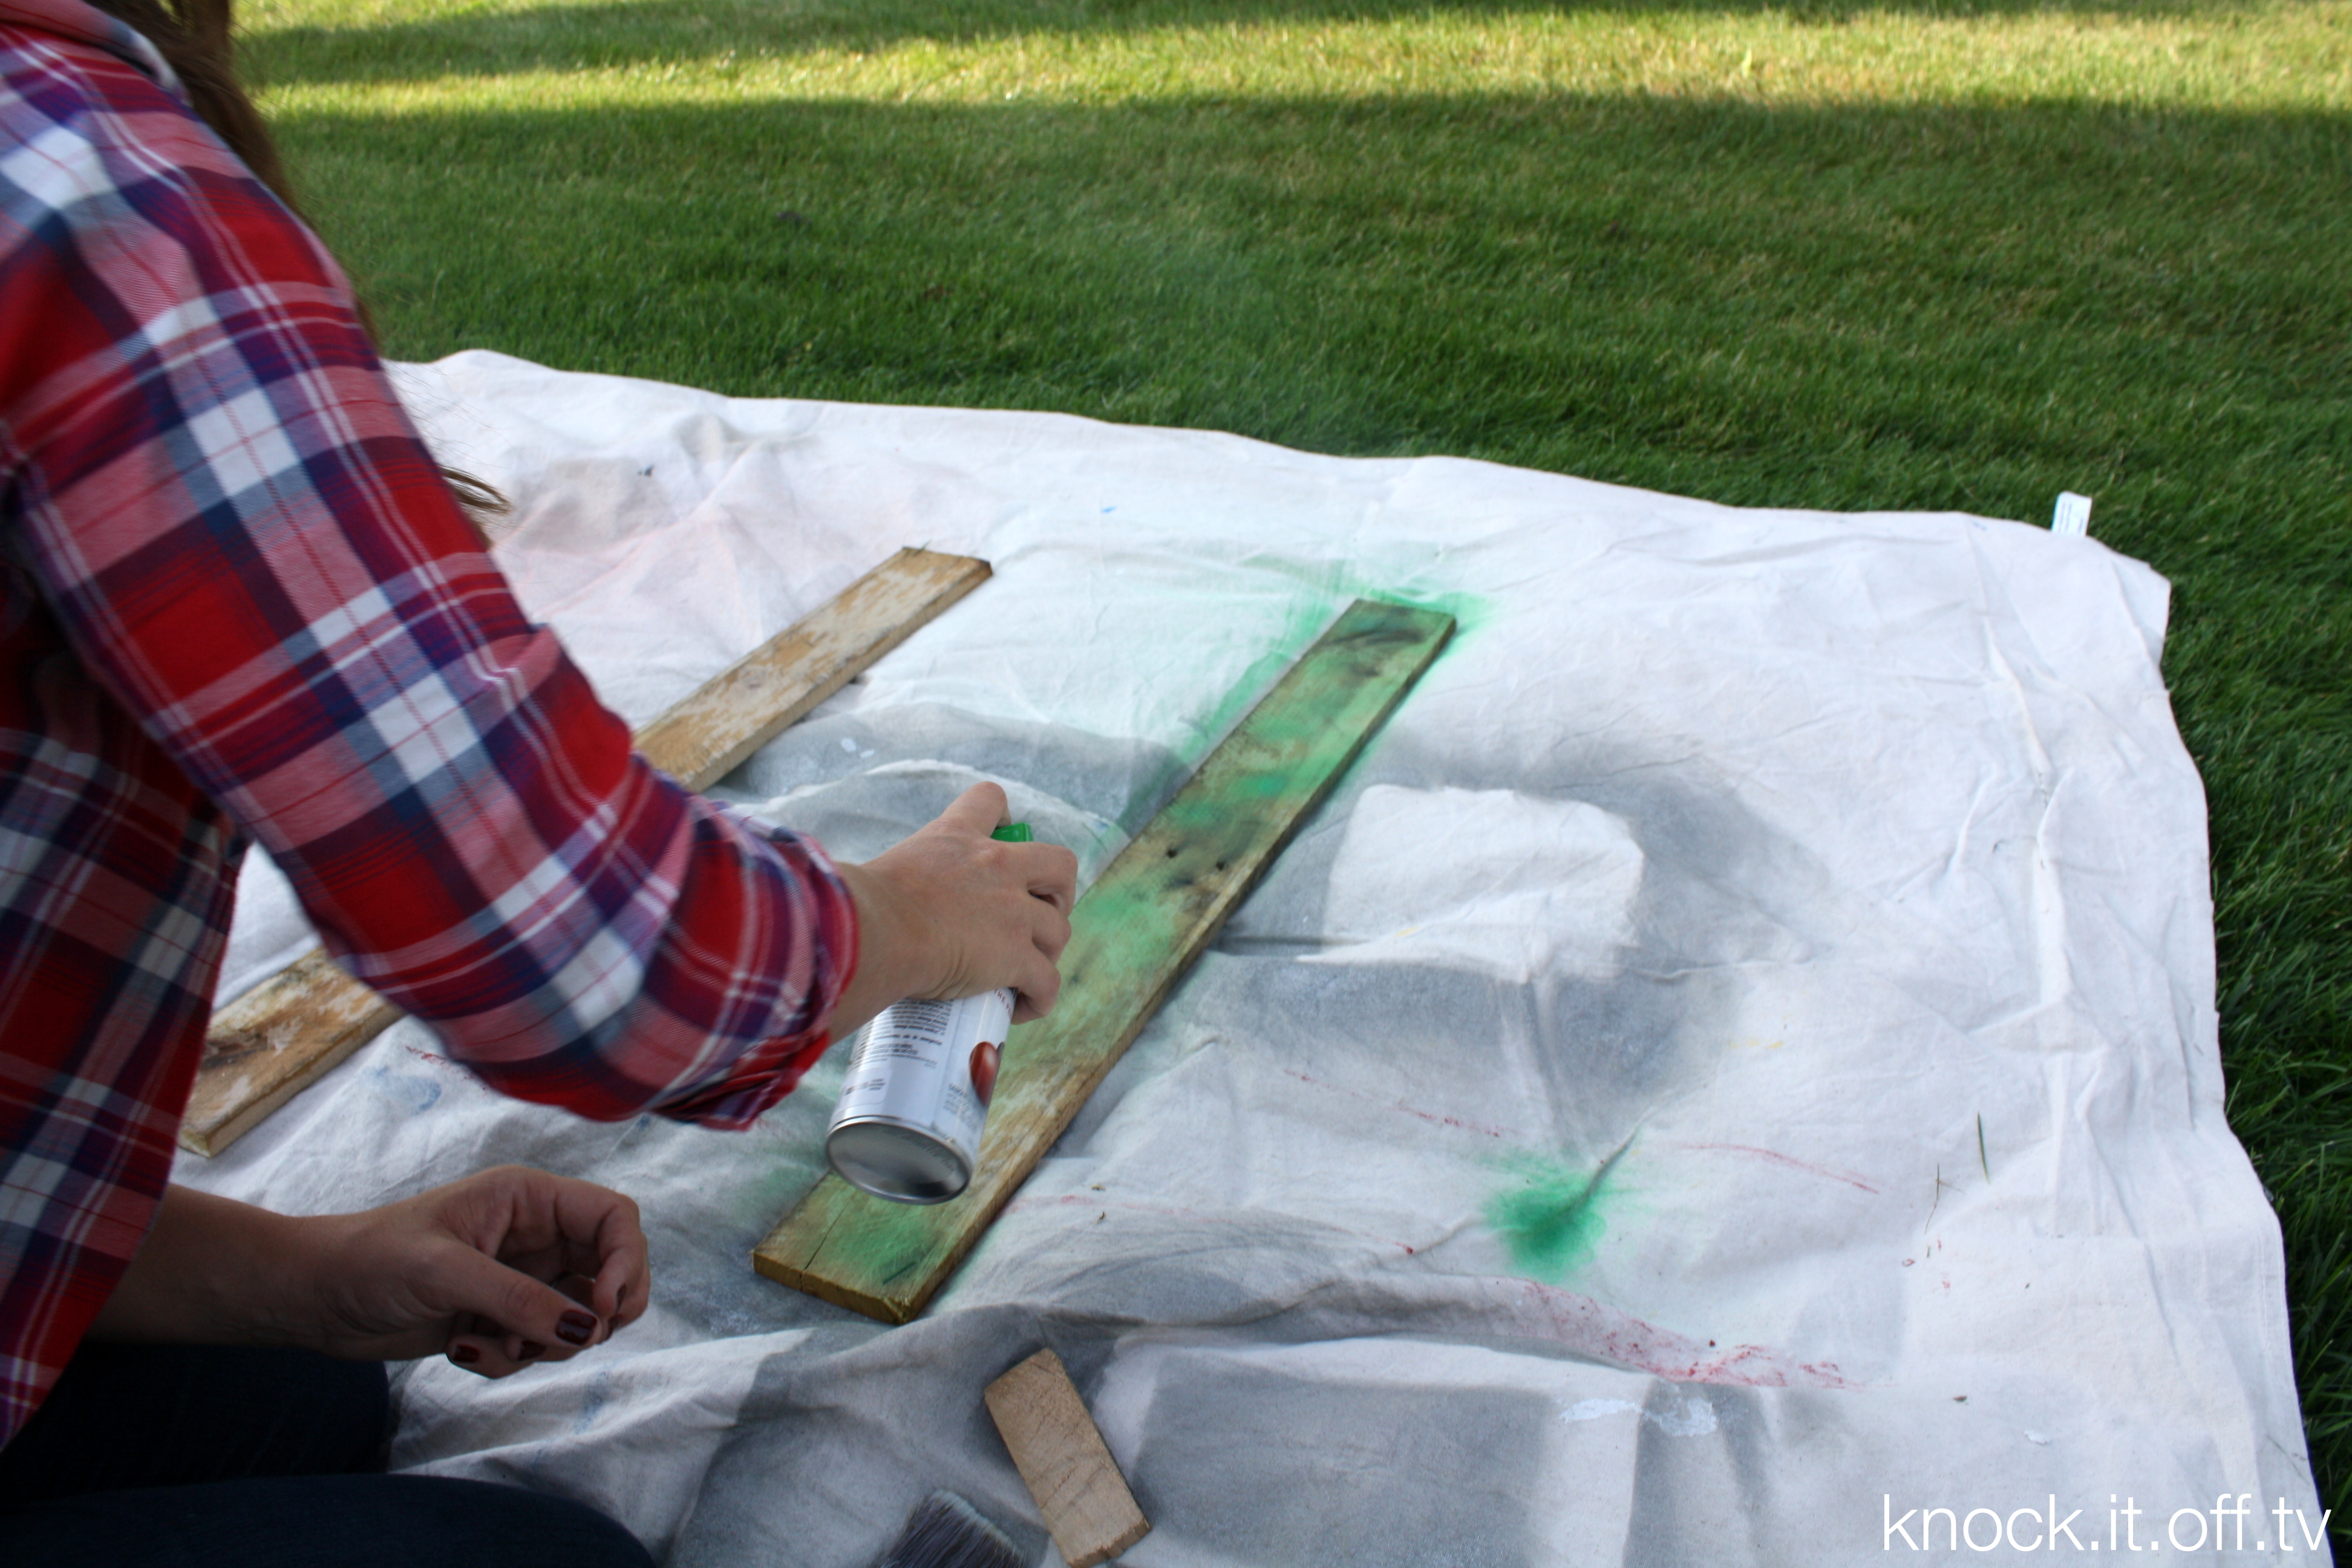
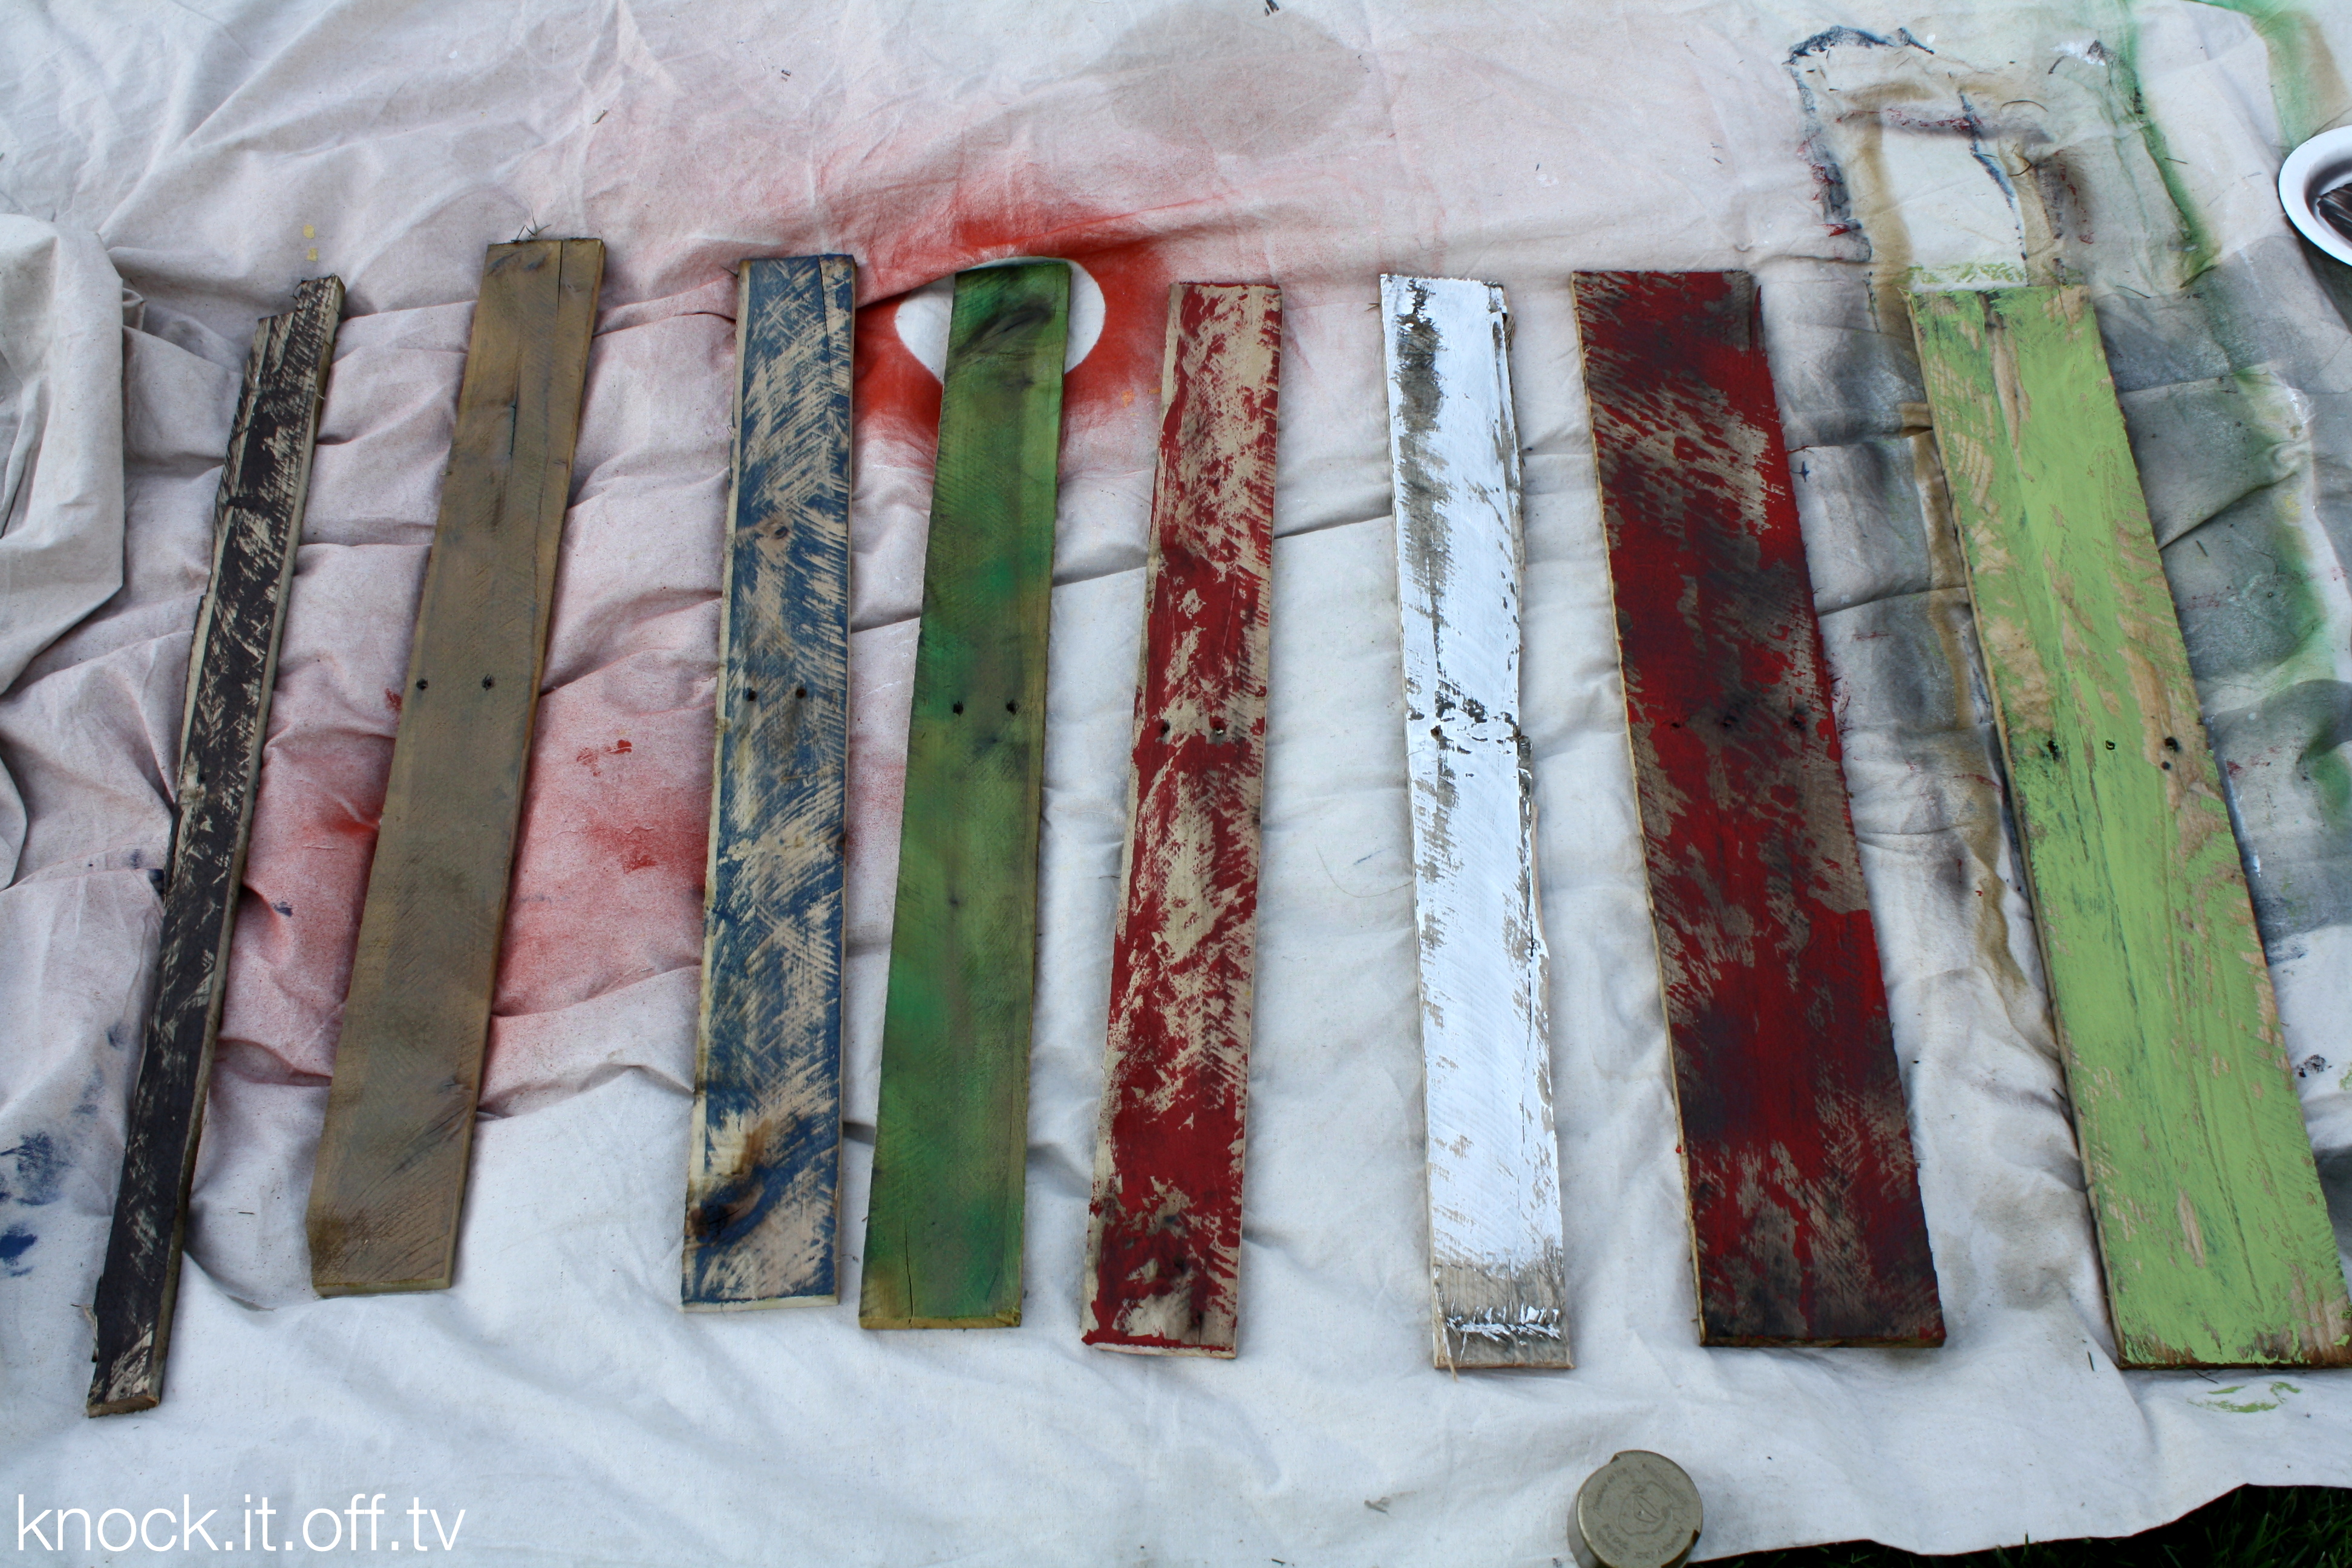
There were a few pieces that we just used some spray paint on. We were using ALL leftover paints, so we couldn’t be too picky. We did like how it gave more variety to the wood pieces.
Look at those beauties all ready to become a Christmas tree!
We used a 2×4 for our “tree trunk” and staring at the bottom attached our wood directly into the trunk with screws. You’ll want the tree to go to a point, so we made each piece 4″ smaller than the previous one (so about 2 inches thinner on each side).

The wood isn’t heavy, so a few screws in each did the trick. You could easily use nails instead. 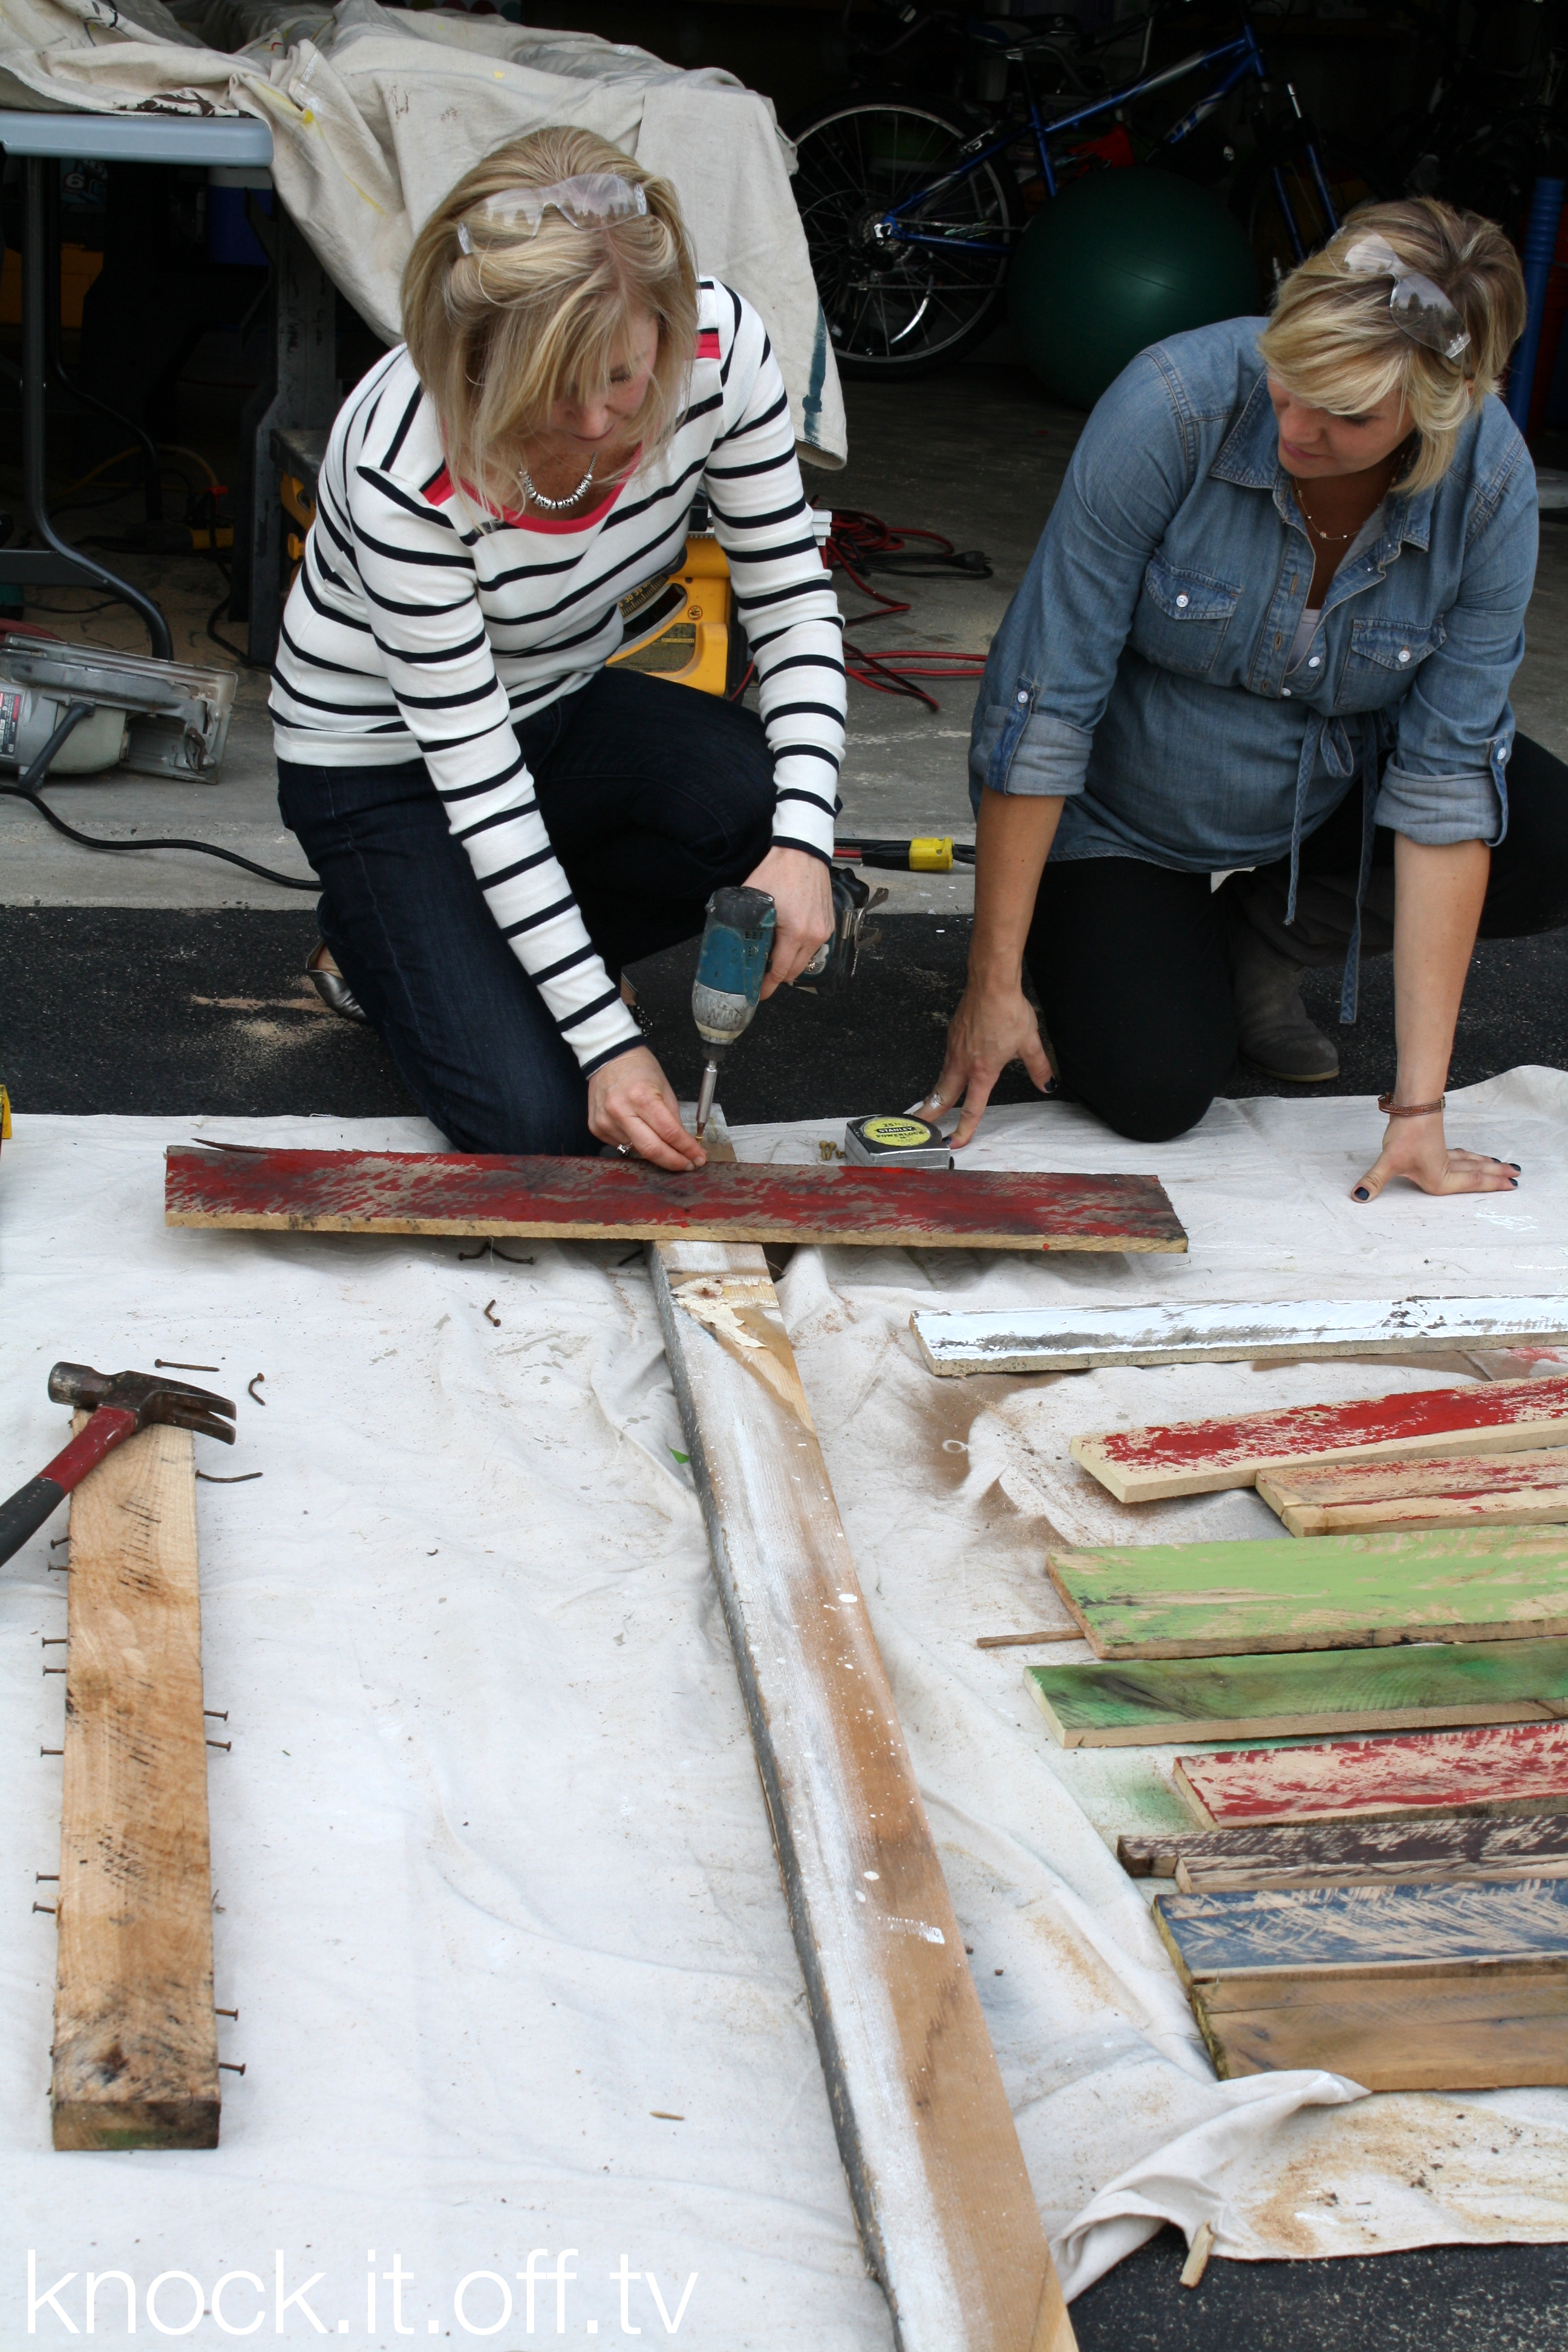
Attaching the boards took all of about 5 minutes- this is such a simple project!


So, for NO MONEY we created a fun porch accessory that has a charming, rustic style! You just can’t beat free people- especially around the holidays when everything costs money!
So, are you going to be hunting down a pallet so you can make a tree in time for the holidays?
——————————————————————-


That is cute!
The trees I saw DIY peeps making here in the Midwest were vintage newel posts, with holes drilled in them (spaced about 9 inches apart? – I can’t remember) and then vintage branches from thrift-store trees stuck into the holes. Really cute. I never got around to making one though. I liked the white posts with silver branches the best.
You’ve probably seen this idea already. Things are slow to get here.
Hi Laura,
Thanks for the compliments on our rustic pallet Christmas Tree. The one you mention sounds really cute too!
Happy Holidays!
[…] You can see more of how we put together this rustic little pallet Christmas Tree here […]