

This project was featured in an episode of our DIY show Knock It Off.
To watch this episode online, click HERE.

———————————————————————————————————
When we started working on this Pirate themed bedroom, the homeowners told us their son totally wanted bunk beds. We knew we couldn’t give them just any bunk beds, and outside of IKEA, really nice bunk beds can be crazy expensive! We decided to build our own bunks and to make it look like they’re floating, just like something off of a ship!
These floating bunk beds would work in a pirate room, nautical room, and any room at all if you tweaked the style a bit!

Building these bunk beds was a lot easier than they look!
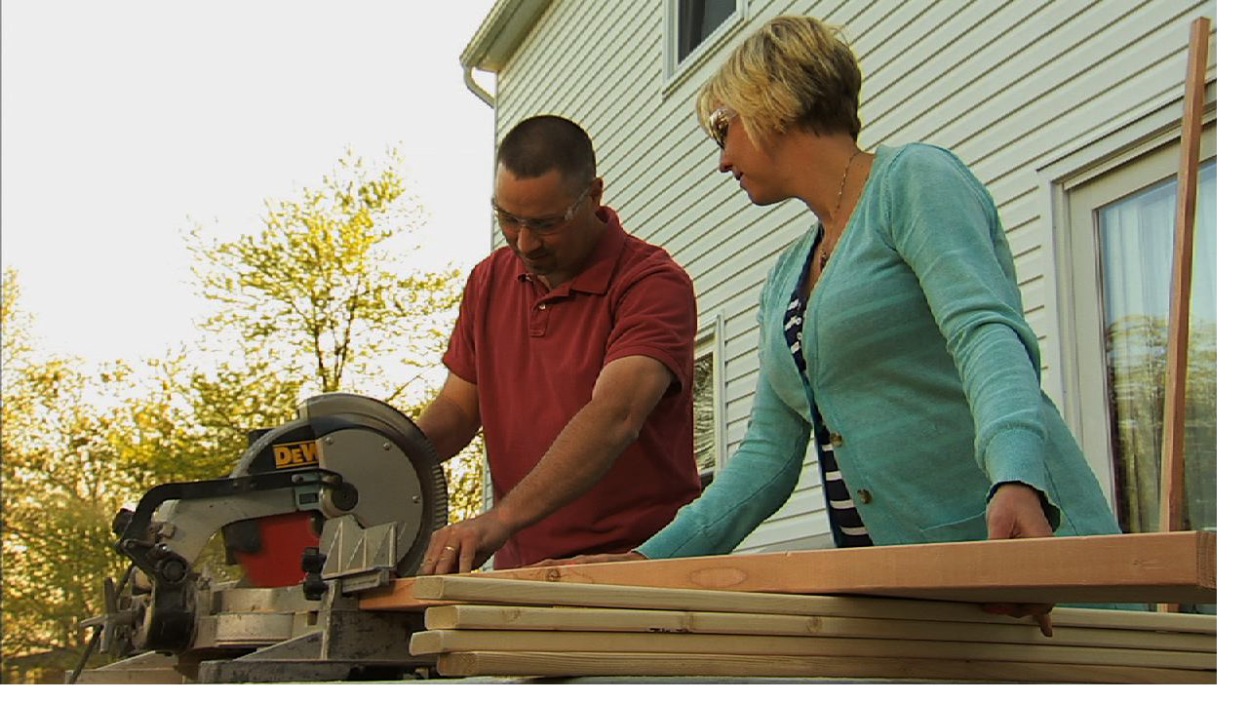
The first thing we needed to do was make all of our cuts. We used pine boards, but got 2x8s for the main frame so that they were nice and sturdy. There were no fancy angled cuts, so it made the process really easy!
We measured the size of our two mattresses- we had a twin and a double- and then made a simple box frame to fit each mattress and added 1×3 slats.
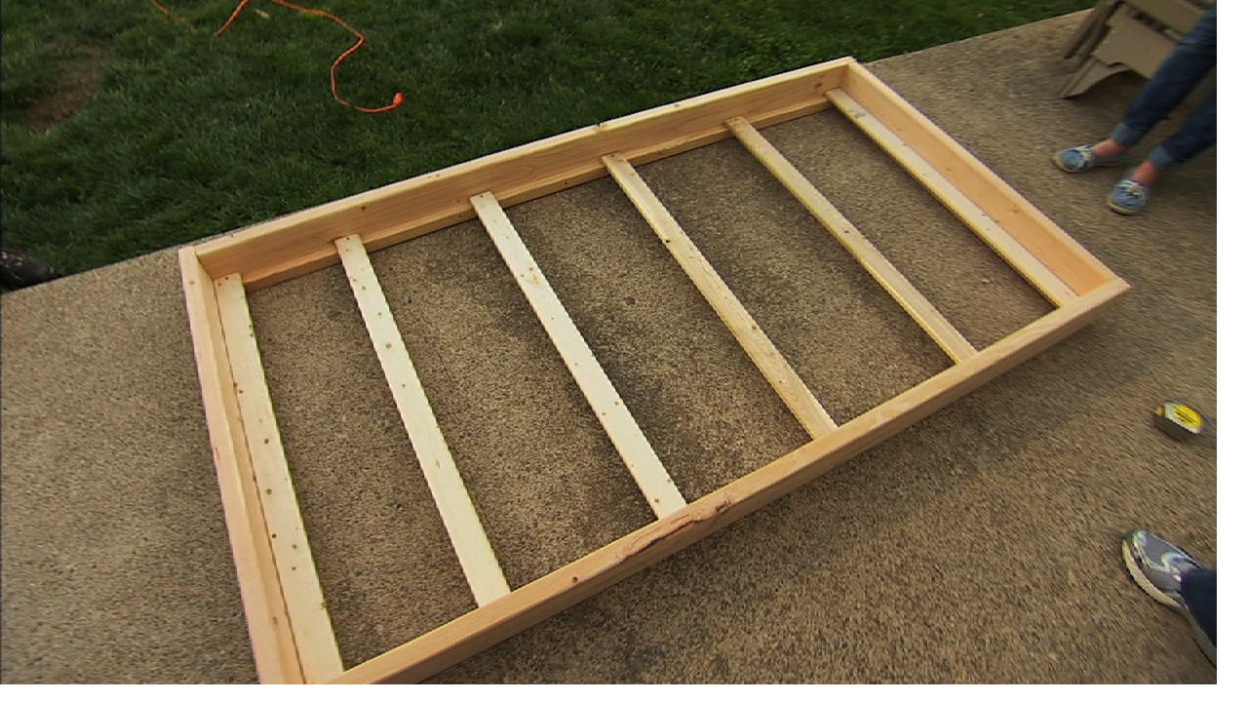
For the slats, we used regular screws, but for the frame we used RSS screws (Rugged Structural Strength), which are specially engineered to hold a lot of weight. Make sure you go with the RSS screws if you plan to make these- they’re what make these bunks super secure!
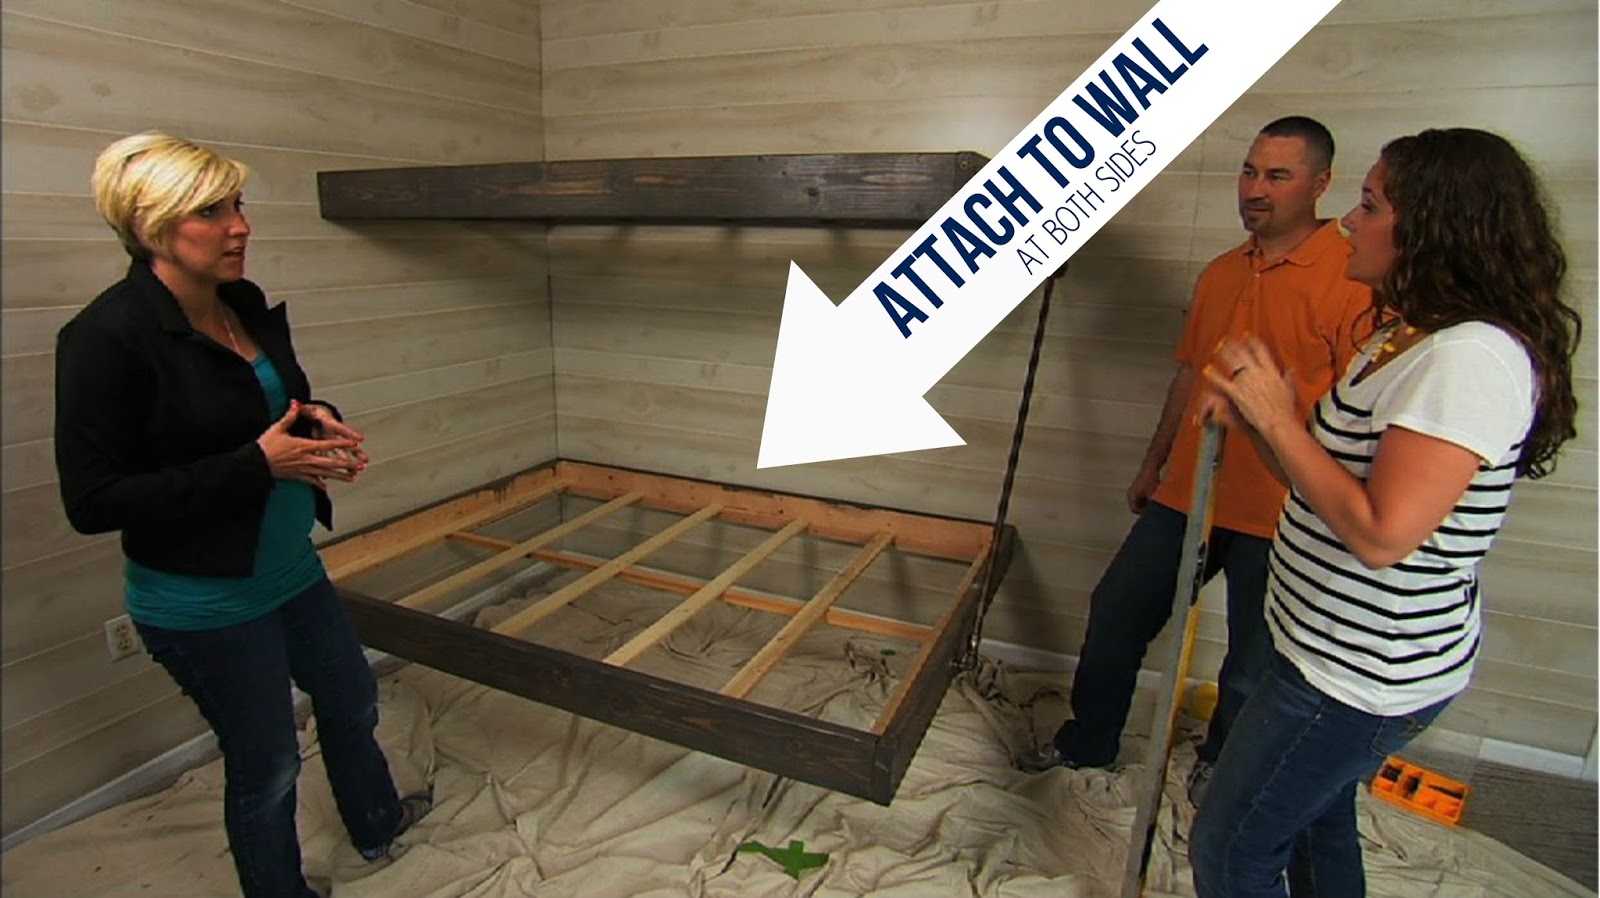
After staining the wood our very favorite grey stain (a custom mix we had made) it was time to attach it to the walls. Again we used RSS screws intended for heavy weights, and we attached it to the two walls. We found our studs with a stud finder and made sure we were attaching to them. That part is super important- we don’t want our floating bunk beds to turn into falling bunk beds! 🙂
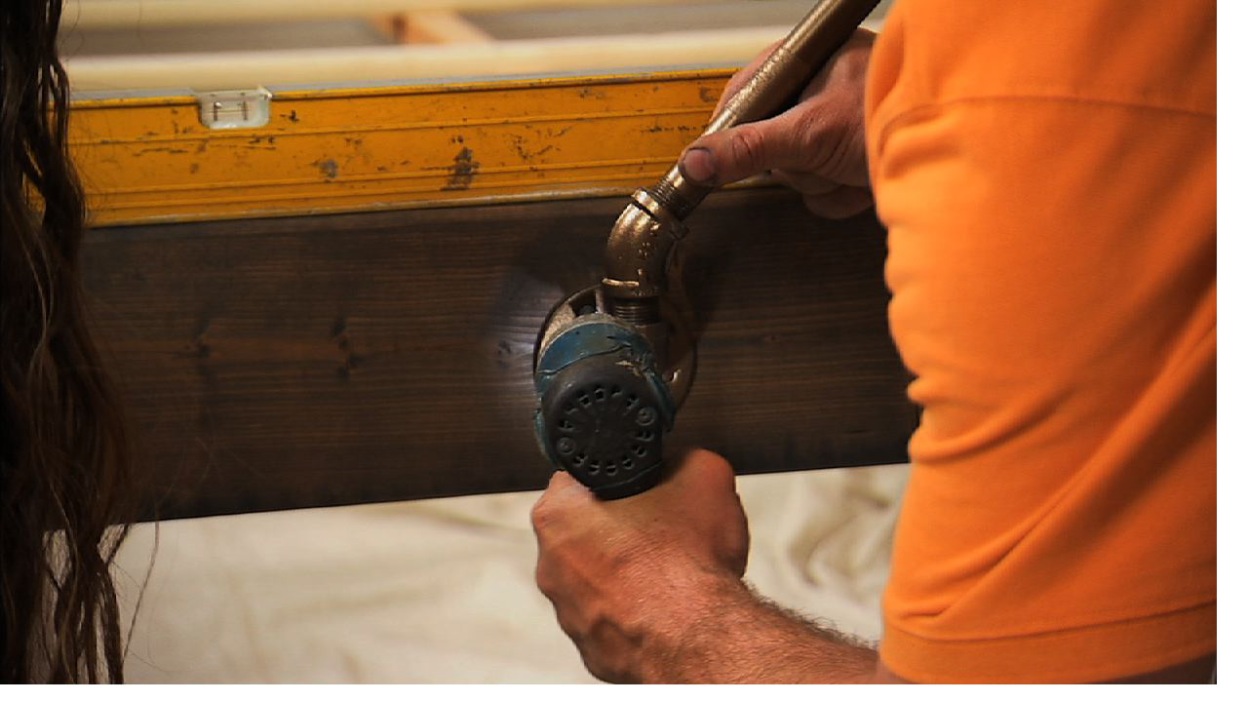
We were a little stumped at first about how to suspend the one floating corner, but after exploring all of our options, we went with pipe and a flange. They’re strong, can hold a ton of weight, and fit with the style we were going for. We attached one flange to the bed and the other to the wall, again making sure we went into a stud.
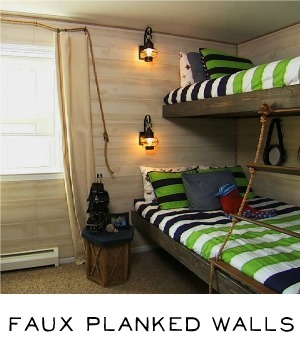
We added a fun rope ladder, popped in the mattresses and had ourselves some AWESOME floating bunk beds! The extra addition of bedside lanterns brought the whole pirate bunk theme together!
We were so excited with how these turned out! It’s one of our favorite things when an idea we have in our heads actually turns out just how we pictured it!


To check out other posts about the projects in this room, check out our Knock It Off DIYs Page and to watch this episode Click HERE!


What size rope did you use to complete the ladder? Using this tutorial my husband successfully made these beds for my boys and I couldn’t be happier! They turned out awesome!! Just having trouble finding rope.
Thanks,
Jen
First, let me say I love you guys! As a fellow East Coaster I enjoy your creativity and enthusiasm for low cost high style makeovers. One question: what size wood did you use for the “lip” that is holding the slats within the bed frame?
Hi Dee,
How much are you loving this snow on the East Coast?! Thank you so much for the wonderful compliment, so sweet. For the outside of the bed frame we used 2×6 pine wood, you can see more of the tutorial over on the Live Well Network, http://livewellnetwork.com/Knock-It-Off/episodes/DIY-Suspended-Bunk-Beds/9169447?pid=9169487. Thanks again! 🙂
Hi Ladies,
I absolutely love this bunk bed. I am pretty handy so I am going to try to make these in a ski theme for my boys who are ski racers. I did have a question on how you attached the ladder to the top & bottom bunks to keep it secure and from flopping about?
Thanks so much! 🙂
Laura
[…] One tutorial from East Coast Creative was super helpful! […]
We are in the midst of making these now! The only problem we are running into is the paint for the galvanized pipes. What did you use to spray paint them? Everything we find seems to say not to use on galvanized metal. TIA!
I’d recommend a spray paint that’s made for metal or outdoor surfaces like grills and appliances. Would love to see some after pics of your project!
[…] Cabin bunk by Eastcoastcreativeblog […]
SO……what about a safety rail for that top bunk? I have bouncy grandkids and wonder if you have a cool solution. Thanks.
I think using some additional galvanized pipe could be cool!