
Ever have a crazy week at work? Oh my word, last week I was beyond swamped… so swamped that I didn’t DIY at all! {GASP} This weekend I needed to make up for some lost time and I have about 3 projects going on now. Phew, feeling more like myself!
You’ve seen my Granny Frames Gallery in progress, but today I’m going to show you the whole shabang! First, it’s time for a little tutorial…
Glazed Paper Tutorial

Did you know you can spray paint and glaze paper? Yup, tried it.
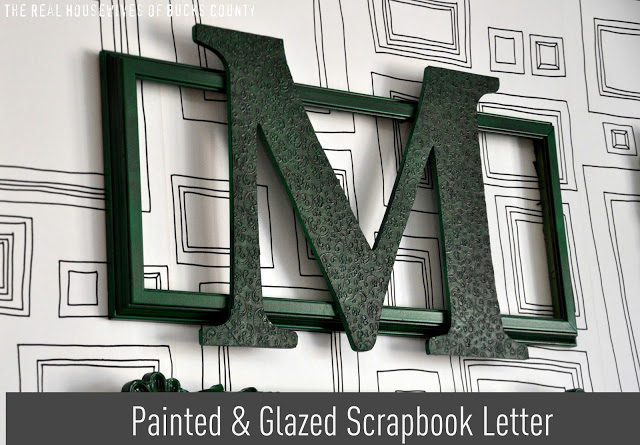
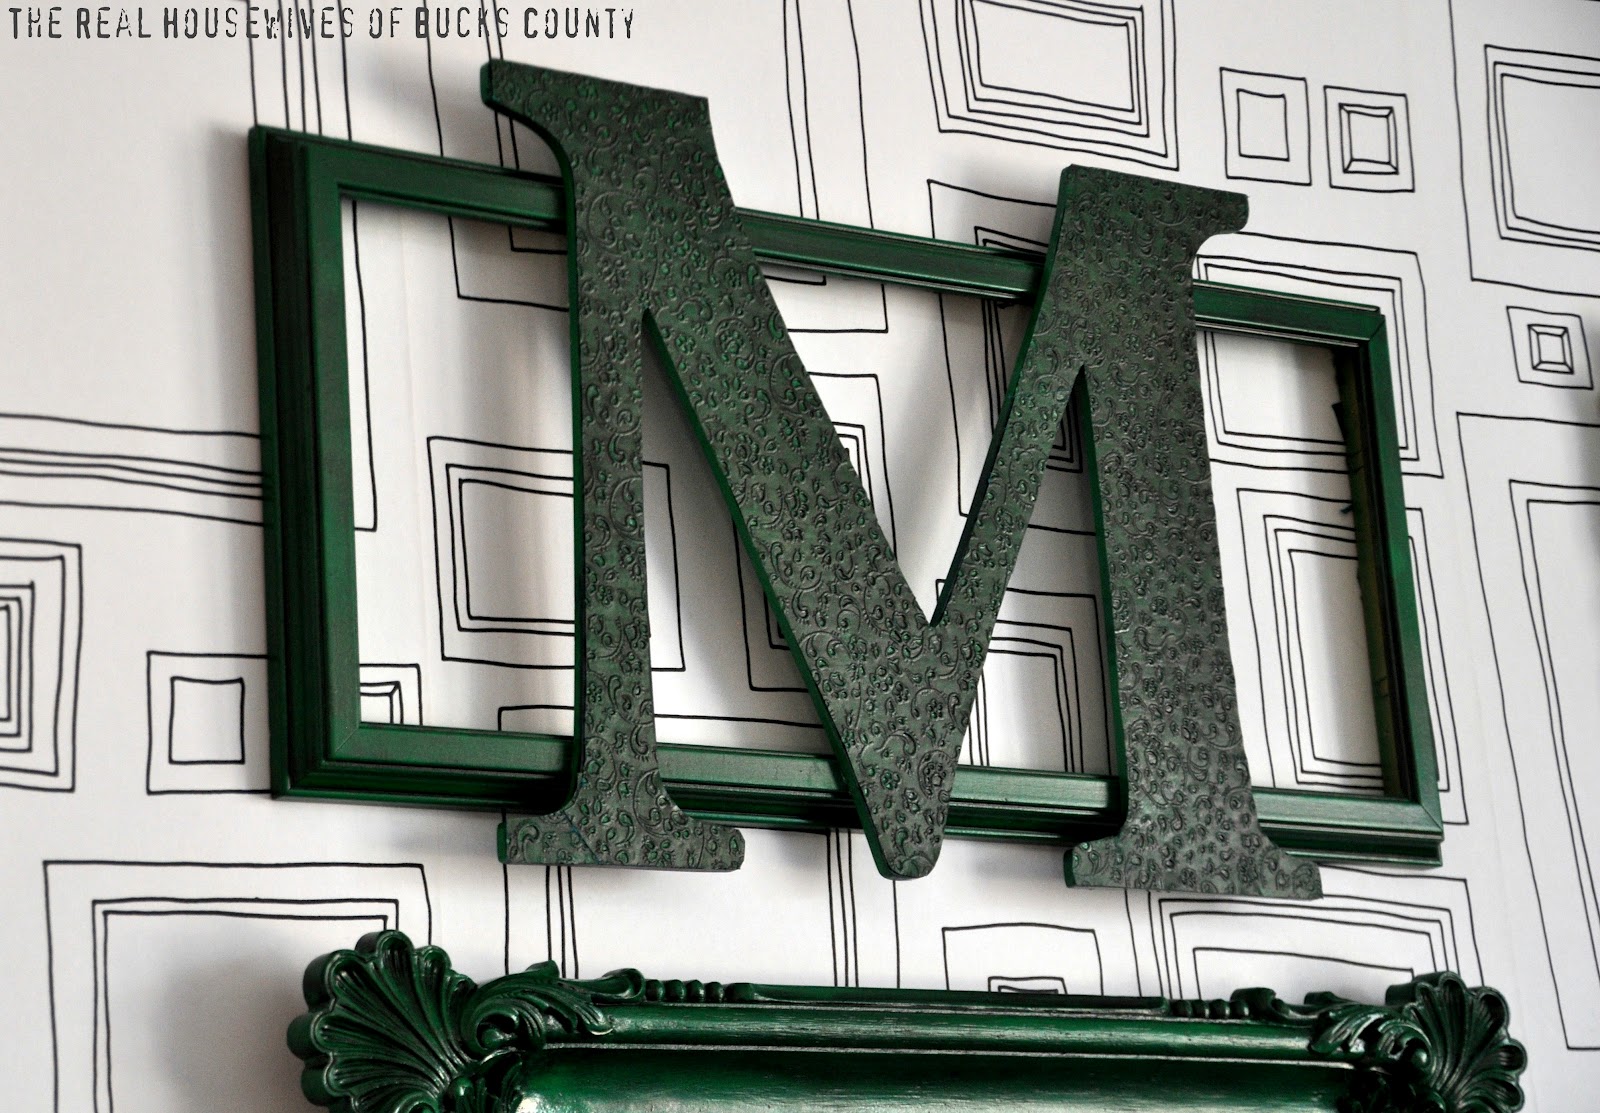
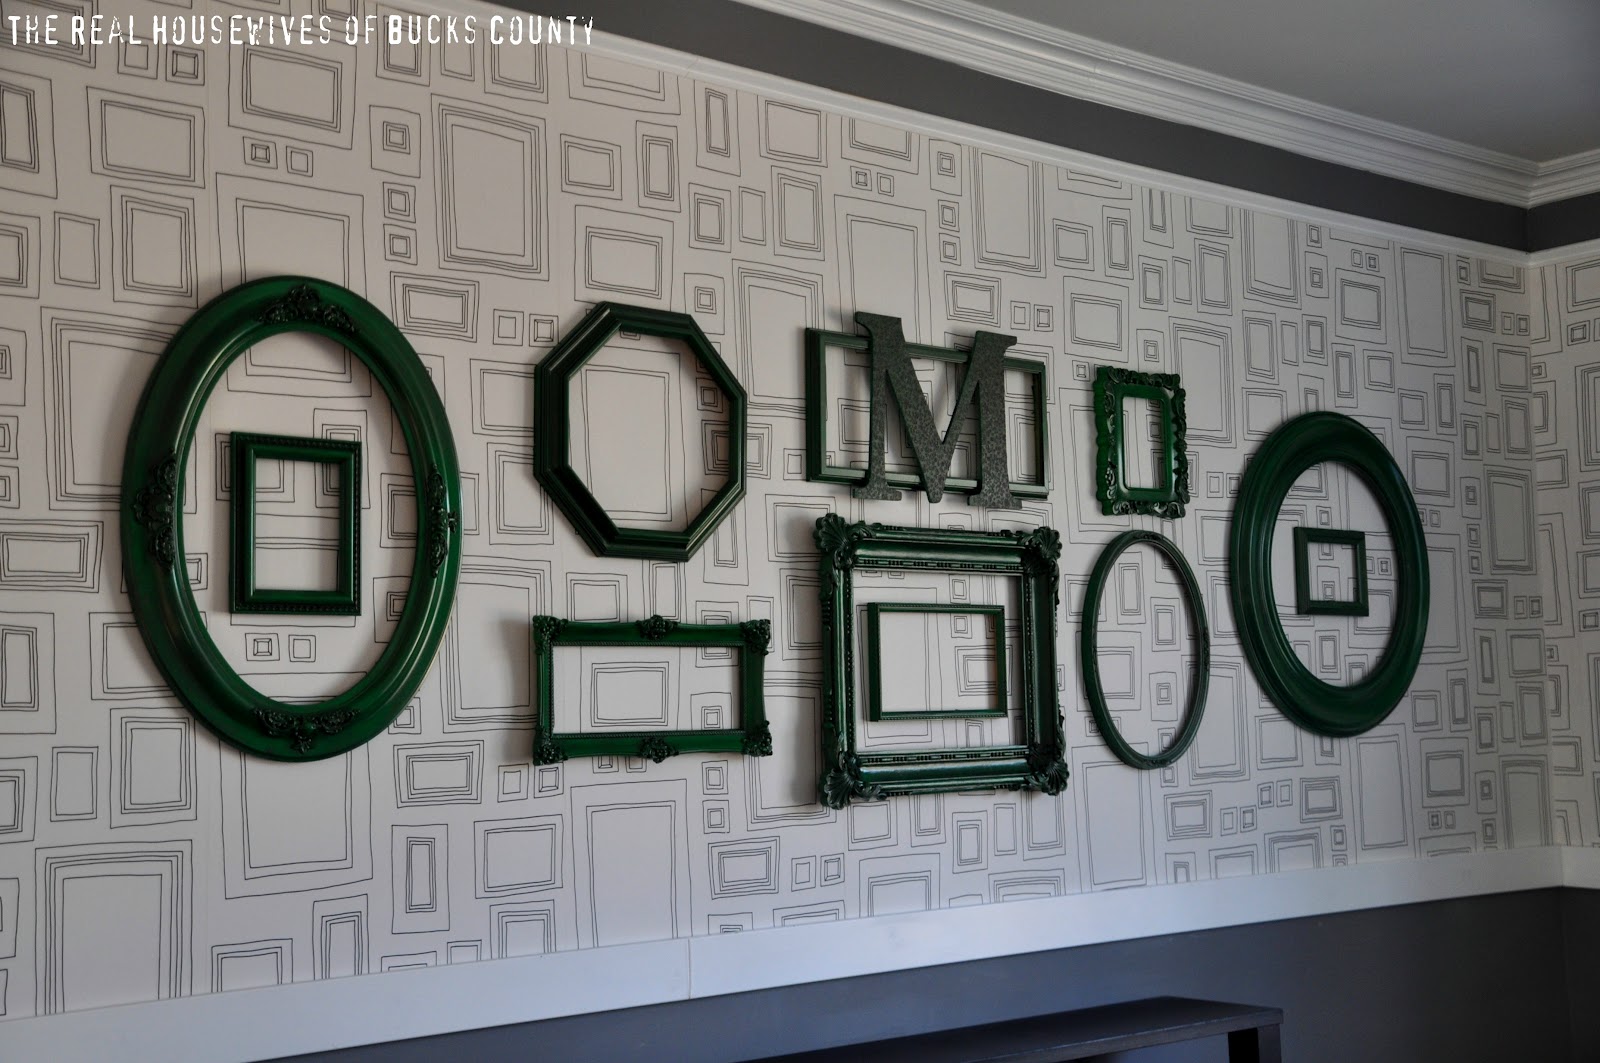
See the thin rectangle frame in the middle? It’s lacking… it’s not really all that ornate or “Granny-esque.” I had picked up a big old letter M at some craft store (not sure which one) and I thought perhaps I could make it fit in with the style of the gallery.

I ran to JoAnn’s for some scrapbook paper and totally struck out. Nothing would work. What’s a girl to do? This gold and blue textured paper jumped out at me, no surprise right… it’s sort of bright and tacky.
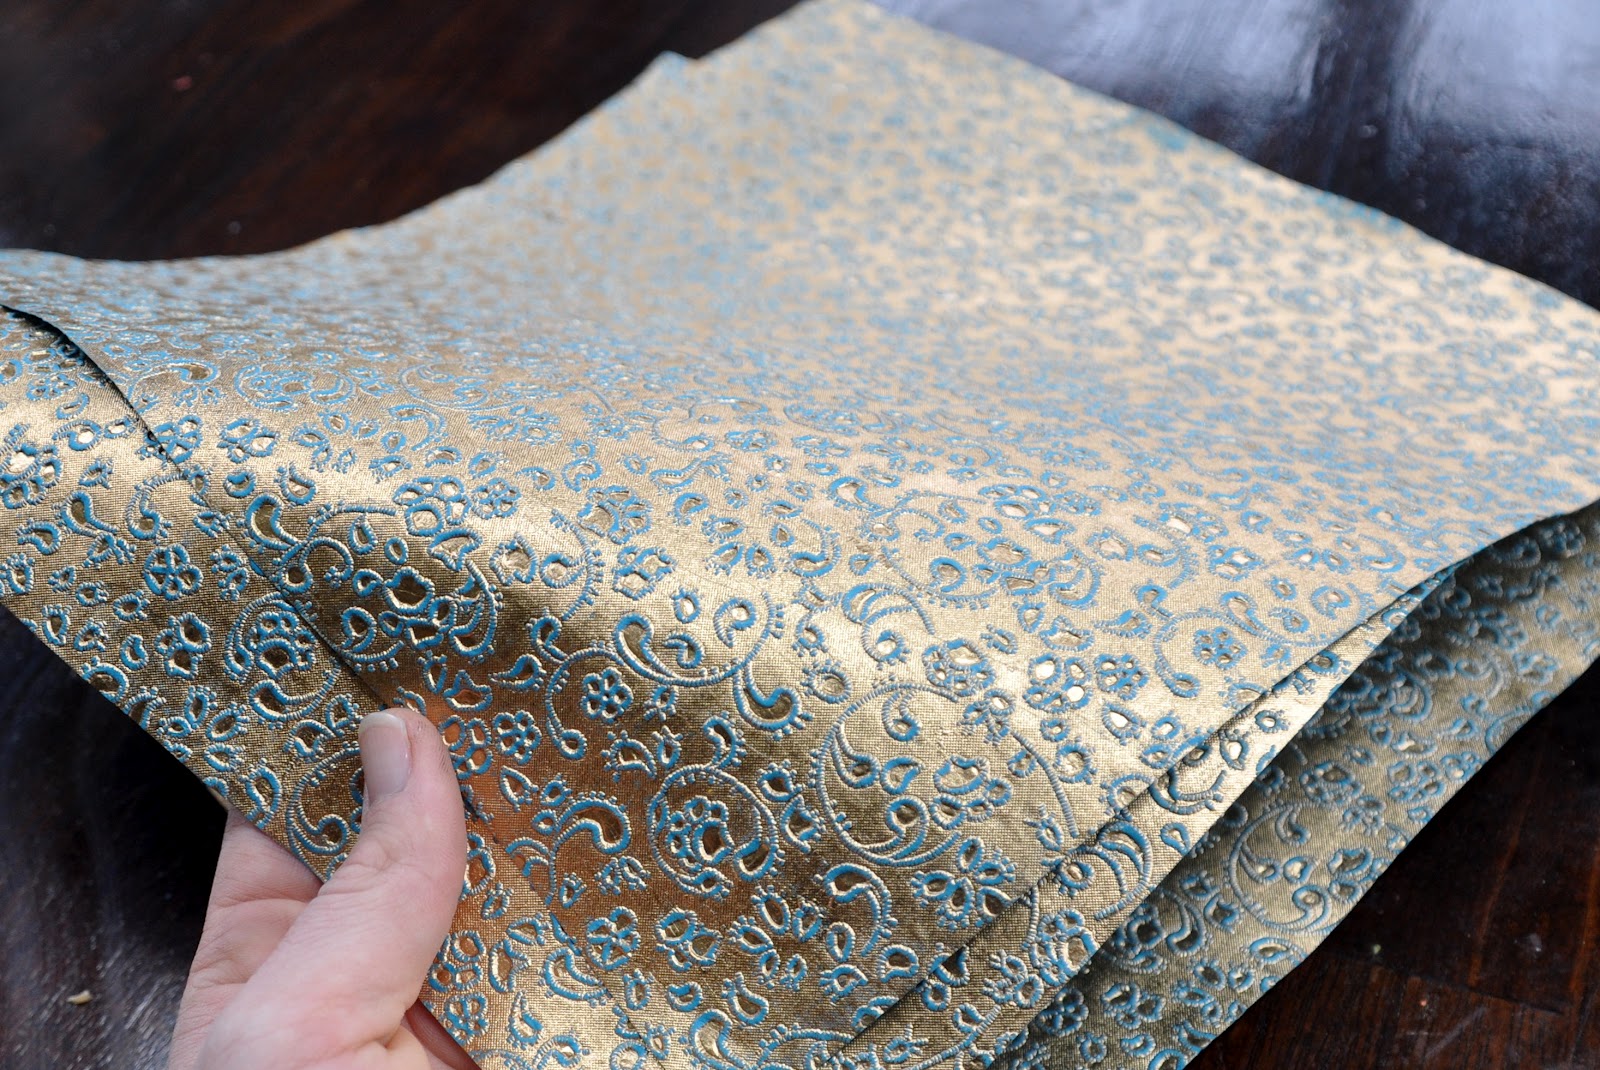
The DIYer deep within told me I could do something amazing with this paper.
Here’s all you need:
Textured scrapbook paper
Spraypaint (I’m sure regular paint would work too)
Martha’s Metallic Glaze (I used black coffee)
Cheapo brush & a rag

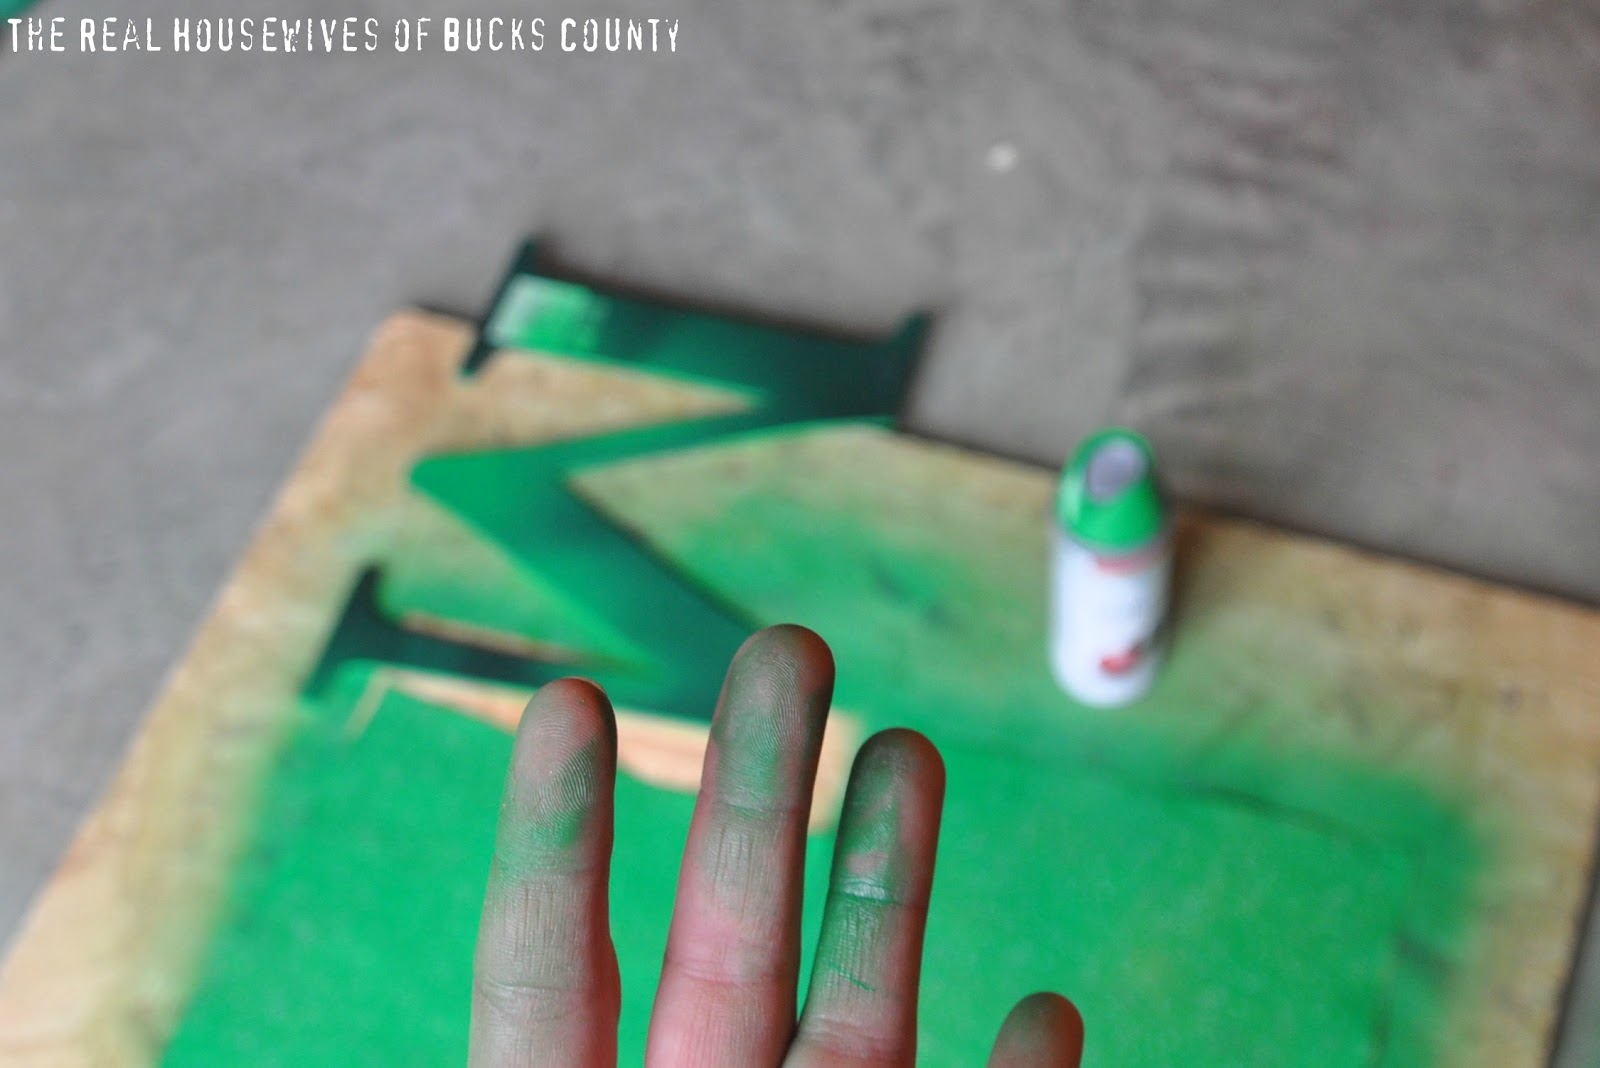
Since it’s winter and pretty darn cold in my garage I’ve started painting in our basement. The floor is covered in green and the fumes are intense let me tell ya!
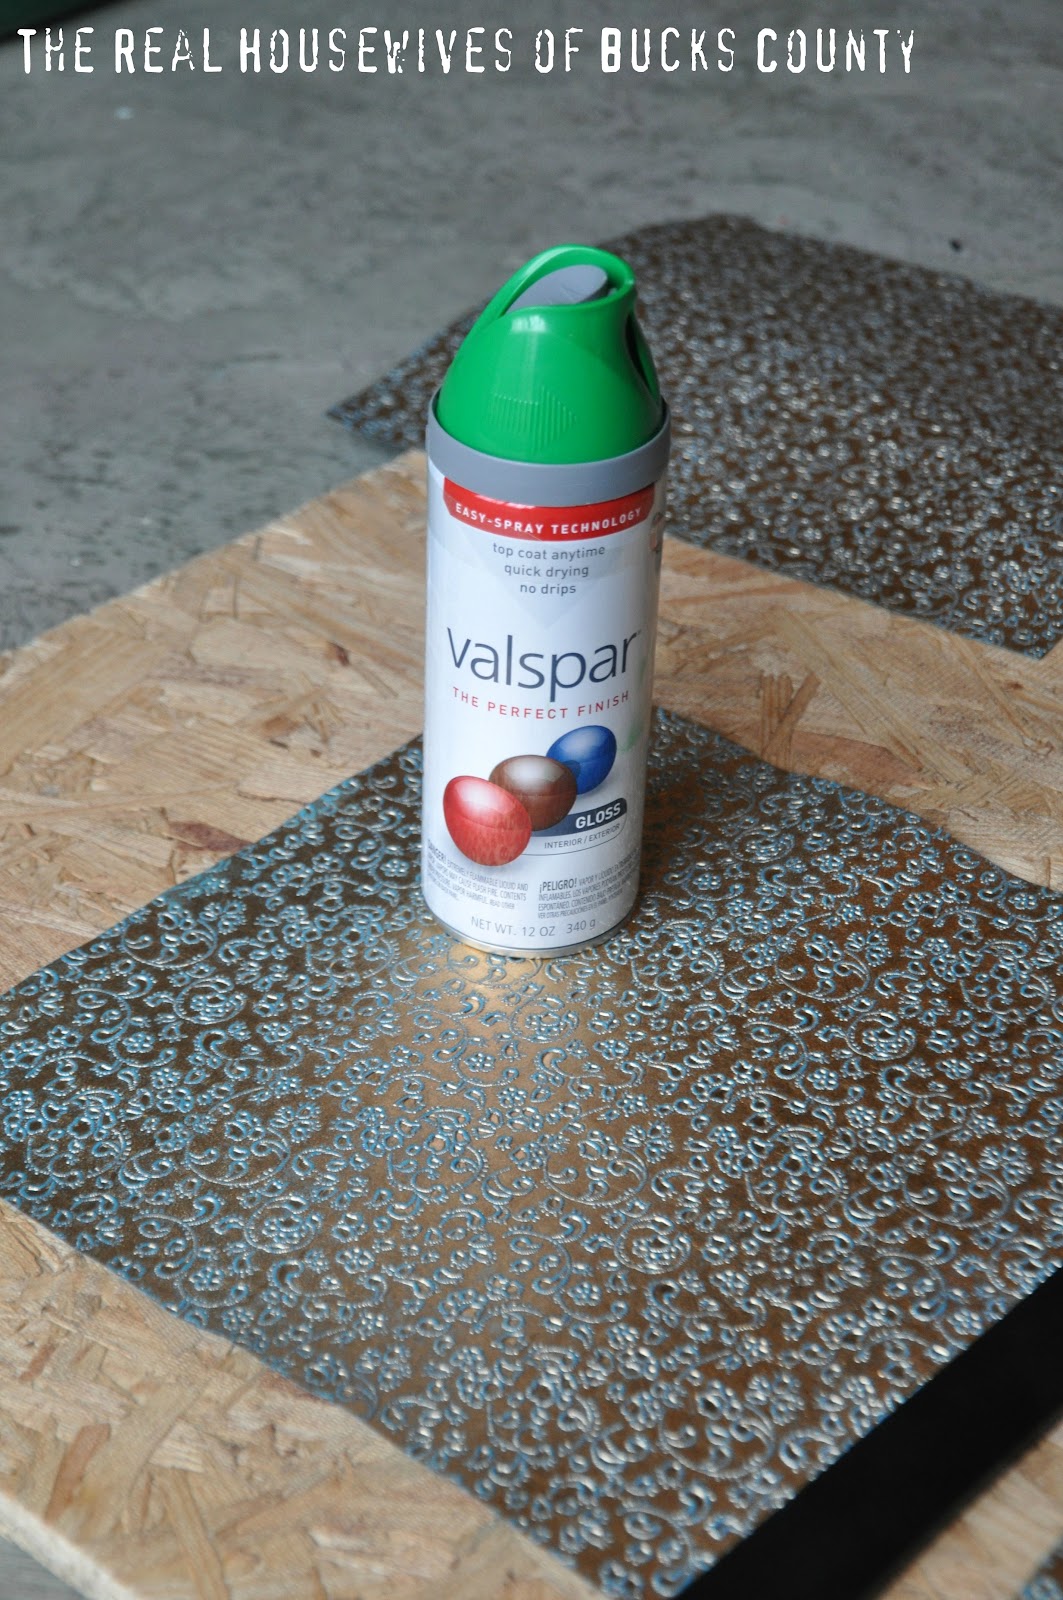
I wasn’t sure how the paper would take the spray paint, but it worked like a charm.

And my hands are still green today (3 days later) for some reason it won’t come off!
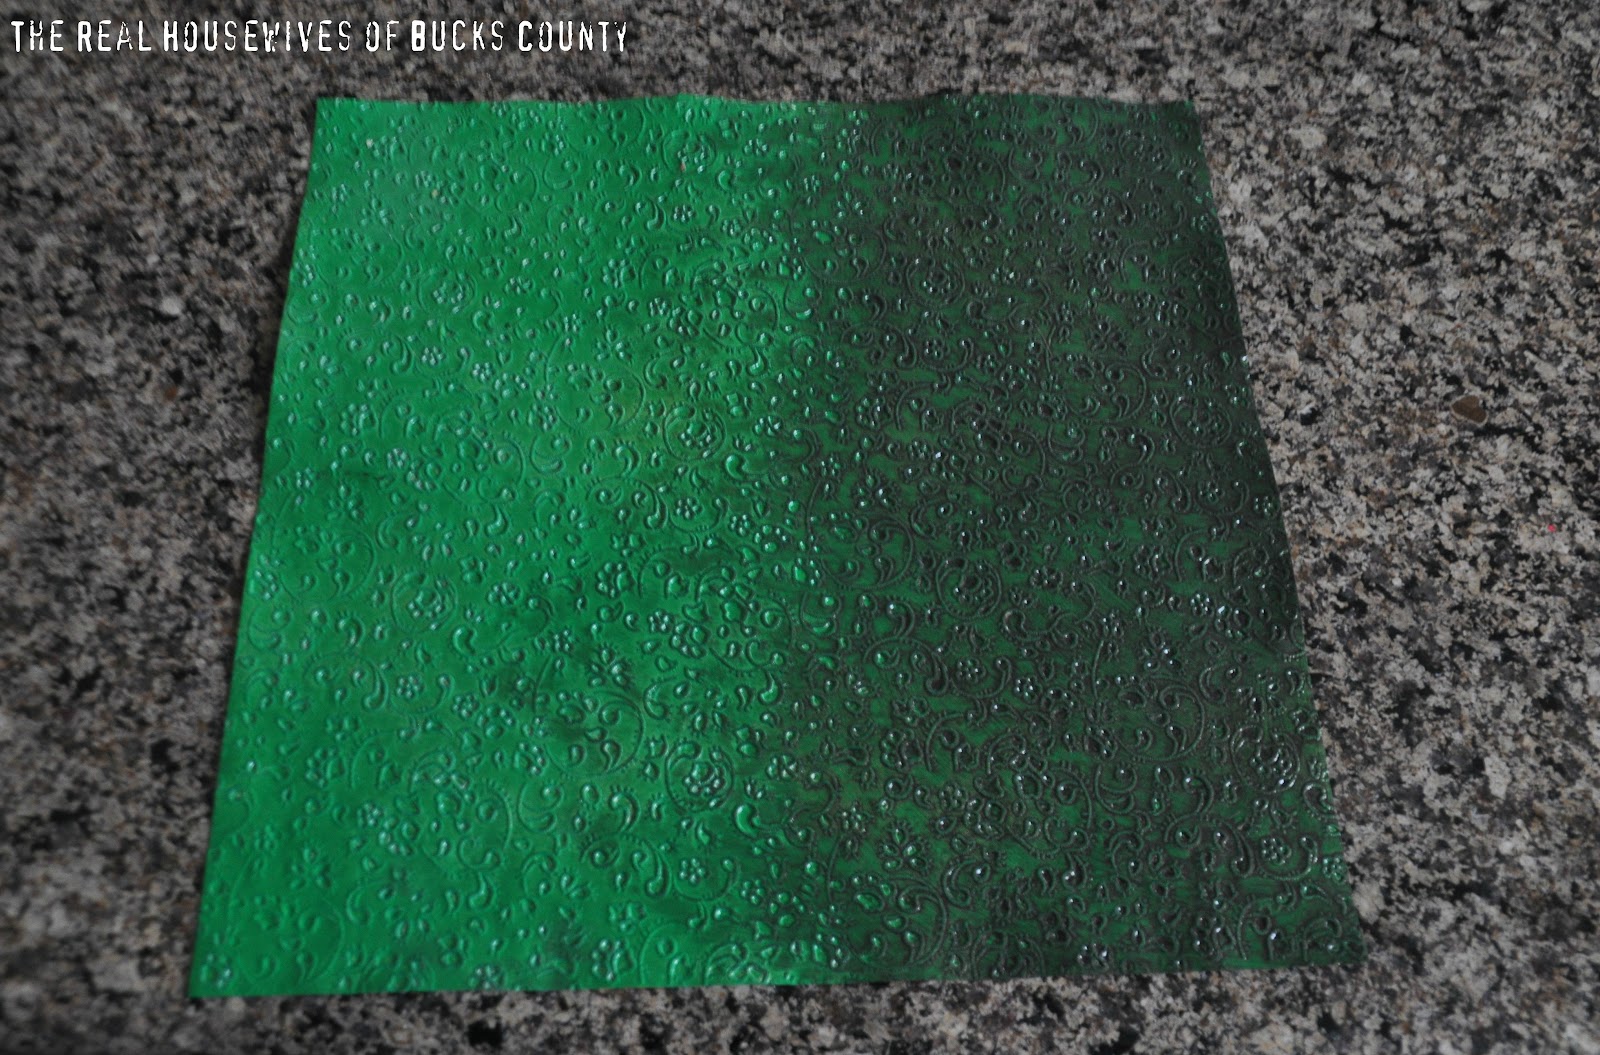
Give the paper plenty of time to dry- about 4 hours. Then the fun begins! Using the same process I used on the frames, you simply slop it on and wipe it off. Don’t forget to use the brush to get in all the crevices.

See the difference? Left side before and right side after.
Flip your paper over and trace your letter.

Did you know spray adhesive is my nemesis? It’s so darn sticky! Give your letter a solid coating and slap on your new and improved paper.
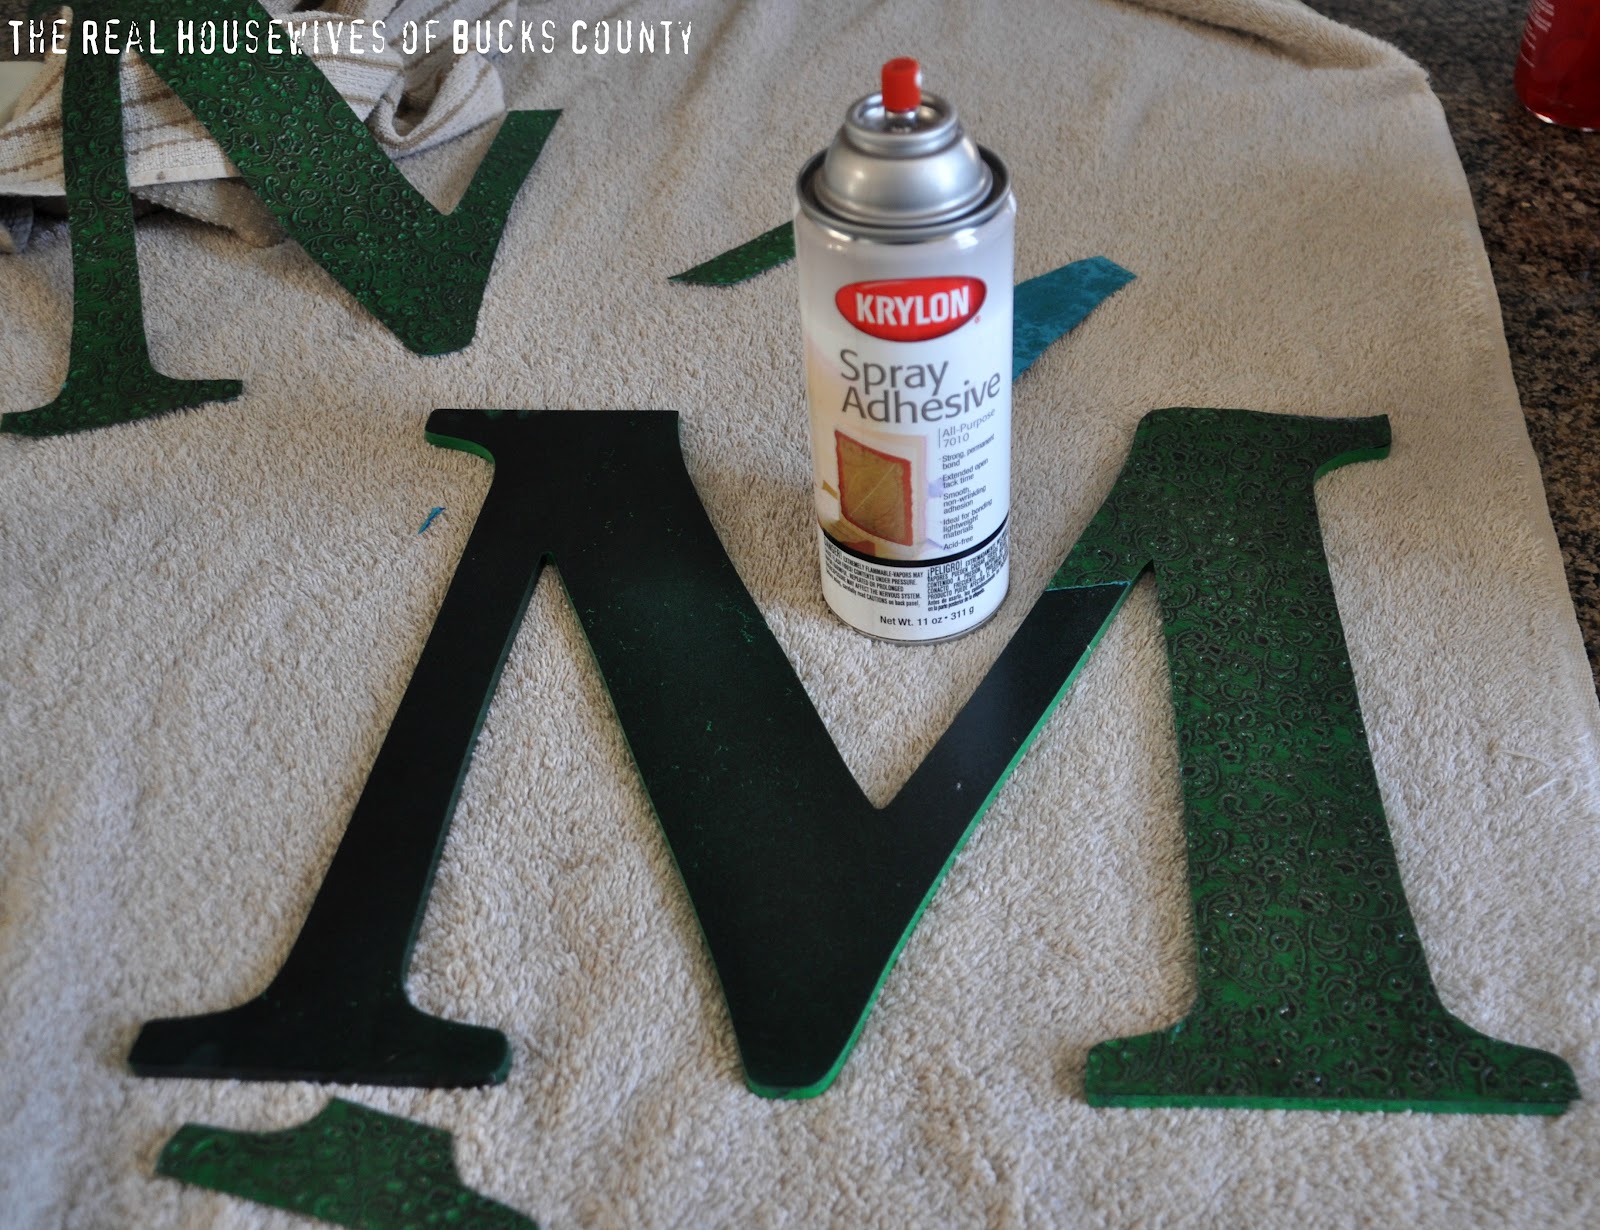
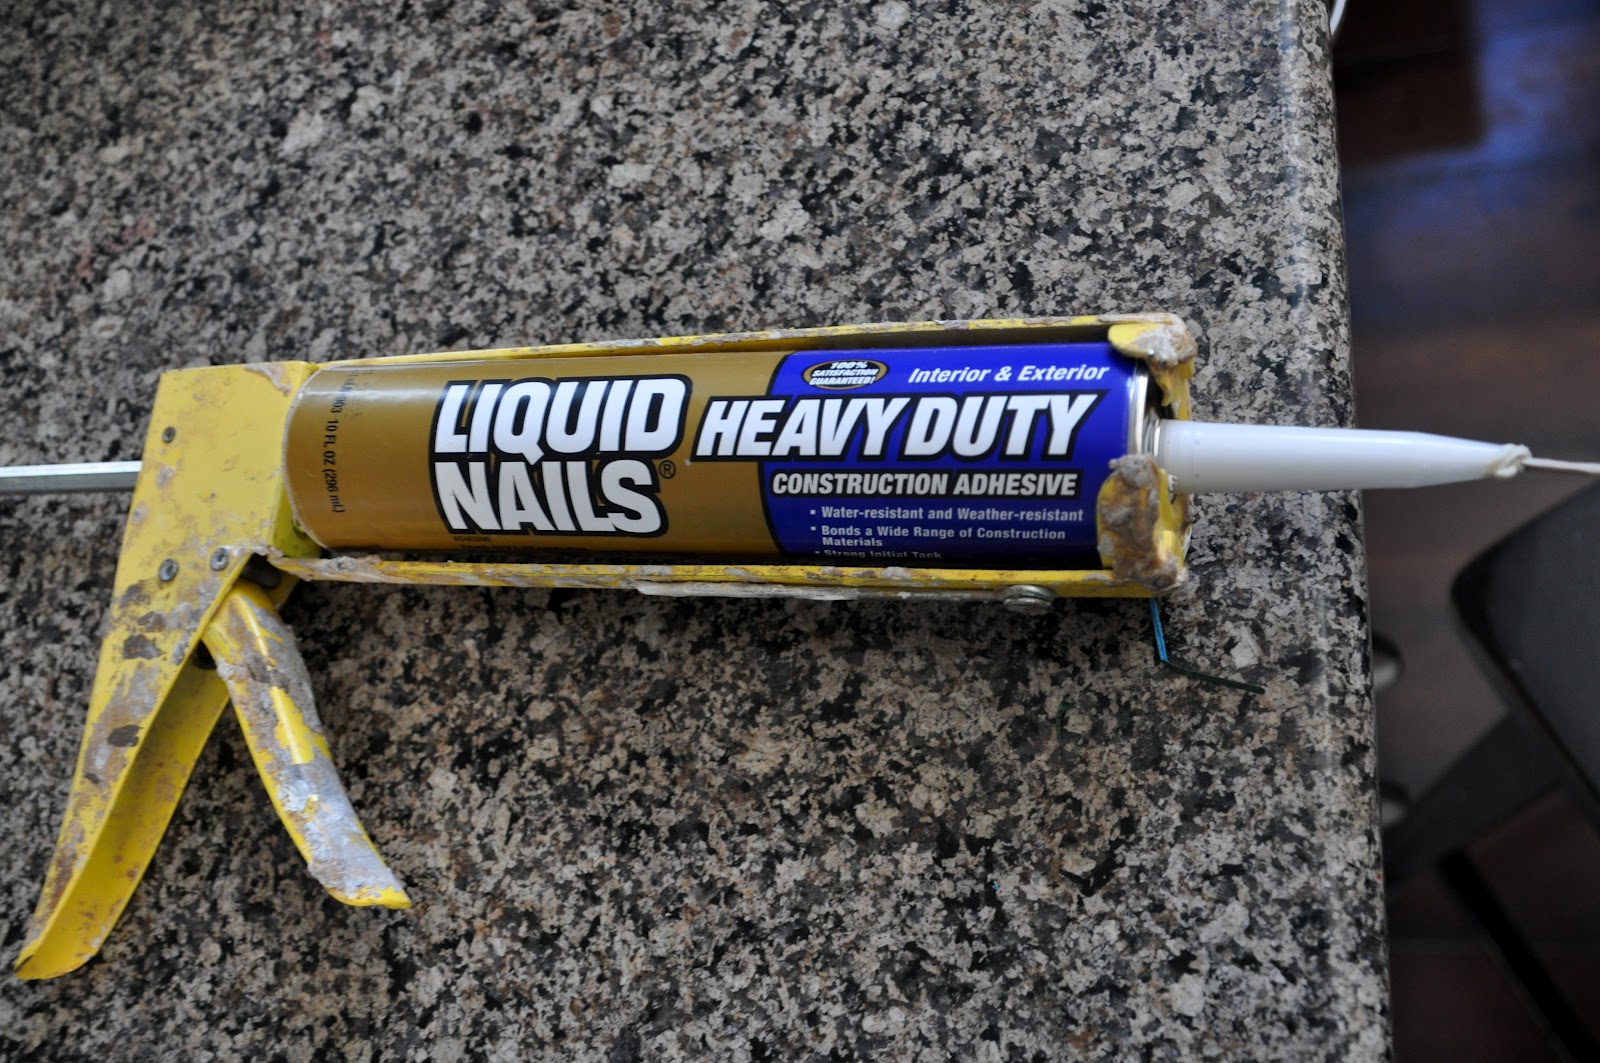
Once it was on, and my edges were trimmed down, I brought out the big guns. Have you ever used liquid nails? It’s a staple in our house and I use it quite a bit for DIY projects. Anytime I can’t nail something I use it… we might even have used it quite a bit for our Nate Show projects last month. Be careful though, it is serious adhesive and is not forgiving.
There she is… M for Mangin, or monsters, or macaroni… whatever you want.
Here’s the finished wall. I’m a big fan of the layered small frames within some of the larger ones.
I’m still trying to convince the hubs that it’s okay not to add pictures.

Now it’s time to accessorize the room. It’s not my strong suit, so I’m going to have Jess over to lend a hand.
So, what do you think of my Granny Gallery?
***************************************
One final thing I had to share with you about Red Letter Words. Did you know Dee does custom work? You can get one of her amazing canvases designed just for you! Every family has some phrase or verse or words that are special to them. Why not make it into art?
Start thinking of what you’ll put on your custom art and then head over to Red Letter Words.

And in honor of Bucks County, check out this Philly canvas…

Linking to: Thrifty Decor Chick


Love the gallery wall! I’ve seen that wallpaper before but never without someone drawing or painting on it – I’m liking your concept a lot. Also, I’m totally digging the gray, white, and green you have going on!
Absolutely love the double layering of that paper with the empty frames. Gorgeous. Love the dark green too.
Absolutely love the double layering of that paper with the empty frames. Gorgeous. Love the dark green too.
nice
nice